New Splunk users may find writing SPL queries a bit daunting. With 140+ commands and numerous options in each command, one can easily get demotivated to embark on learning SPL. To assist you in writing SPL queries, Splunk provides two excellent settings in the Search interface. These settings allow you to not only use the correct commands but will also provide instant help on any commands you type. You will love how your SPL queries look once you configure these settings. At the end of this post, I also have a video that shows how to do this. Let’s get right to it.
Once you login to Splunk, the search interface looks like the image in figure 1.
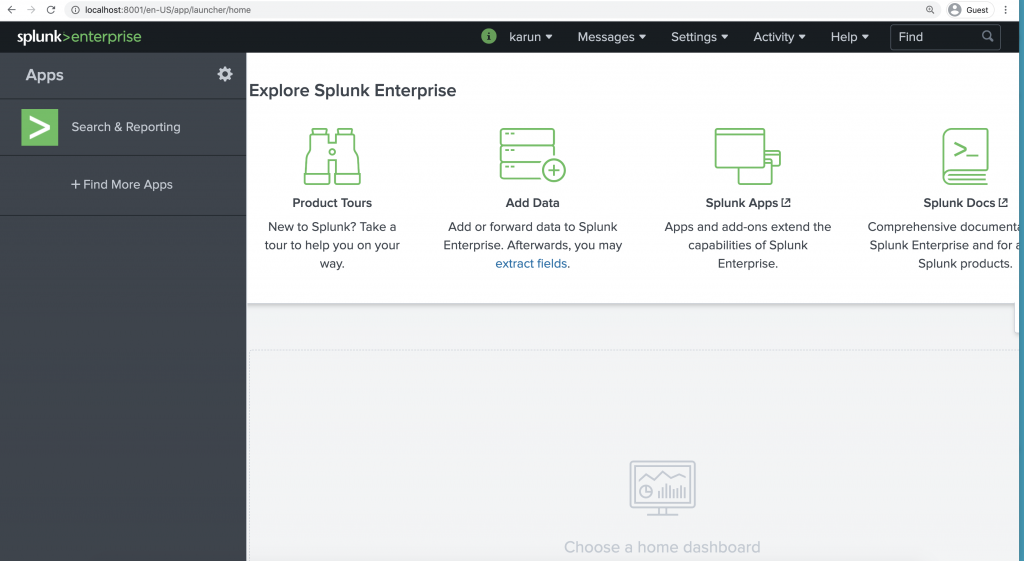
Figure 1: Splunk home page
Note: Your home page may look different depends on how your Splunk administrator has configured it. But the black Splunk bar at the top should be available. If you don’t see the black Splunk bar, contact your Splunk administrator.
Under your username, choose Preferences. See figure 2.
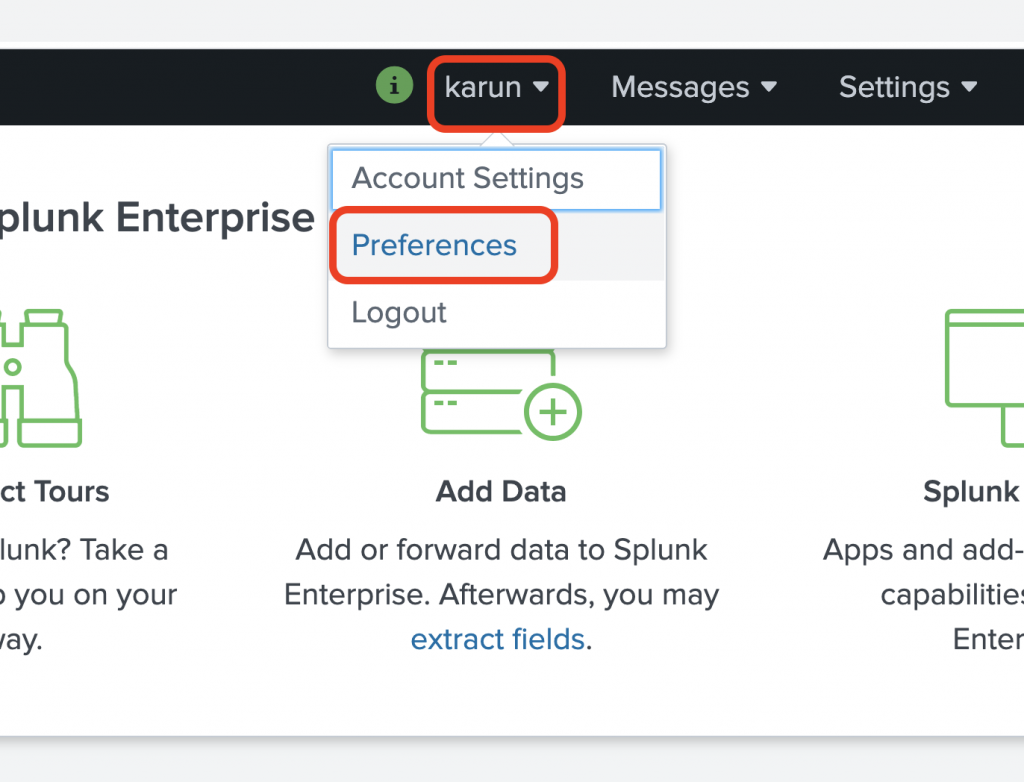
Figure 2: Selecting Preferences in Splunk Web
In the preferences screen, choose SPL Editor. See figure 3.

Figure 3: Choosing SPL Editor tab in Preferences
You want to configure the following settings:
Search Assistant: Full
Line numbers: Turned on
Search auto-format: Turned on
See figure 4.
Figure 4: Enabling Search assistant, Line numbers and Search auto-format
Now when you type your SPLs, you will observe two things.
First, Splunk automatically suggests possible matches as you type your commands. If you are typing an SPL command Splunk, will show help messages for that particular command including examples. Second, the SPL automatically formats itself cleanly with proper spacing and new lines. See figure 5 and figure 6.
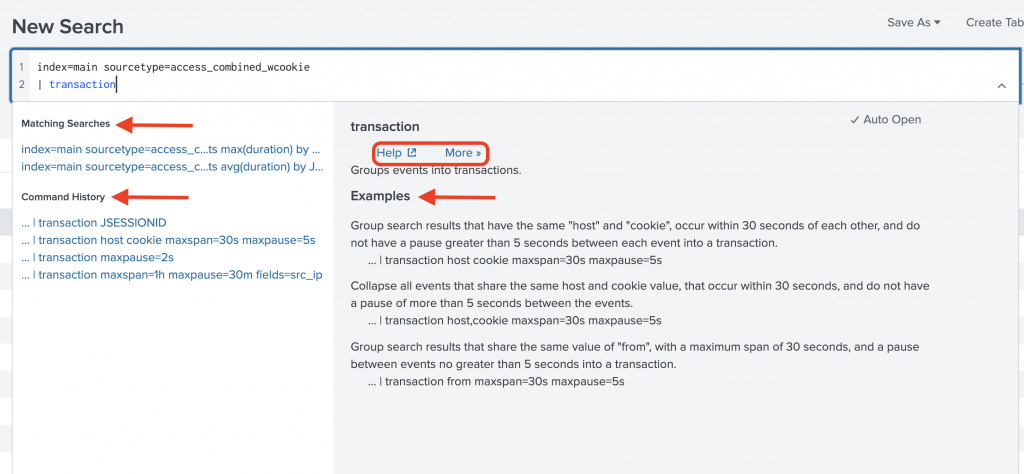
Figure 5: Search assistant prompting help messages
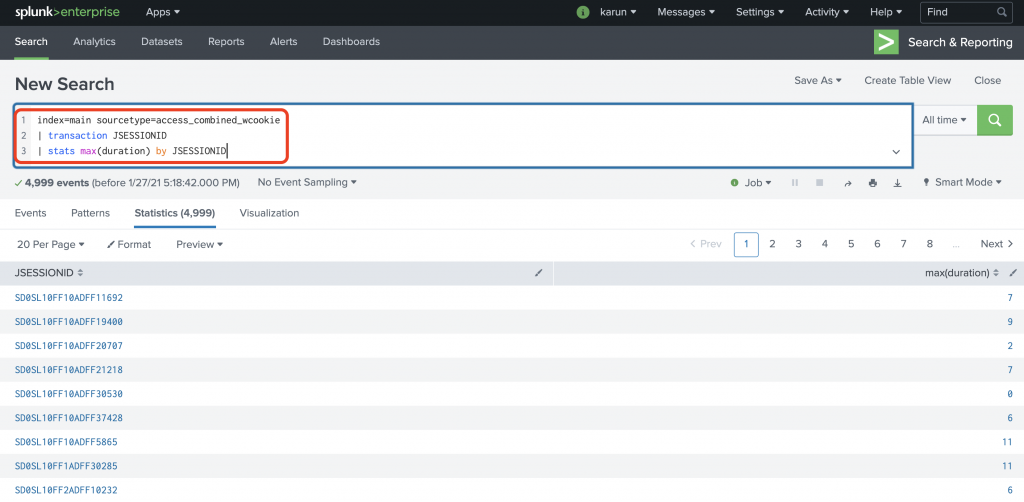
Figure 6: Splunk auto formats SPL query as you type
These settings will make your life lot easier when writing long SPL queries. Try them out today.