Now that you have your AppDynamics Controller up and humming, the next step is to instrument an Application to see the awesomeness of AppDynamics in practice.
For this blog post, I’ve chosen a very simple Java Web Application running on a tomcat server (It is the ‘sample’ application that comes with tomcat). The instrumentation process is fairly straight forward. While what I’m about to show is fairly manual, in real world scenarios involving hundreds of servers, you will be using some sort of automation 🙂
At high level, here is the procedure:
- Download the agent software either from the controller UI, or from appdynamics website
- Copy the agent software to the target application server (which is to be instrumented)
- Update the java command line that starts the application to instrument AppDynamics and restart the Application Server.
Ready ? Let’s get started.
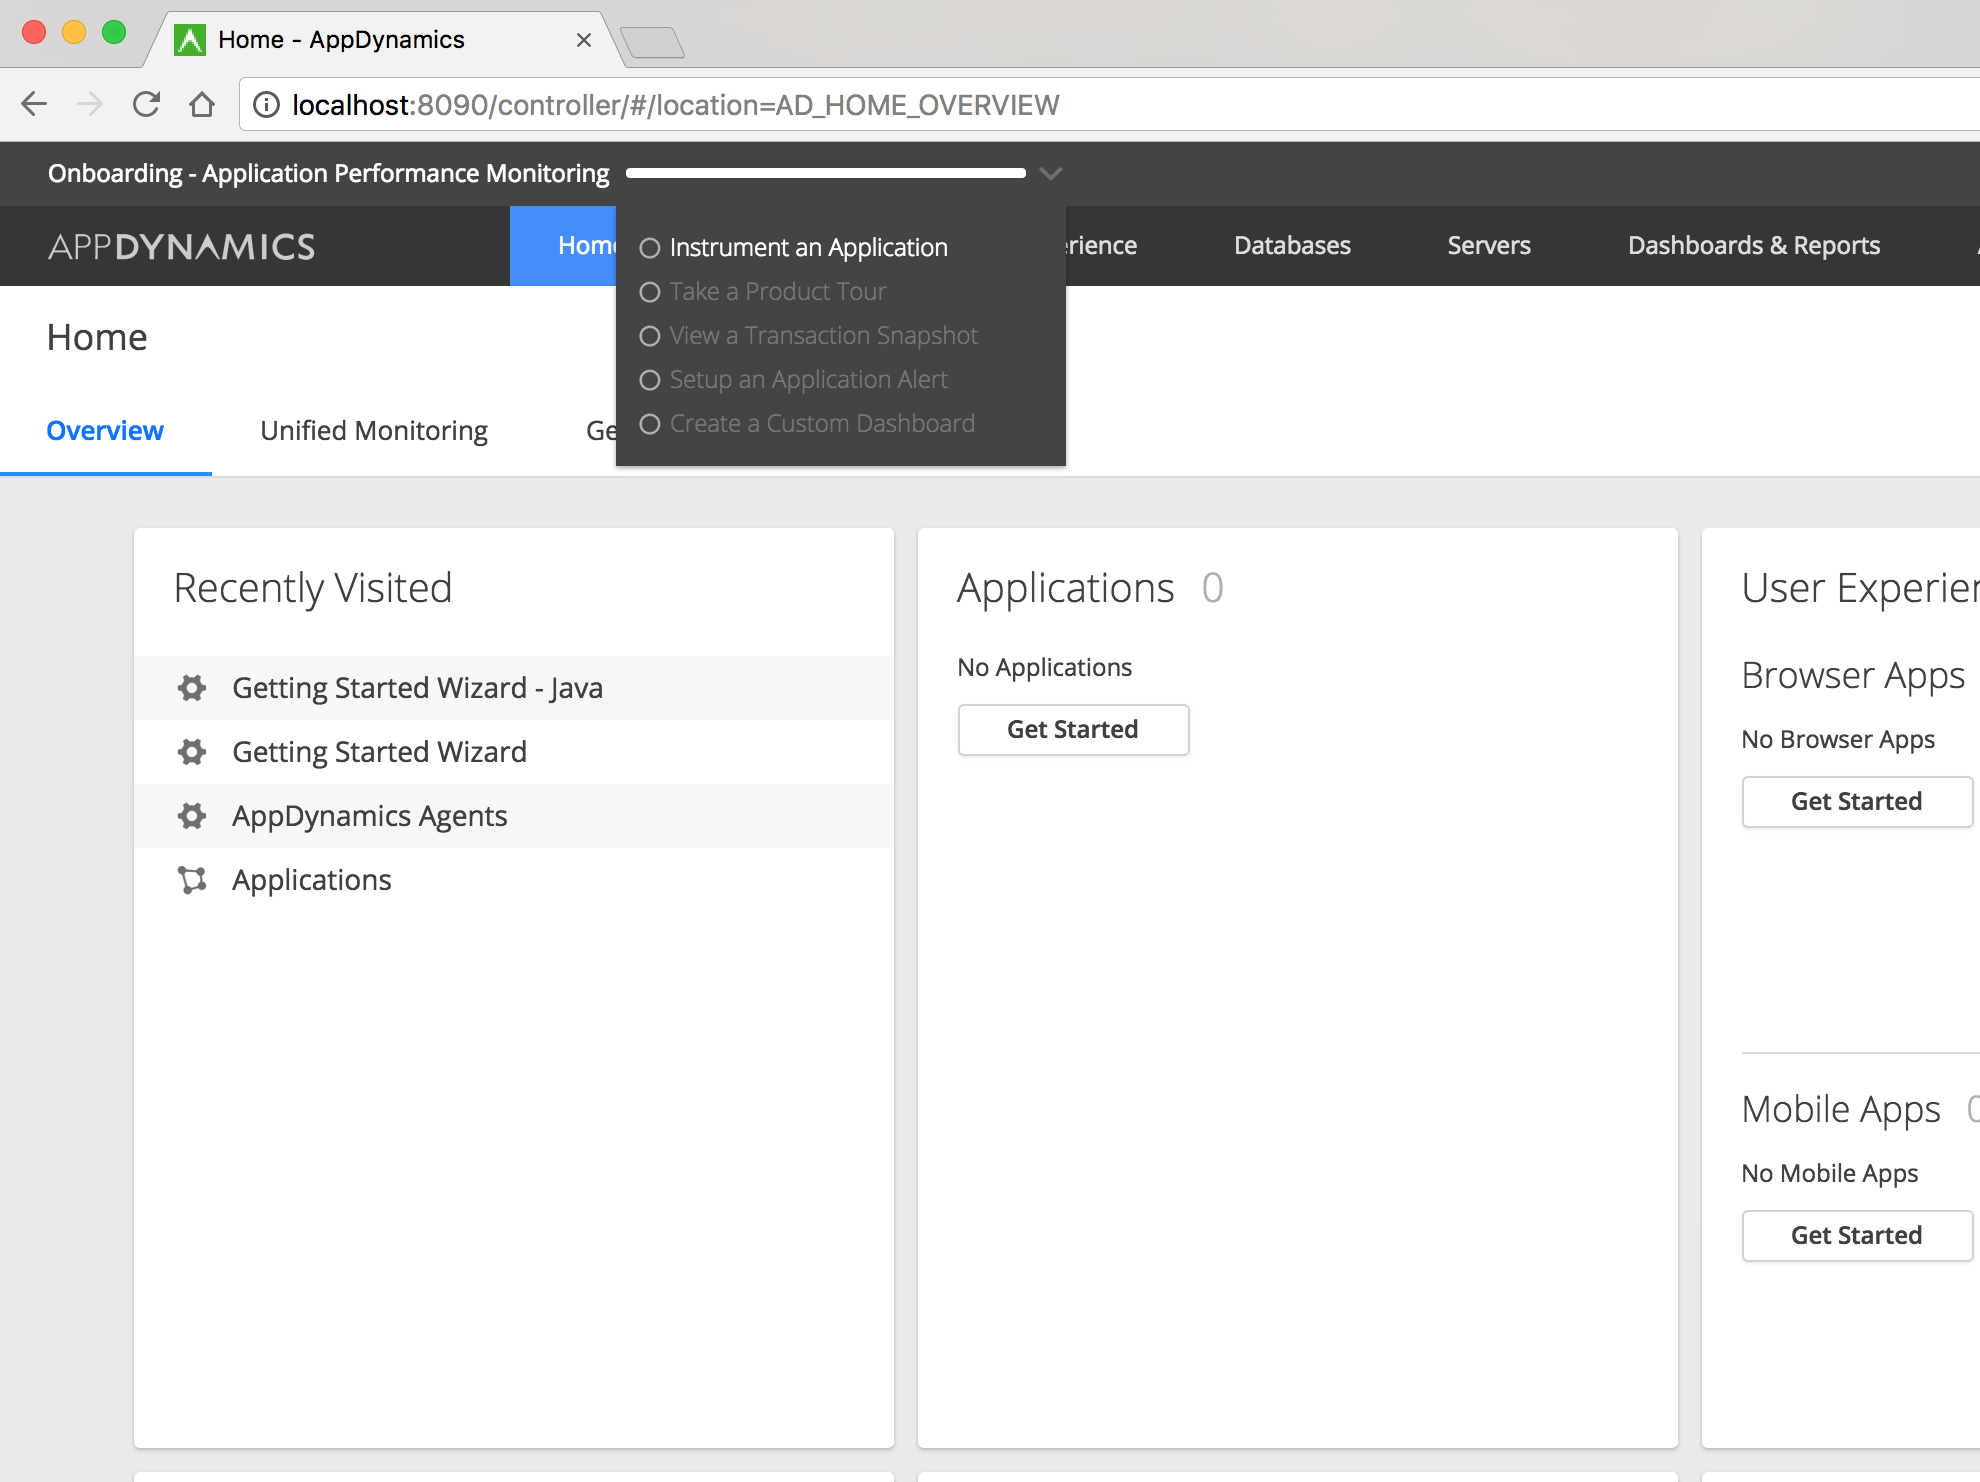
- First, use the download agent software wizard from the controller to obtain the agent software. To do this, login to controller UI (http://localhost:8090/controller). Click on the down arrow next to the Onboarding – Application Performance Monitoring at the top and select Instrument an Application
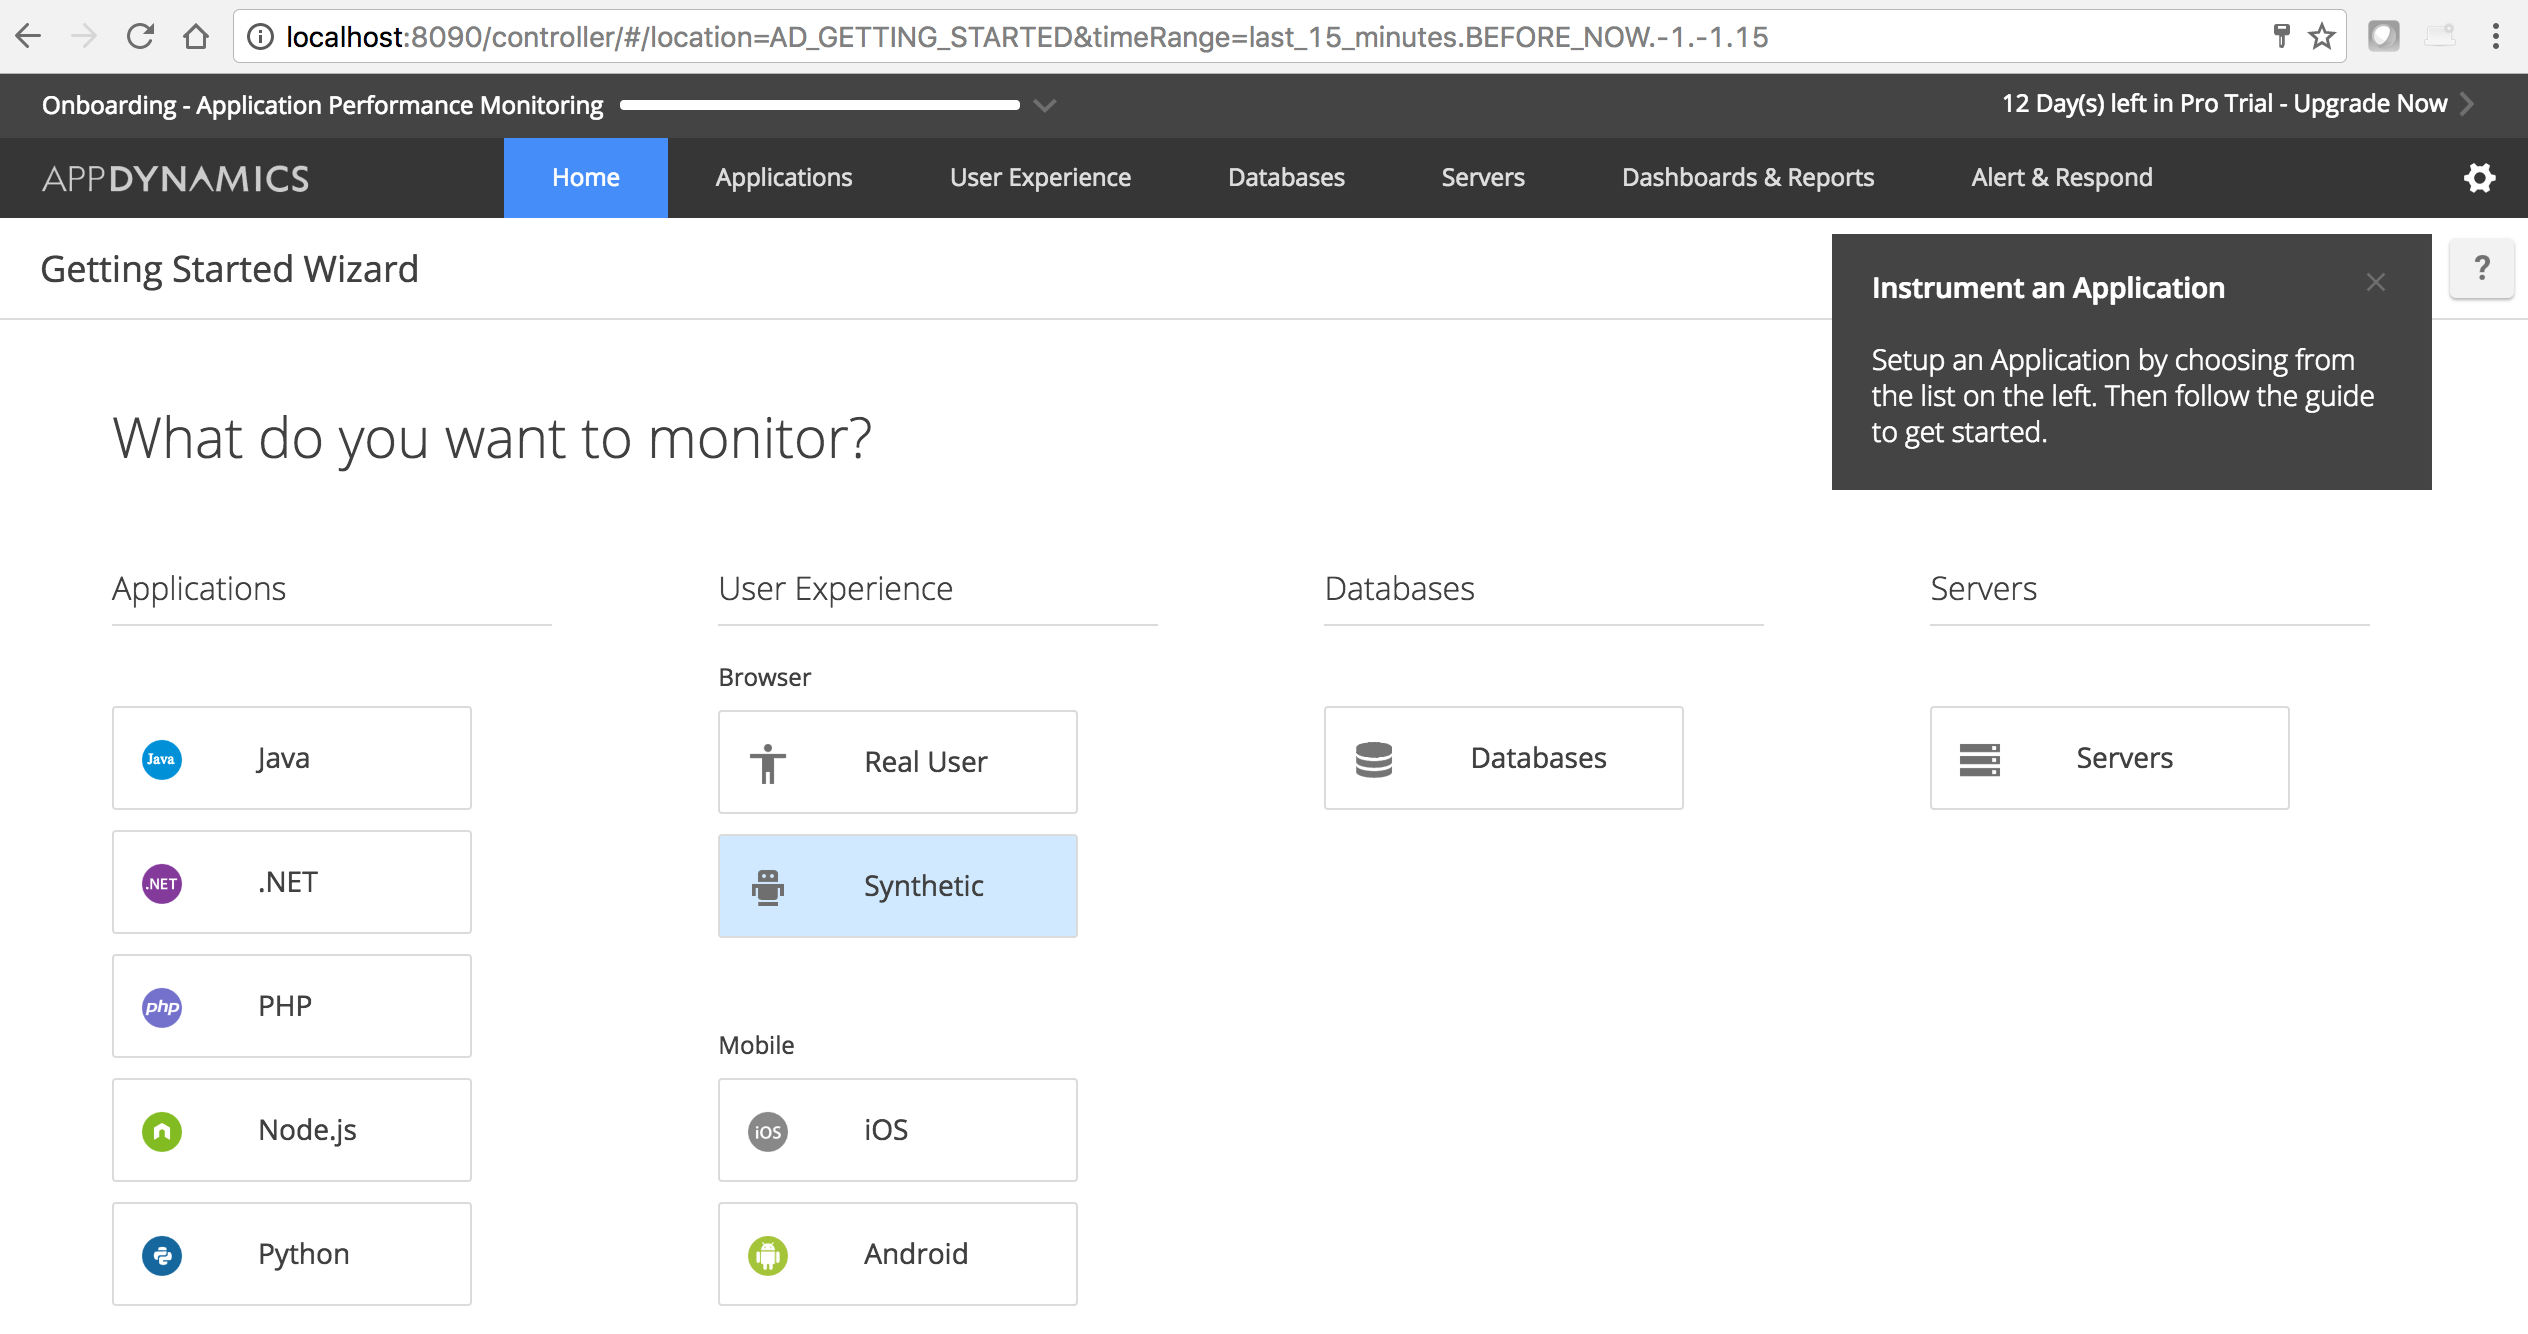
2. Click on Java
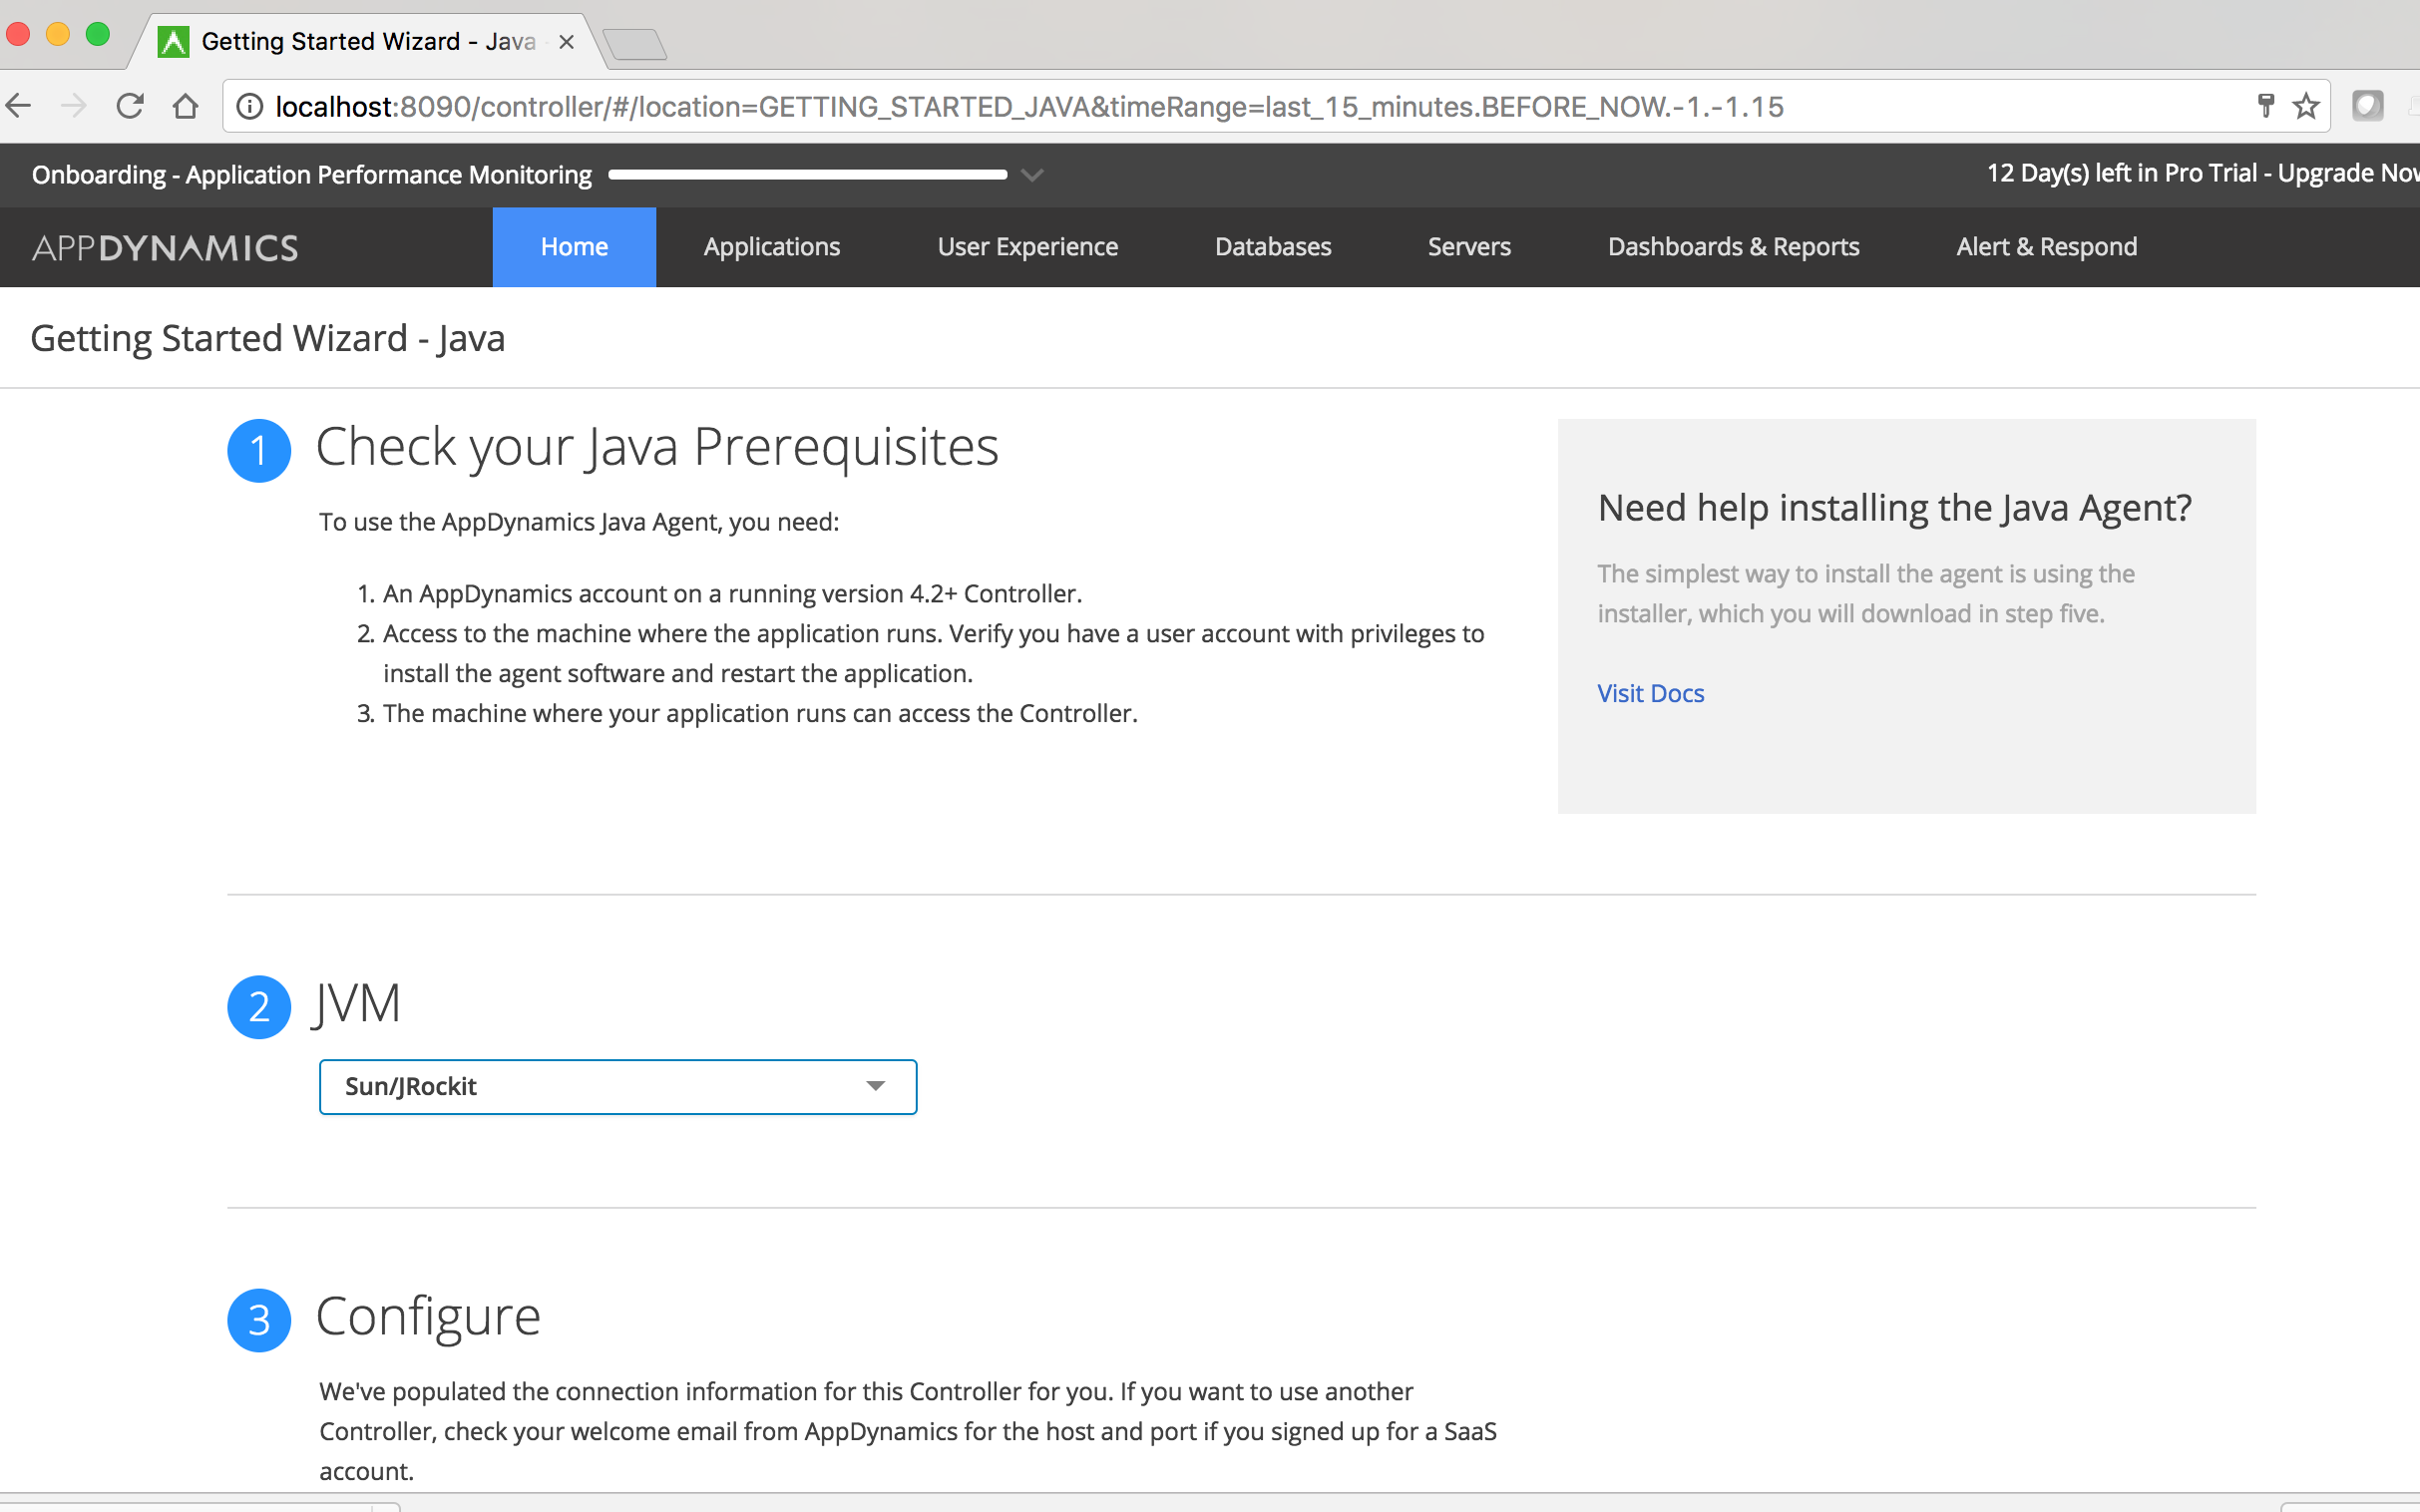
3. Select the JVM
4. Scroll down and click on Click Here to Download button. The agent software zip file will be downloaded.
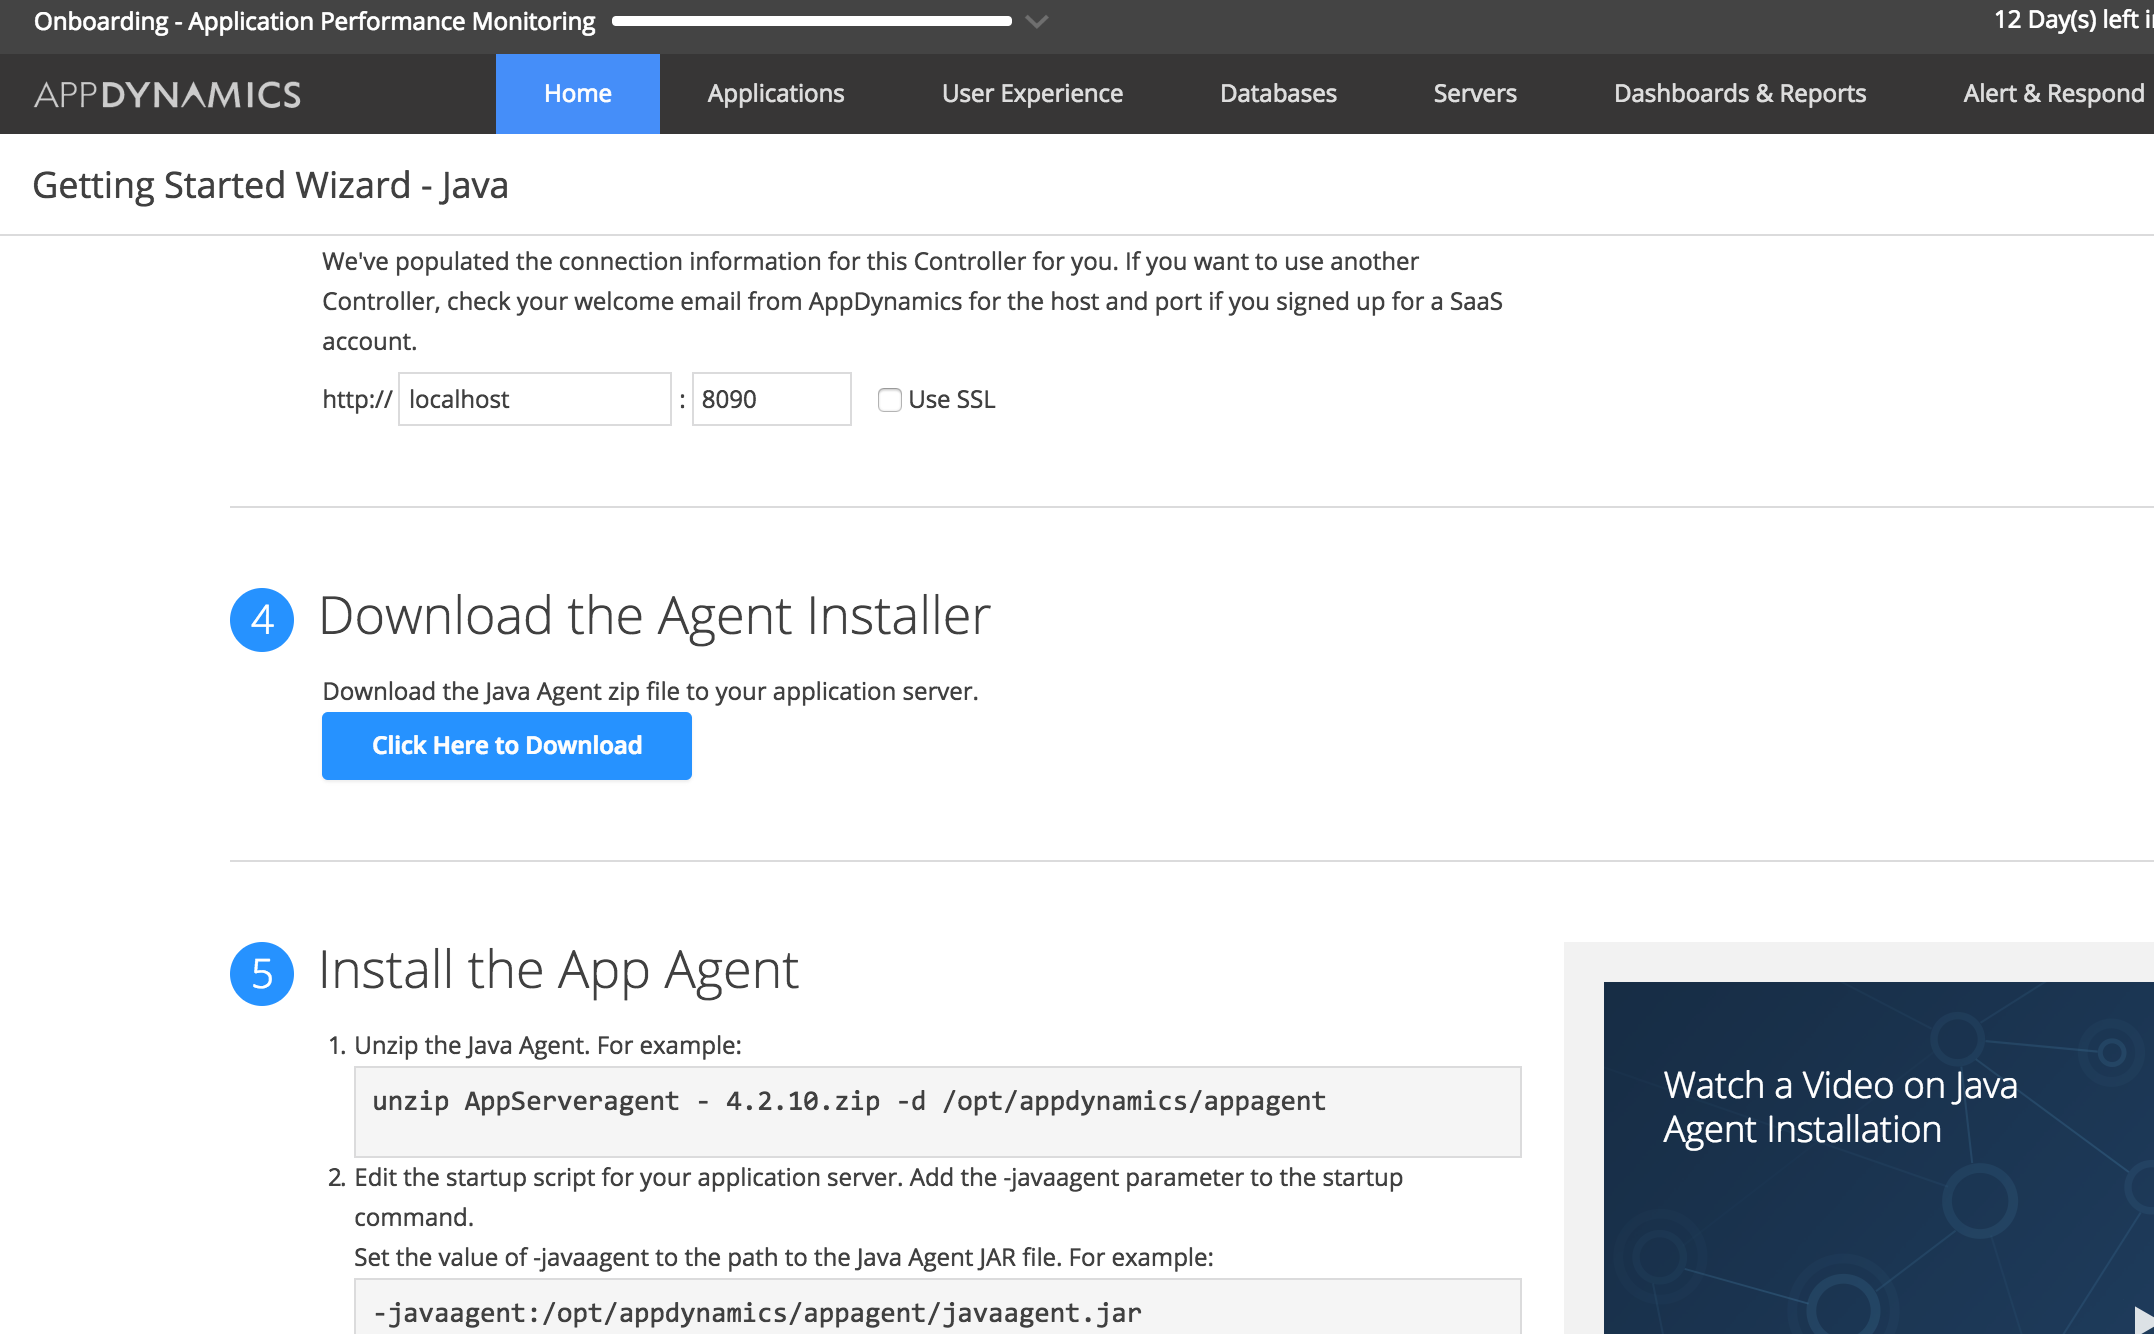
5. Copy the zip file to the target application server and unzip it under /opt/appdynamics/appagent (You can pick any location you want)
Note: You don’t have to be root but you need to have access to update application server configuration files and able to restart tomcat
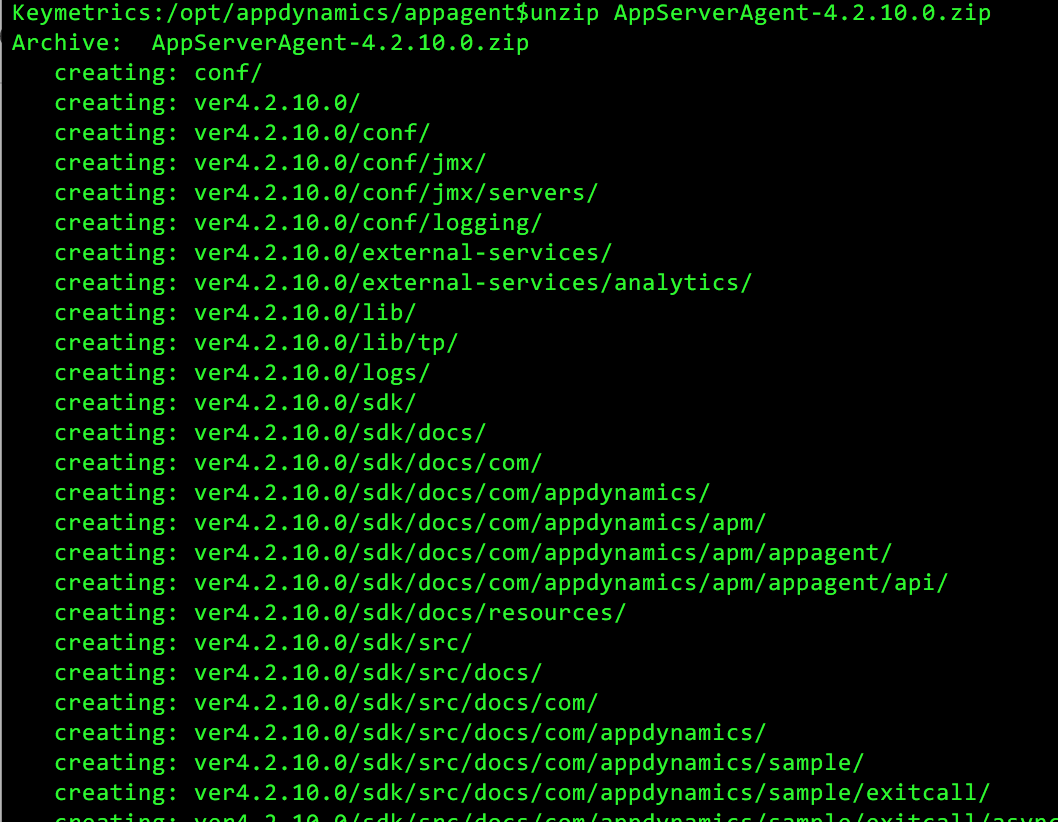
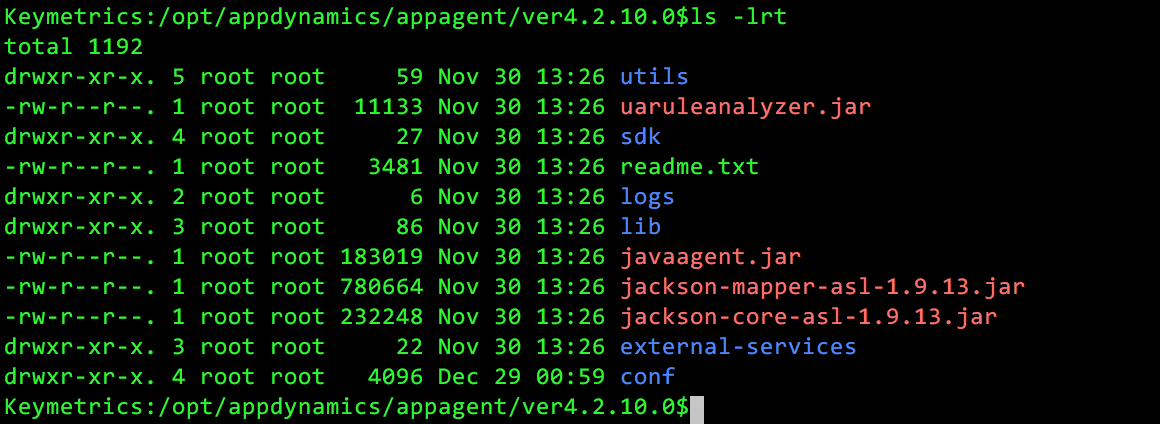
6. Once unzip completes, you will see the following directory structure under ver4.2.10.0
7. The most important file in the agent software is the conf/controller-info.xml. This file stores the Controller configuration.
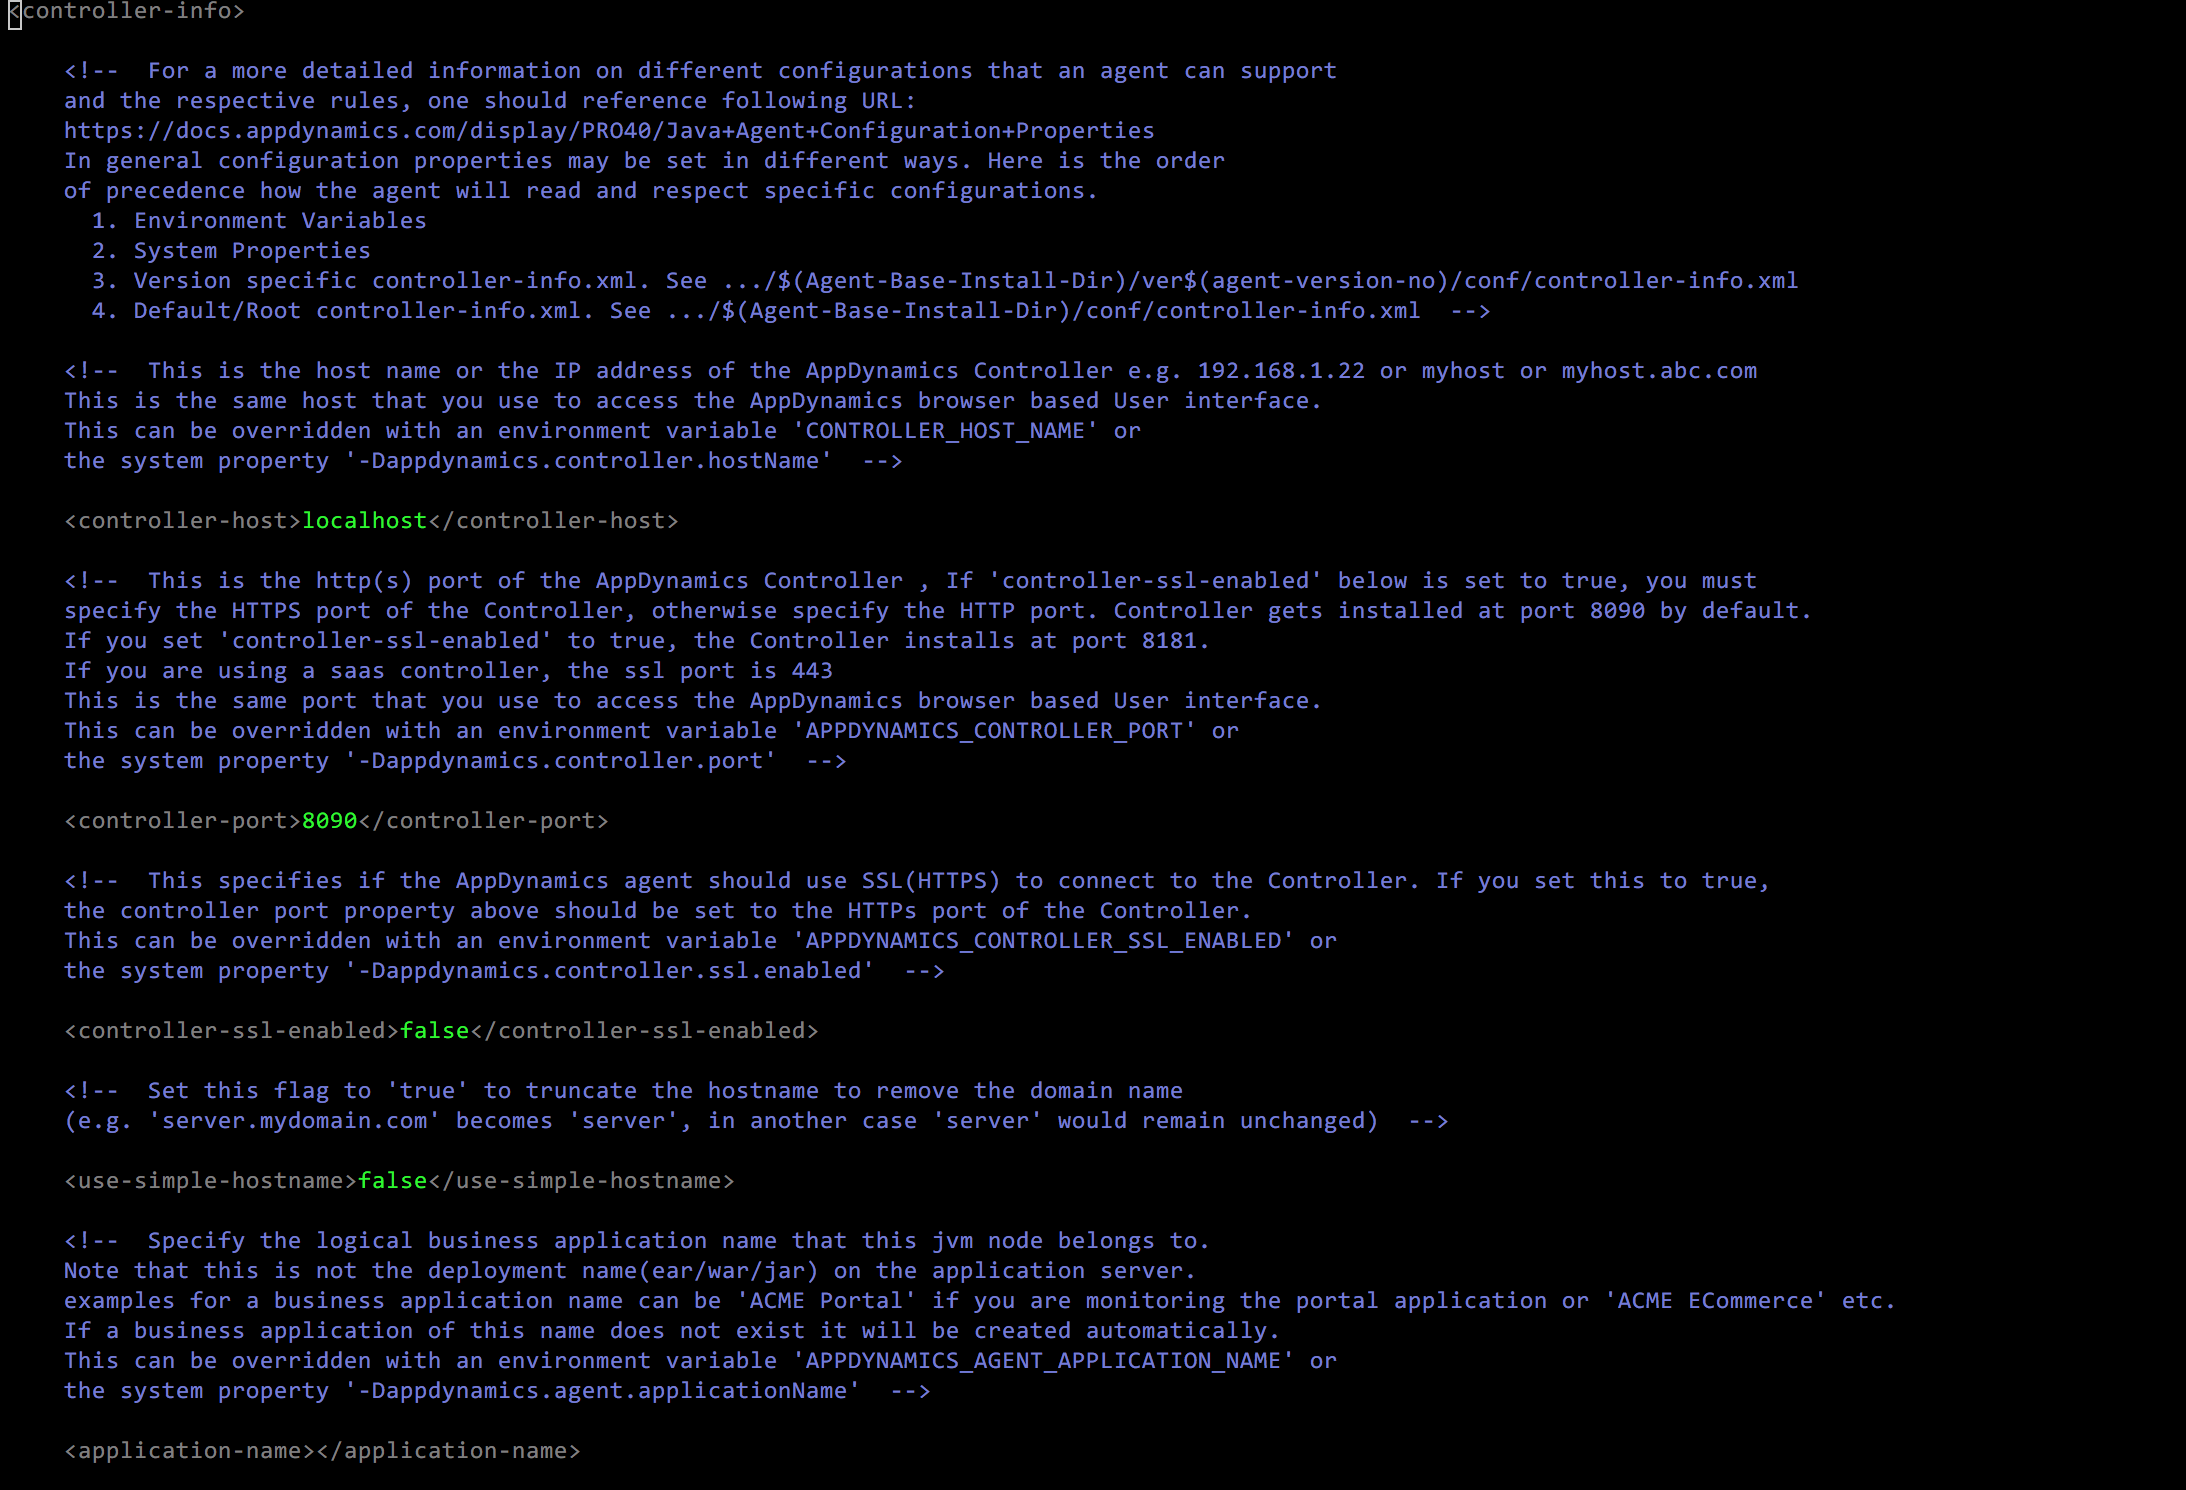
Open this file and make sure the following values are correct.
controller-host – Hostname/IP of the AppDynamics Controller
controller-port – Port number where AppDynamics Controller is listening on. Default is 8090
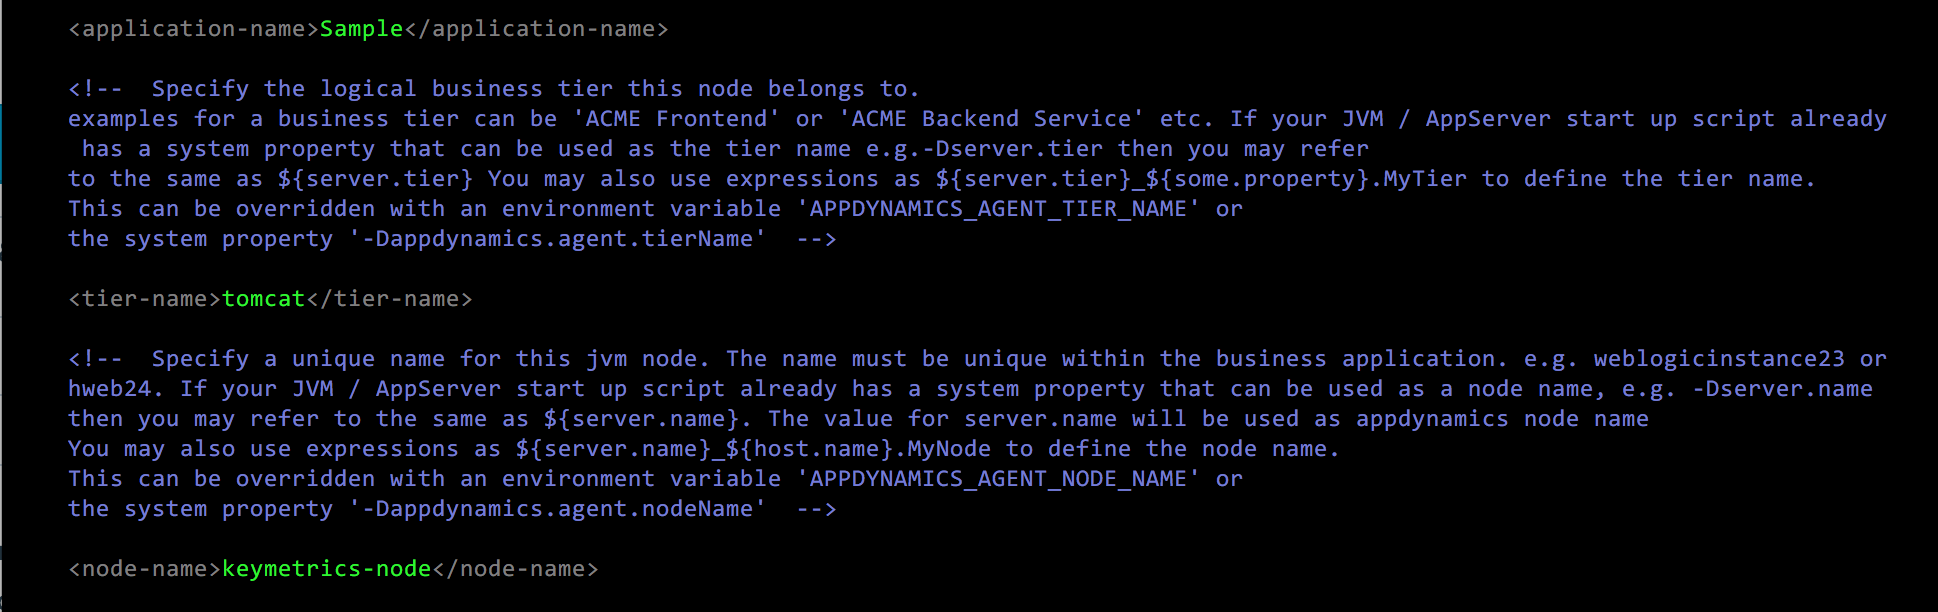
application-name – Business Application name. This is the highest level of organization of monitoring Metrics
tier-name – Specific subsystem of the Application (for example, front-end)
node-name – the host that is running the JVM
For example:
8. For tomcat, create a file named setenv.sh in the CATALINA_BASE directory (typically /usr/share/tomcat) and save the following contents
export CATALINA_OPTS="$CATALINA_OPTS -javaagent:/opt/appdynamics/appagent/ver4.2.10.0/javaagent.jar"
9. Restart tomcat
systemctl stop tomcat
systemctl start tomcat
10. That’s it. As the application server starts up, it will load appdynamics and instrument the application. You can check the appdyanmics agent log files in the location //logs directory
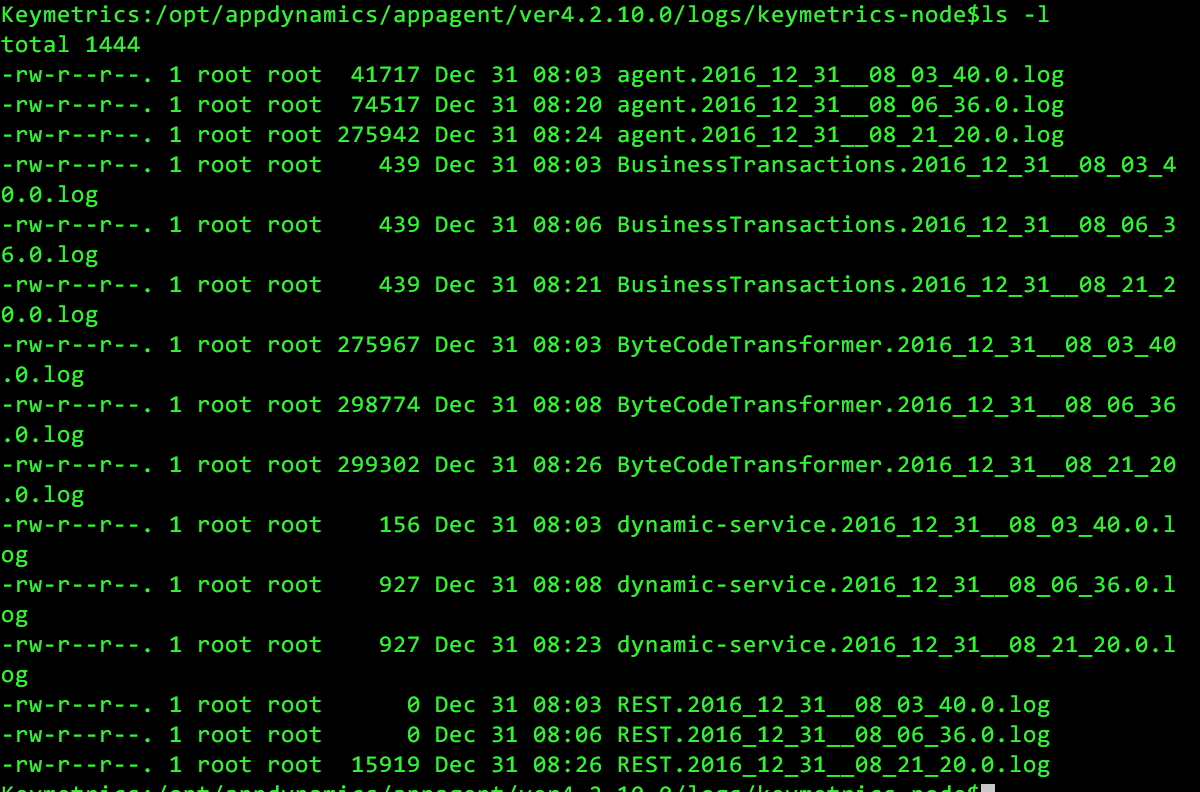
Note: If you do not see any log files created there, there is a problem. First, ensure that the user running the application server has write access to the appdynamics home directory and all files/directories under it. Second, ensure that the -javagent parameter is indeed showing up in the command line of the application server that is running. For example, run the following command

You can see the -javaagent parameter in the command line.
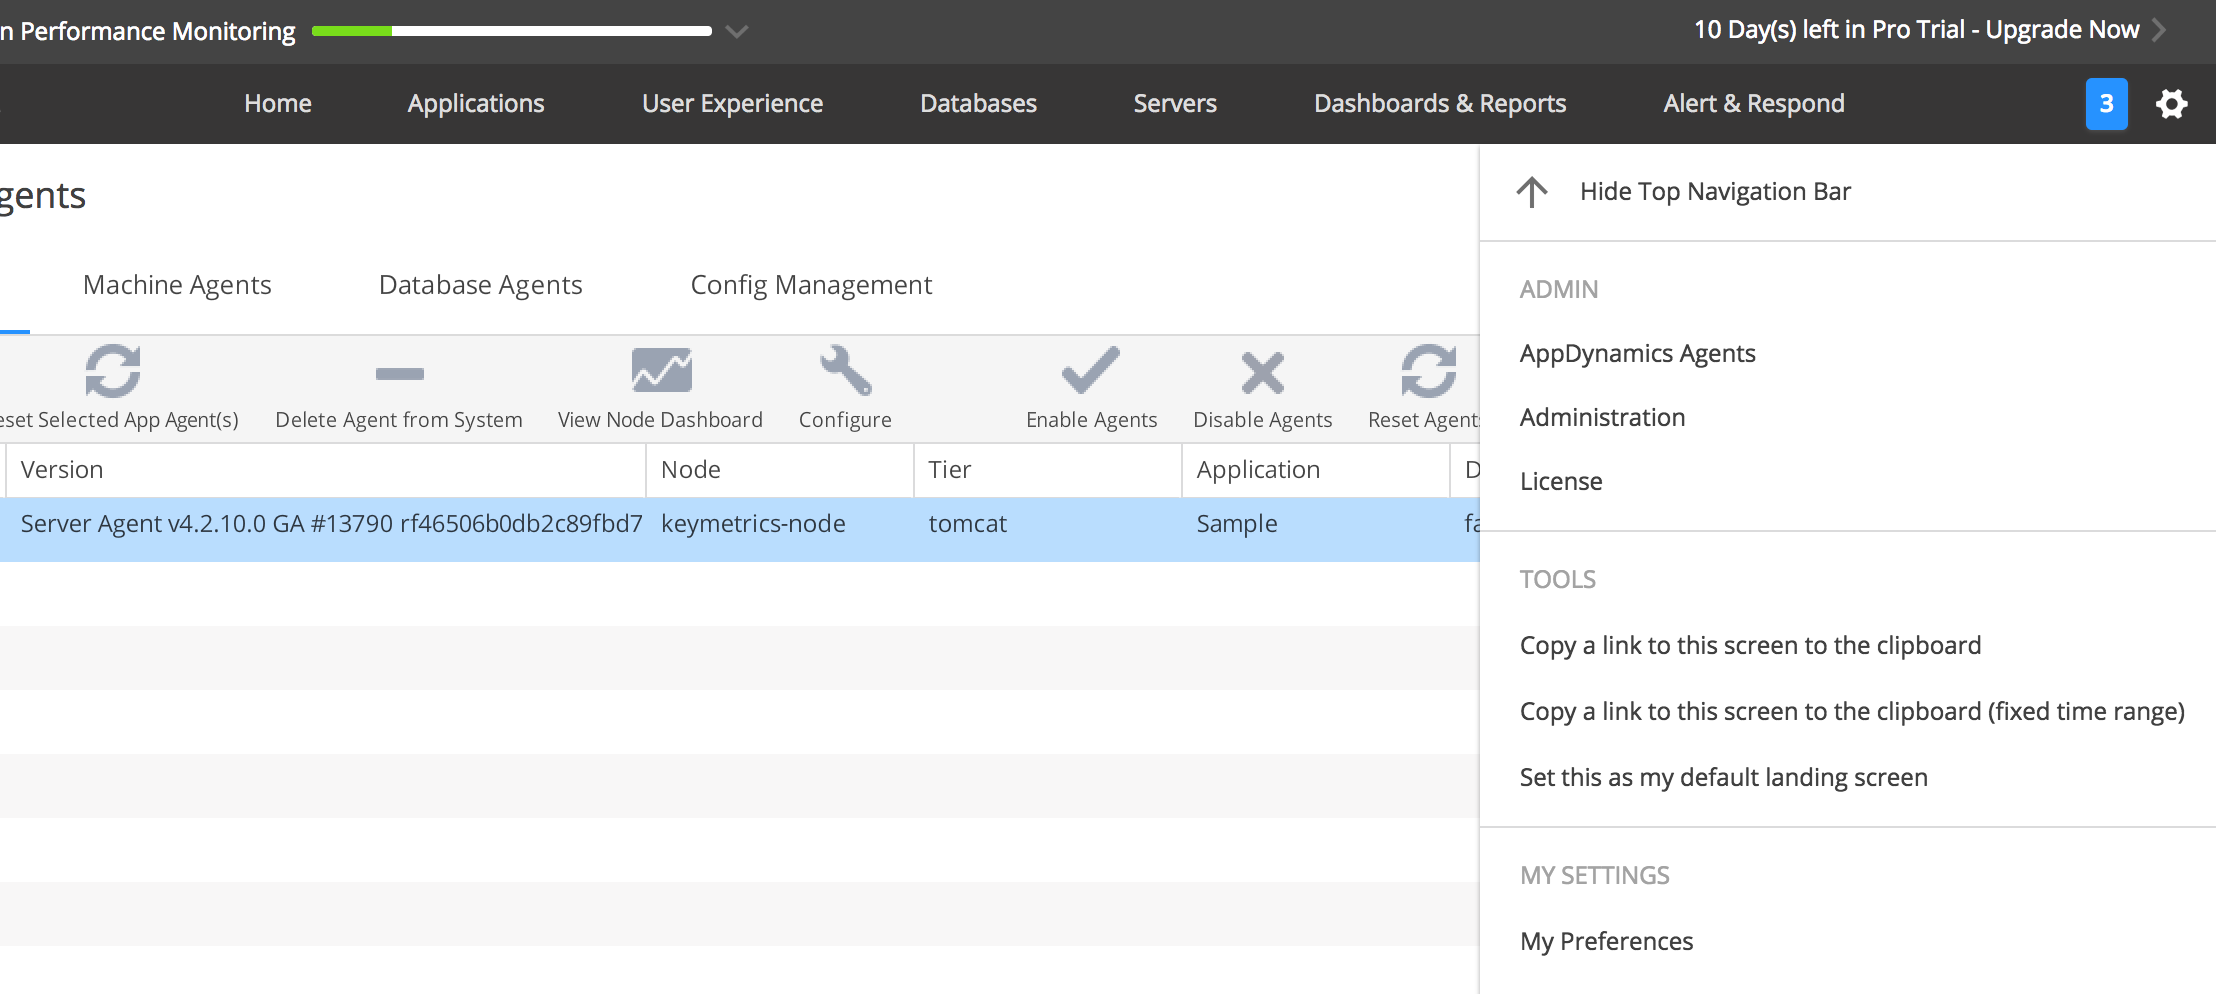
11. Now go back to the controller UI and see if the agent shows up under AppDynamics Agent. To do this, click on the Gear icon at the top right and choose AppDynamics Agent.
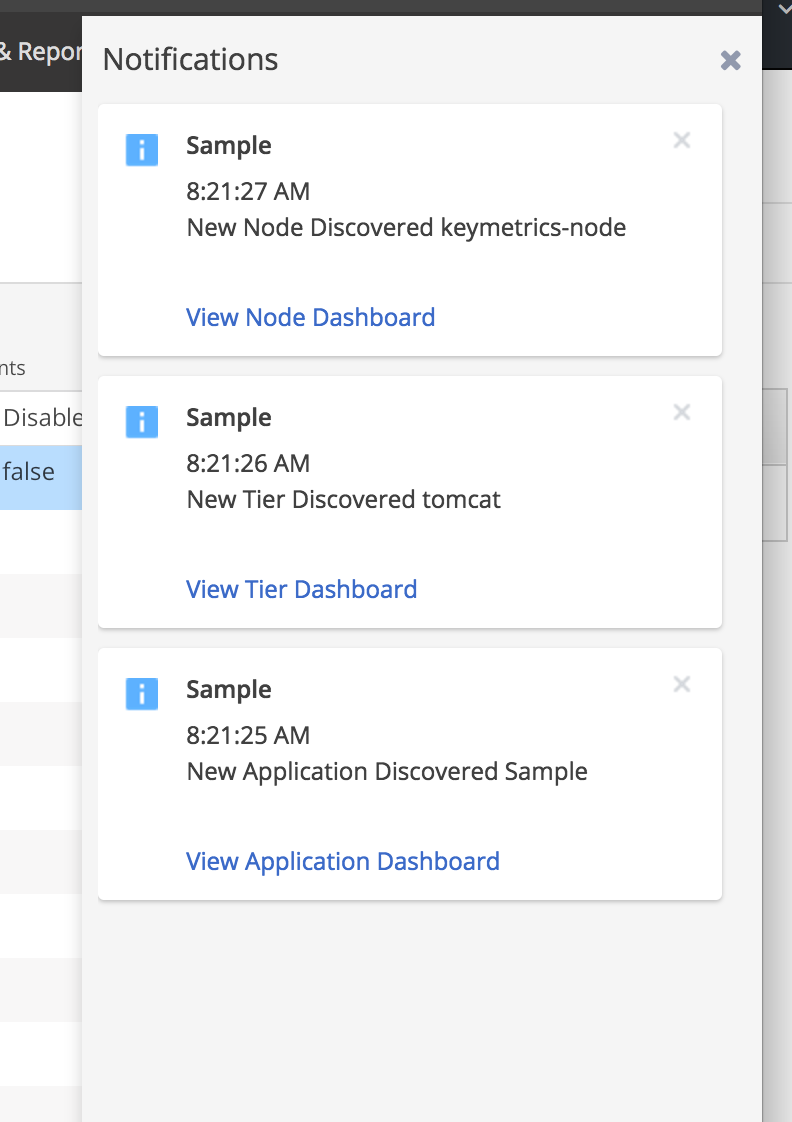
12. You can also click on the blue square at the top to see the notifications. In the screenshot above it shows there are 3 notifications. Let’s see what they are.
13. Go to the Application tab and you should see our newly minted Application there
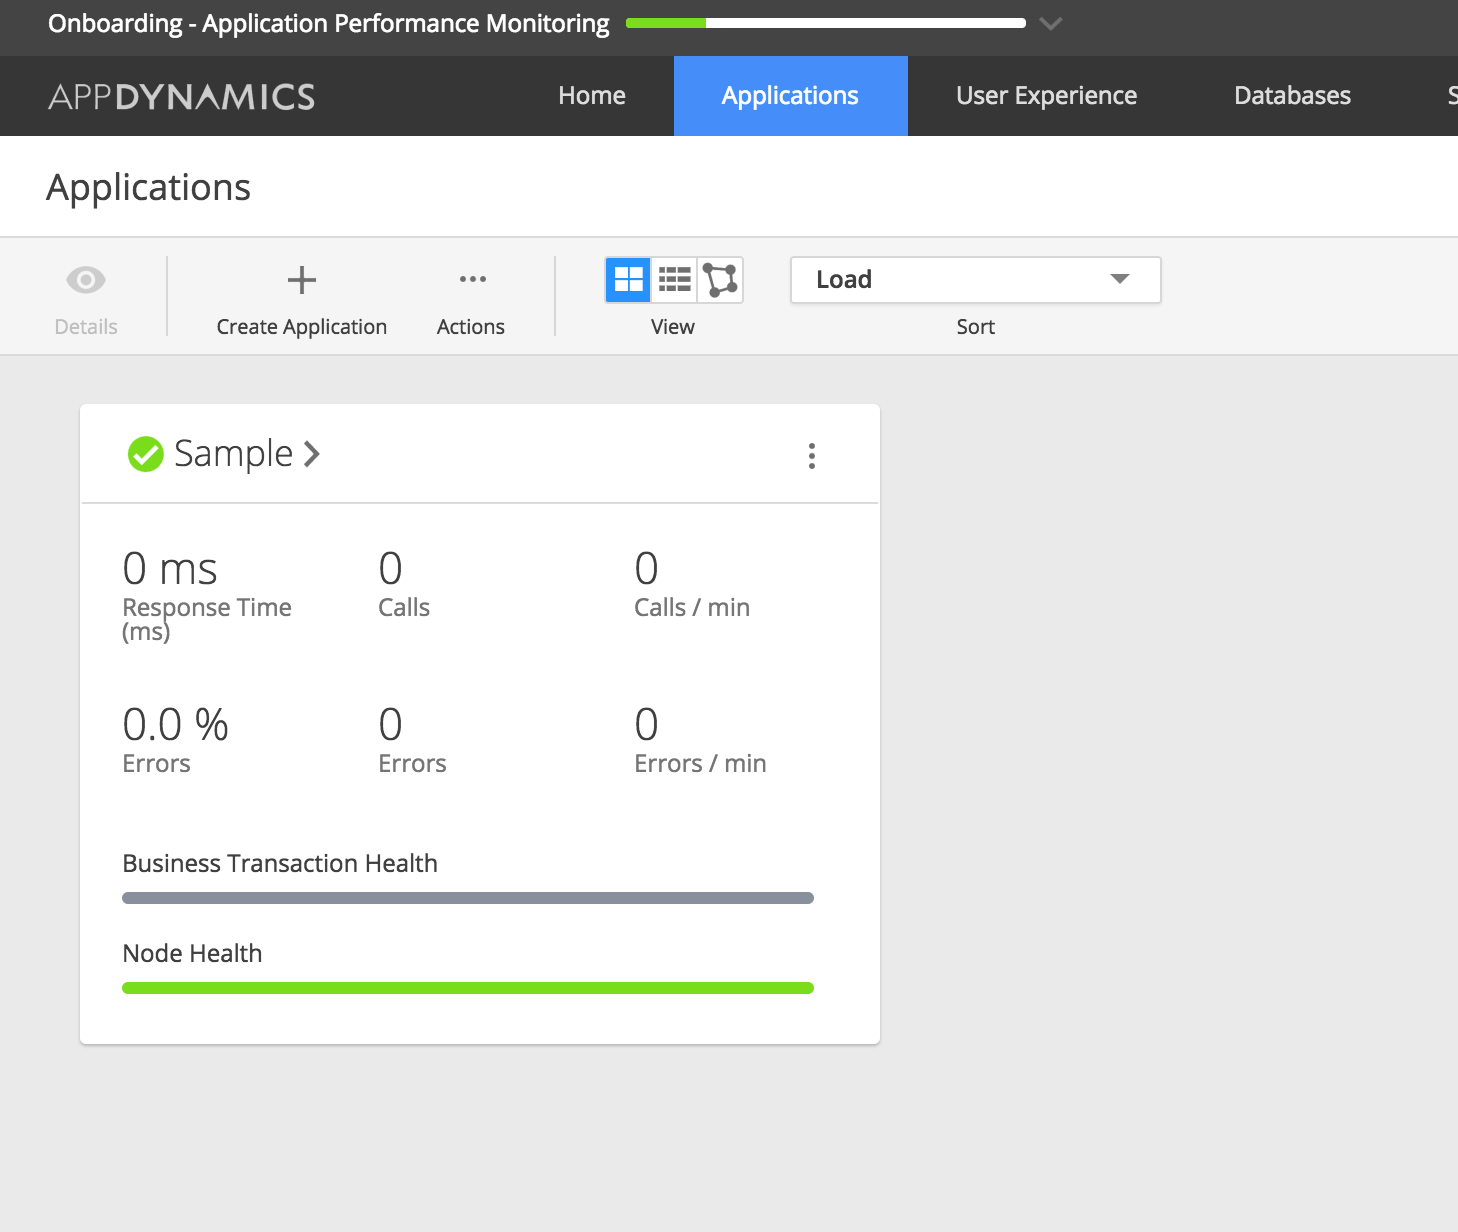
14. Now you are ready to rock and roll and do some serious APM stuff. As you can see from the above screenshot, there are no transactions yet (0 calls). But in the upcoming posts, we will generate some traffic and see all the good stuff.
how do you copy over a file to the target server? i’m trying to follow your steps, but confused on that one.
Hi, Jarron.
Copying the agent software to the target application server is an inevitable step. The target server must have access to the agent software. How you copy depends on your OS – Linux or Windows. You can use scp or ftp, or simple drag/drop in the Windows world. If you have some config management tool such as Chef, Puppet or ansible, you can use them to copy the file too.