Docker is changing – scratch that – Docker has changed the way applications are built, deployed and run. If you are completely new to Docker, I recommend reading my other post: What is Docker? An absolute beginner’s guide. There, in addition to explaining what Docker is, I walk you through how to create a docker container and run your application in it. In this post, let’s take a step further by creating a distributed service using Docker. In other words, let’s make Docker production-ready. You’ll learn the following
- What is docker-compose and how to create your first docker-compose.yml ?
- What is a docker swarm and how it provides a robust, scalable container platform ?
- How to create a docker swarm and deploy your application in it ?
- A working example along the way – end-to-end.
Sounds good ? Let’s jump.

Services
In general, a service performs one specific function of an application. For example, a frontend service could run a web server and host associated html/javascript files. A backend service could run the logic that retrieves data from a RDBMS. In the docker world, typically a service runs in one image. The game-changing advantage of running your services in Docker is that you can manage the run-time specifications (i.e how many instances to run, their network configuration etc) with ease and consistency.
A service is defined using docker-compose.yml file.
Create a docker image and publish
First, let’s create a simple application and dockerize it. We’ll then publish the image into docker public registry. We’ll use this image to create our highly-avaialble service.
Create a simple web application using Django
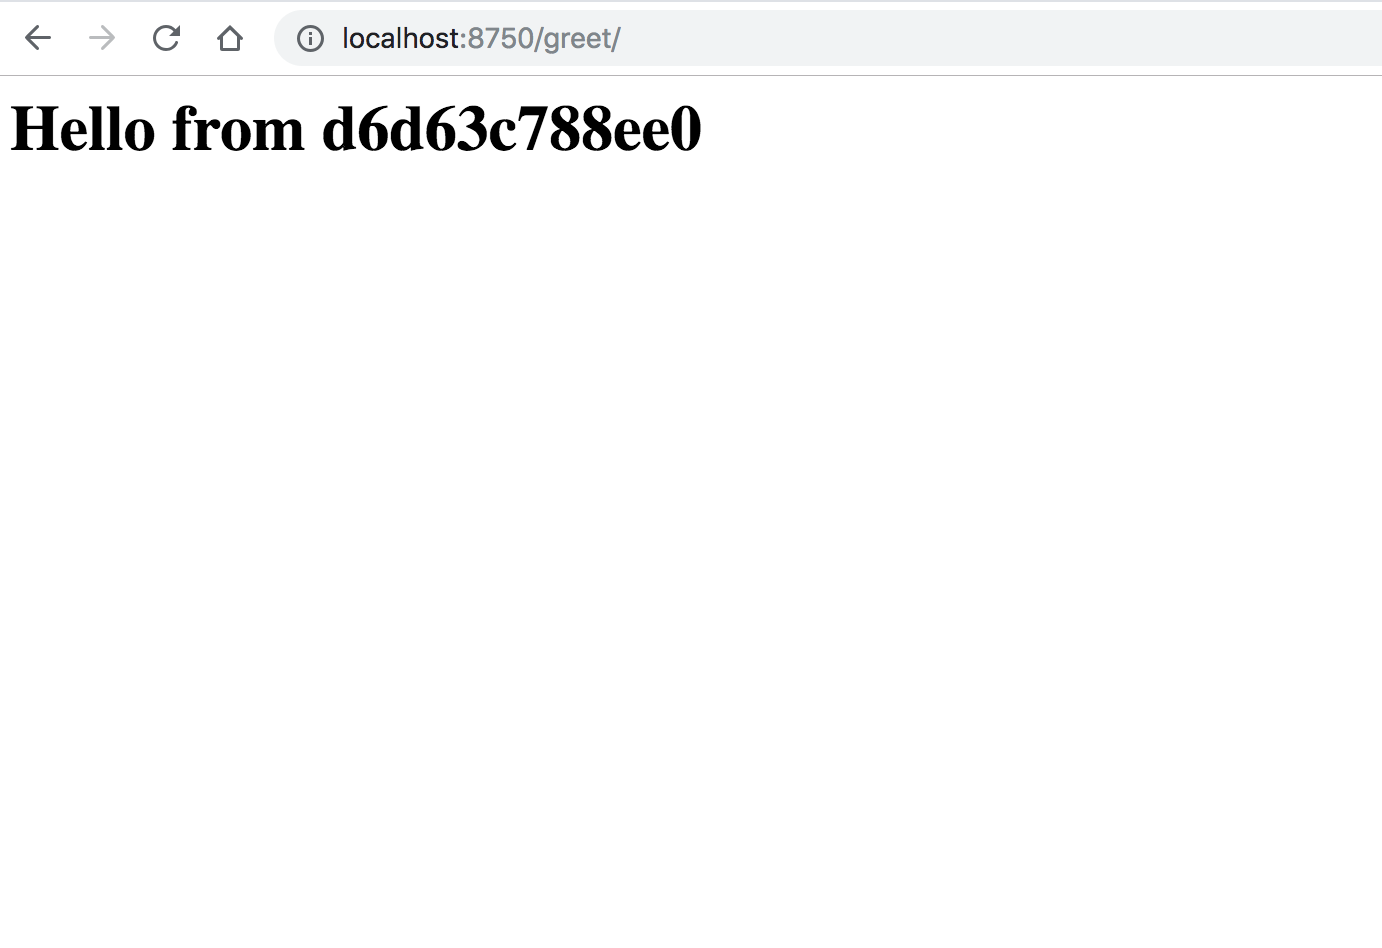
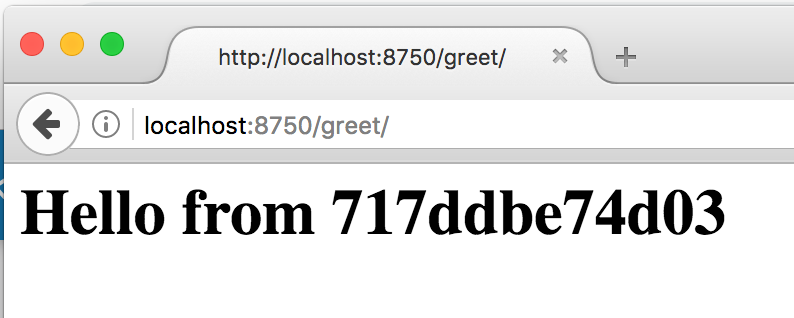
I am going to create a Django based web app. The app, when accessed through the browser, will simply show a greeting along with the hostname of the container that is running the app.
Note: Django is a Web Applications Framework written in Python that comes with a light-weight Web Server. Let’s not dwelve deep into Django itself. That’s a lesson for an another post. We’ll focus on docker aspects in this exercise. If you are totally new to Django/Python, simply follow the instructions below and not worry about understanding how the app works.
Create a new directory in your mac/pc/server and create your Dockerfile in that directory as show below:
mkdir /docker/services

cd /docker/services
Dockerfile
FROM python:3

# Install packages needed
RUN apt-get update && apt-get install -y vim \
 net-tools

ENV APPHOME /app
WORKDIR $APPHOME

# Installdependencies using pip
COPY requirements.txt .
RUN pip install -r requirements.txt

# Start Django Project named mysite
ENV PROJECT mysite
RUN django-admin.py startproject $PROJECT
WORKDIR $PROJECT

# Initialize DB. Needed for Django
RUN python manage.py migrate

# Create a Django App named greet.
RUN python manage.py startapp greet

# Copy application code into the container
COPY greet_views.py /$APPHOME/$PROJECT/greet/views.py
COPY greet_urls.py /$APPHOME/$PROJECT/greet/urls.py
COPY root_urls.py /$APPHOME/$PROJECT/mysite/urls.py

# Django's web server port (to be used with -p option of docker run command)
EXPOSE 8100

# Start Django Dev Server and listen on port 8100
CMD ["python", "manage.py", "runserver", "0.0.0.0:8100"]
Create the following files in /docker/services directory (along side your Dockerfile)
requirements.txt
Django
root_urls.py
from django.urls import include, path
from django.contrib import admin

# URL mapping for the root web application.
urlpatterns = [
 path('greet/', include('greet.urls')),
 path('admin/', admin.site.urls),
]
greet_urls.py
from django.urls import path
from . import views

# URL mapping for the greet web application
urlpatterns = [
 path('', views.greet, name='greet')
]
greet_views.py
from django.http import HttpResponse
import socket

# Code for the greet web application.
# Simply return a string "Hello from <docker host>"

def greet(request):
 return HttpResponse("
Hello from ” + socket.gethostname() + “
")
The contents of /docker/services directory looks like the following:
$ ls
Dockerfile greet_urls.py greet_views.py requirements.txt root_urls.py
Build the image
$docker build -t services:0.1 .
Sending build context to Docker daemon 6.656kB
Step 1/16 : FROM python:3
 ---> 2cc378c061f7
Step 2/16 : RUN apt-get update &&

...

...

Successfully built e94f0a826994
Successfully tagged services:0.1
Verify by running ‘docker images’ command
$ docker images
REPOSITORY TAG IMAGE ID CREATED SIZE
services 0.1 2a579ec03eb2 13 minutes ago 1.01GB
Let’s run the image and make sure our Web Application works.
$docker run --rm --name services.0.1 -d -p 8750:8100 services:0.1

d6d63c788ee04fd696d42787a11d74b03eb3272f87100821cf77b504cd535493
As you can see, port 8750 in your host will be mapped to port 8100 of the docker container.
The option -d is used to run the container in daemon mode (background).
–name option lets us name the container.
–rm removes the container after it stops running.
Open a browser and access the url http://localhost:8750/greet
Nice going. Now that we have a working web application running in a container, let’s push this image in to the docker repository.
Push the image to Docker repository
If you haven’t already, create an account in hub.docker.com. Dont’ worry. It’s free.
From your host where you have created your image, login to the registry.
$docker login
Login with your Docker ID to push and pull images from Docker Hub. If you don't have a Docker ID, head over to https://hub.docker.com to create one.
Username: karunsubramanian
Password:
Login Succeeded
A note about registry, repository and images.
A registry is a collection of repositories. A repository is a collection of images (very similar to a github repository).
To publish your local image with a registry, it must be tagged using the following notion.
username/repository_name:tag
You use docker tag command to tag the image. You then use docker push command to upload the image to the registry.
$ docker tag services:0.1 karunsubramanian/services:0.1

$ docker images
REPOSITORY TAG IMAGE ID CREATED SIZE
karunsubramanian/services 0.1 2a579ec03eb2 22 minutes ago 1.01GB
services 0.1 2a579ec03eb2 22 minutes ago 1.01GB
python 3 2cc378c061f7 9 days ago 923MB

$ docker push karunsubramanian/services:0.1
The push refers to repository [docker.io/karunsubramanian/services]
bd5cef3332bb: Pushed
aacb6d22744f: Pushed
24df652c4452: Pushed
c4309a917050: Pushed
480af2c8533c: Pushed
eb7c1521159d: Pushed
358c2d48e709: Pushing [============================================> ] 33.22MB/37.15MB
a6fcae86bef7: Pushed
982e6426bcec: Pushed
0e172c08e25b: Pushing [===========================> ] 27.48MB/49.58MB
7f8f0e833e51: Mounted from library/python
a474157cdf60: Mounted from library/python
25465864233d: Mounted from library/python
d62f0ea9a15e: Waiting
9978d084fd77: Waiting
1191b3f5862a: Waiting
08a01612ffca: Waiting
8bb25f9cdc41: Waiting
f715ed19c28b: Waiting
...
Once the push completes, you can login at hub.docker.com to view the repository.
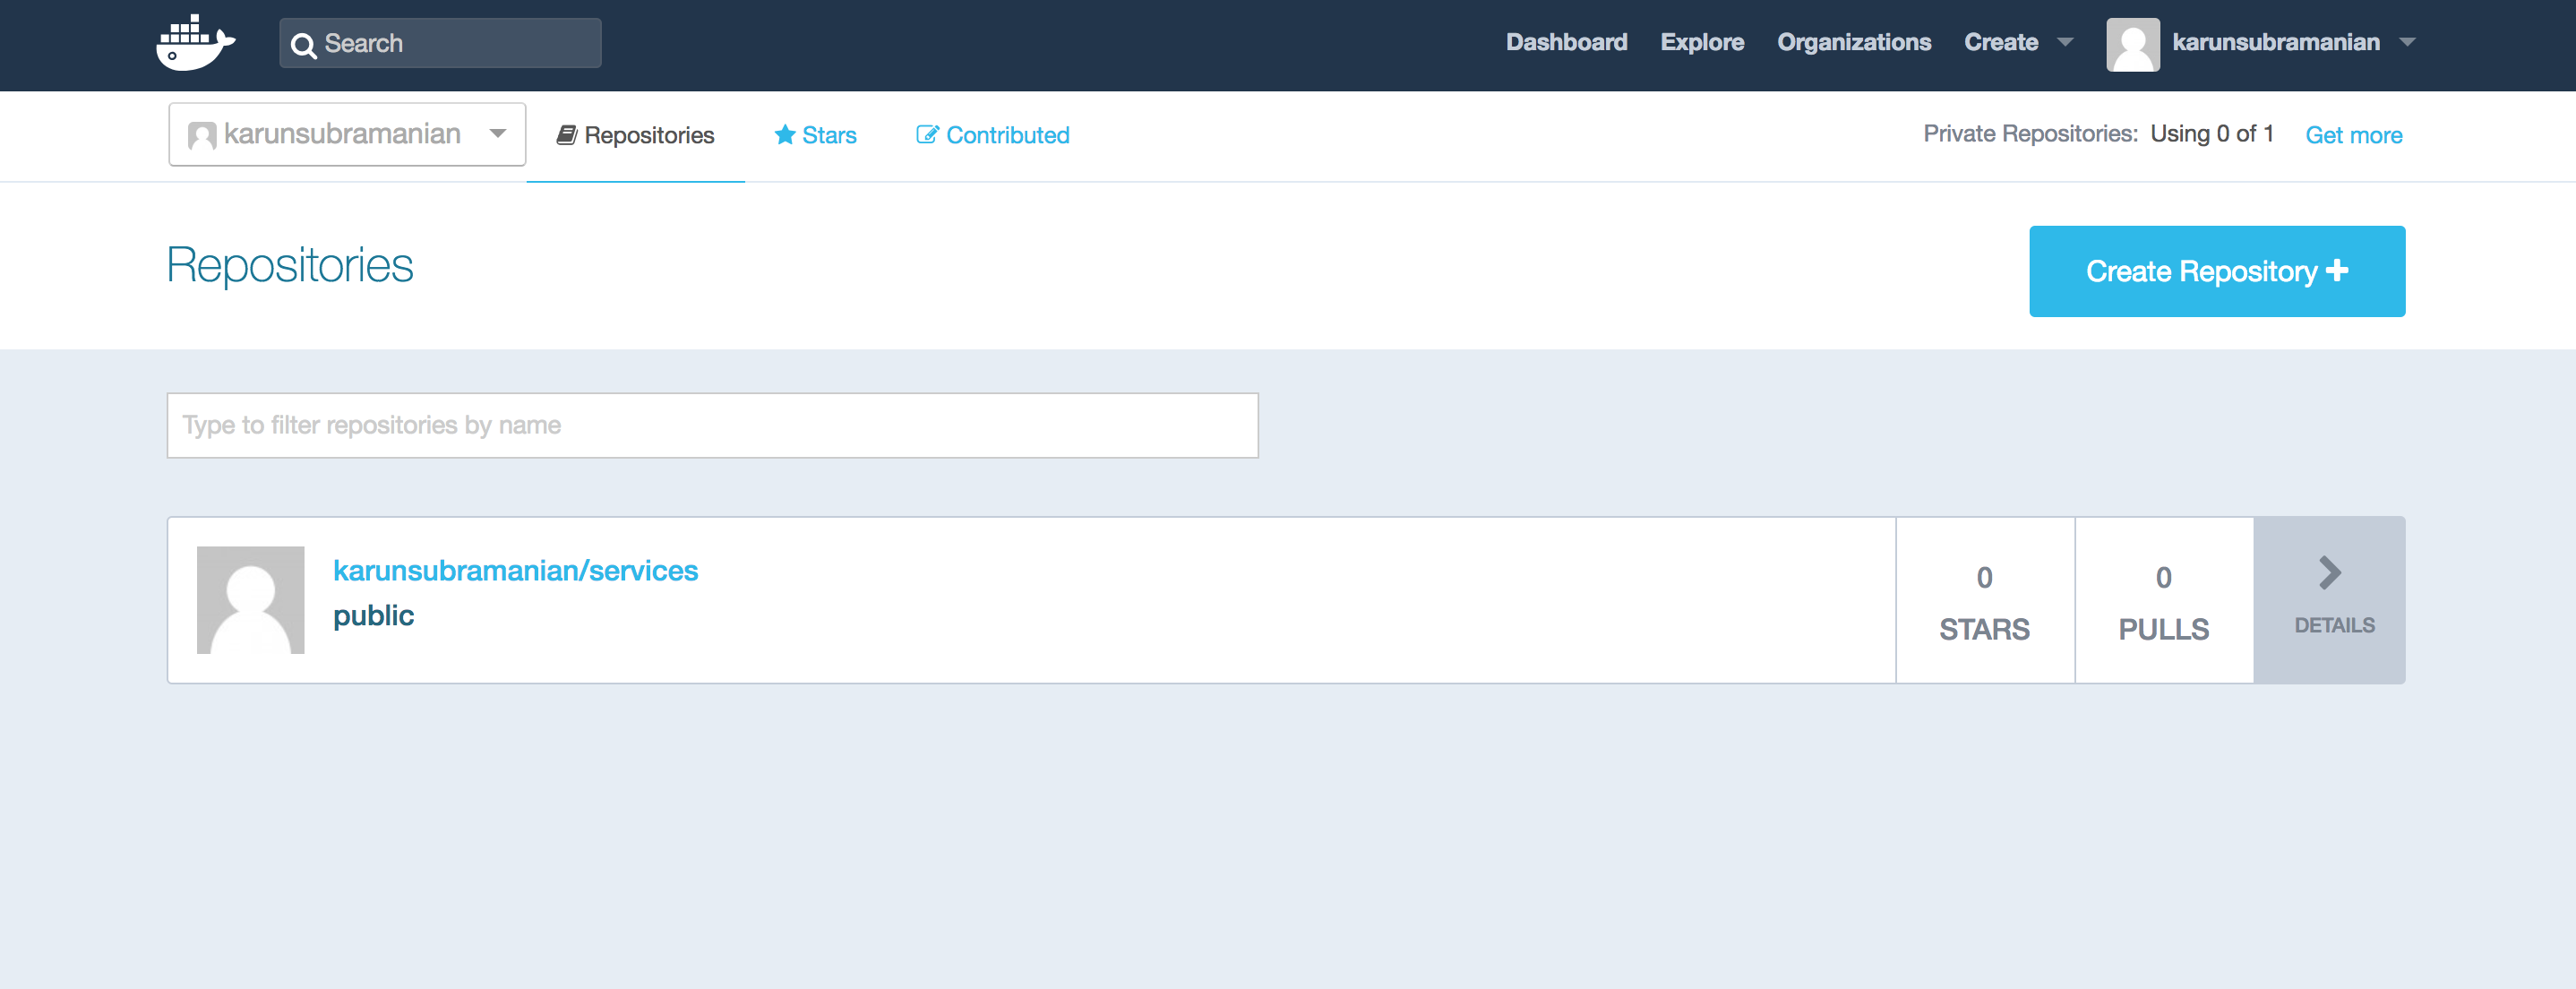
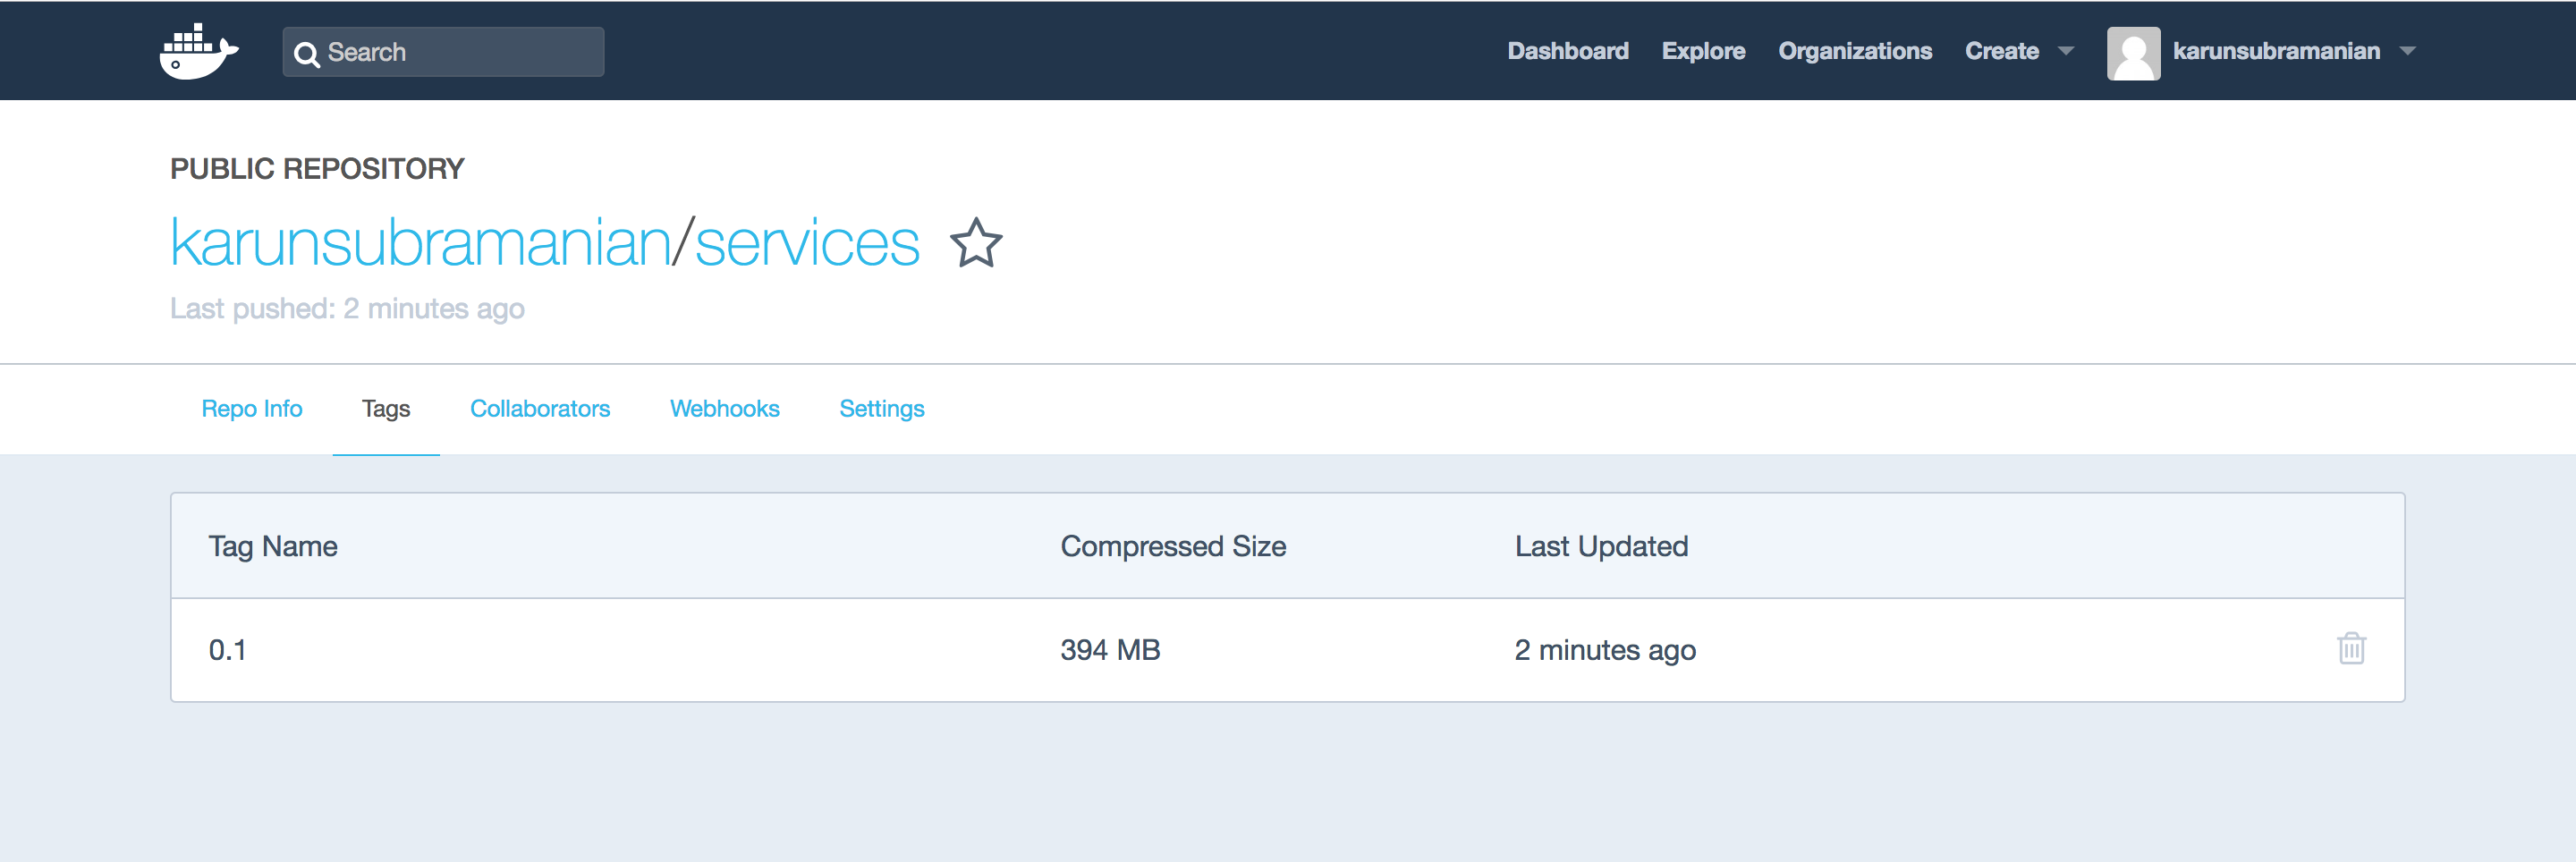
You can click on the repository and click on the tab tags to view the image.
Great. From now onwards, you can use this image from any system (as long as you have connectivity to hub.docker.com). If the image is not found in locally, docker will pull it from the registry (it’s that easy) 🙂
Note that you can host your own private repository in your Network using Docker Trusted Repository.
Now that we have the image published, let’s create our docker-compose.yml file which will codify the way we want to run the images.
docker-compose.yml
Create a file named docker-compose.yml with the following contents.
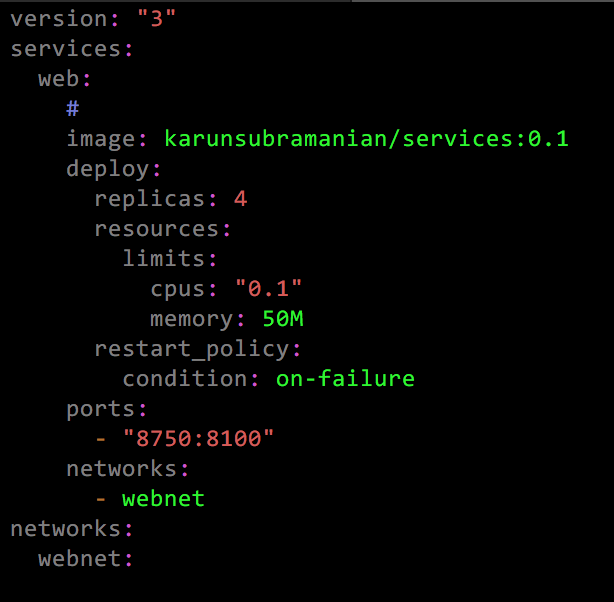
version: "3"

services:

  web:

    #

    image: karunsubramanian/services:0.1

    deploy:

      replicas: 4

      resources:

        limits:

          cpus: "0.1"

          memory: 50M

      restart_policy:

        condition: on-failure

    ports:

      - "8750:8100"

    networks:

      - webnet

networks:

  webnet:
If you haven’t used yaml (YAML Ain’t Markup Language) before, you should know that yaml is particular about indentation (Python style). Here is a screenshot of the docker-compose.yml
Before using the distributed docker containers, you must first initialize swarm. More on this in shortly. For now, simply run the following command.
$ docker swarm init
Swarm initialized: current node (0v5ghxcox1gc35wxmnashbc32) is now a manager.

To add a worker to this swarm, run the following command:

docker swarm join --token SWMTKN-1-59gx9okd1xda4dmkn4vmofo00l3thfo9vekvots8wcnixan71k-coy7gsnnvllt235u66nq6l3fg 192.168.65.3:2377

To add a manager to this swarm, run 'docker swarm join-token manager' and follow the instructions.
Next, you use the docker stack command to deploy the docker-compose.yml that you created earlier. You must give this deployment an application name. I use ‘greetWeb’ as the application name below.
$ docker stack deploy -c docker-compose.yml greetWeb
You did it. You are actually running a service named greetWeb that has 4 instances of your application, each of them running in a container. Let’s examine.
$ docker service ls
ID NAME MODE REPLICAS IMAGE PORTS
n4glcki1o4ie greetWeb_web replicated 4/4 karunsubramanian/services:0.1 *:8750->8100/tcp
$ docker service ps greetWeb_web
ID NAME IMAGE NODE DESIRED STATE CURRENT STATE ERROR PORTS
lrjoia8315f7 greetWeb_web.1 karunsubramanian/services:0.1 linuxkit-025000000001 Running Running 3 minutes ago
ufmnczg32tsi greetWeb_web.2 karunsubramanian/services:0.1 linuxkit-025000000001 Running Running 3 minutes ago
ai9ir0pjhws4 greetWeb_web.3 karunsubramanian/services:0.1 linuxkit-025000000001 Running Running 3 minutes ago
45amqi3wsavm greetWeb_web.4 karunsubramanian/services:0.1 linuxkit-025000000001 Running Running 3 minutes ago
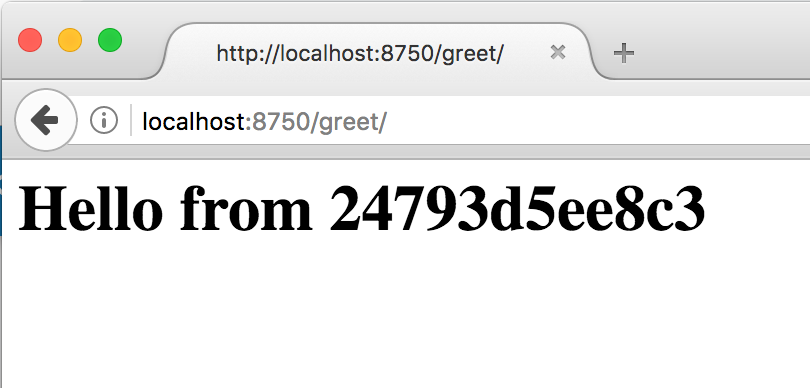
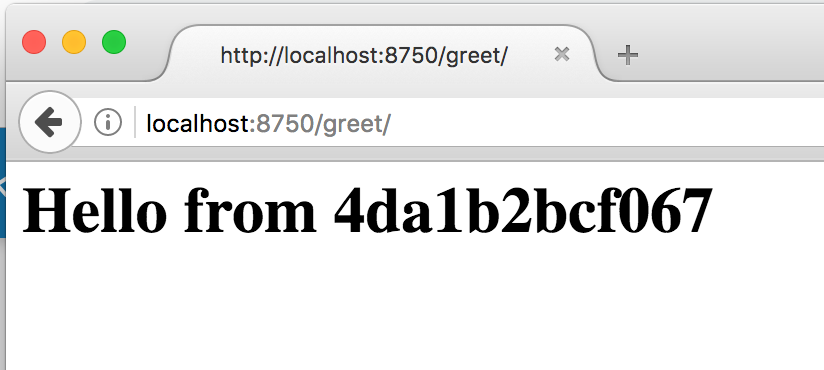
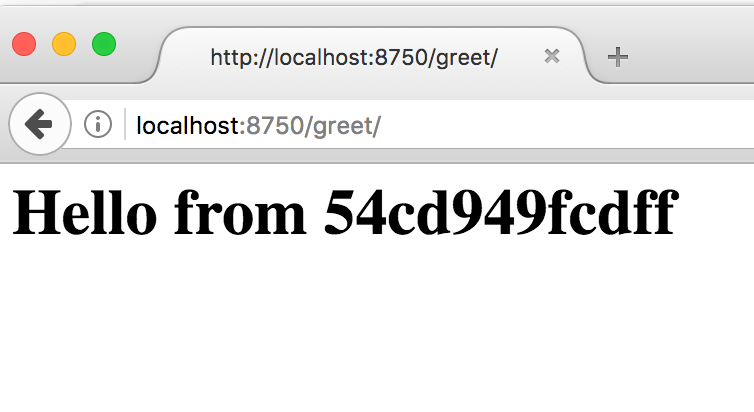
Fabulous. Let’s hit the web application and make sure you use all the 4 instances. Eveytime you hit the URL, you should see a different host name.
Now, if you need to increase or decrease the number of replicas, all you need to do is update your docker-compose.yaml and rerun the docker stack deploy command. Docker does not tear down the cluster, instead it performs in-place update. SWEET !
$ docker stack deploy -c docker-compose.yml greetWeb

Updating service greetWeb_web (id: n4glcki1o4iehuseq89r6rp0a)

$ docker service ls

ID NAME MODE REPLICAS IMAGE PORTS
n4glcki1o4ie greetWeb_web replicated 10/10 karunsubramanian/services:0.1 *:8750->8100/tcp
Notice the number of replicas.
If you have to shutdown the app:
$ docker stack rm greetWeb
Removing service greetWeb_web
Removing network greetWeb_webnet
That’s it. You rock !! You’ve patiently followed until the end. You have taken a huge step towards docker mastery. Play with it, create multiple swarms and applications, go wild with docker-compose.yaml options. You will be a docker guru in no time.