Buckle up! You can get your own AWS server in cloud. You can run a verity of OS on it, connect to any popular Database you want to and even get your hands on some of the coolest products from AWS. I don’t know about you but I’m psyched about all this.

Yes, Amazon Web Services Free Tier allows you to have your own Server in EC2 for 12 months. If you are new to AWS, this is a great way to get your feet wet, or may be drenched.
This article shows exactly how you sign up and crank up your own server in cloud. It takes about 15 to 20 minutes to get your hands on a brand new Amazon Linux instance (or Windows or Suse or RHEL…..)
Without further due, here are the actual steps to follow.
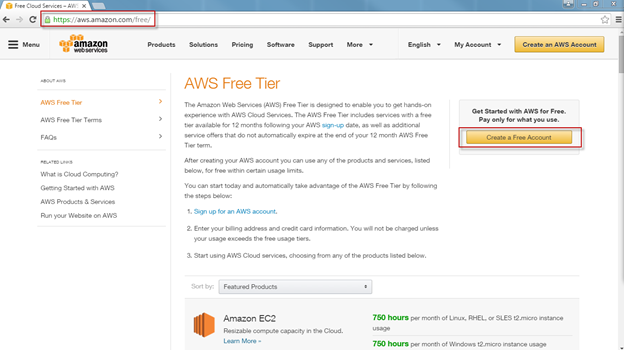
- Hit https://aws.amazon.com/free and click on ‘Create a Free Account’
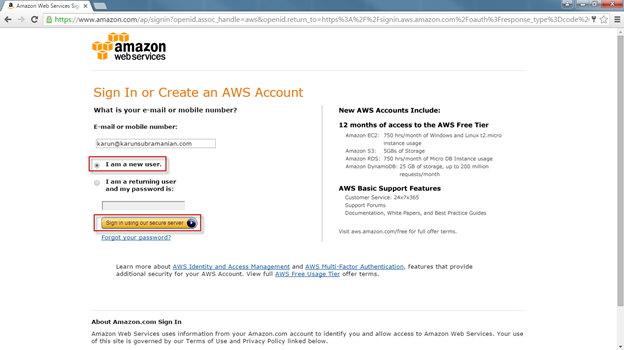
2. If you already have an amazon account, use it to login. Alternatively, you can create a new one too.
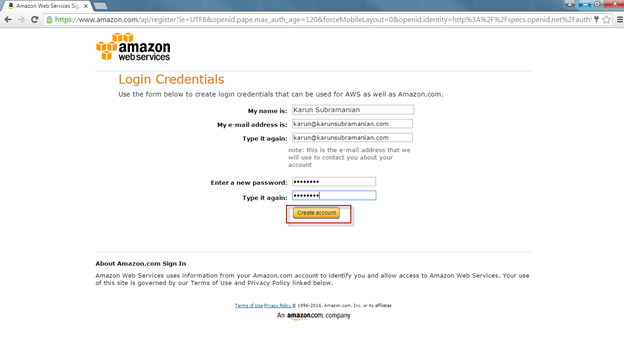
3. Confirm Email and choose Password.
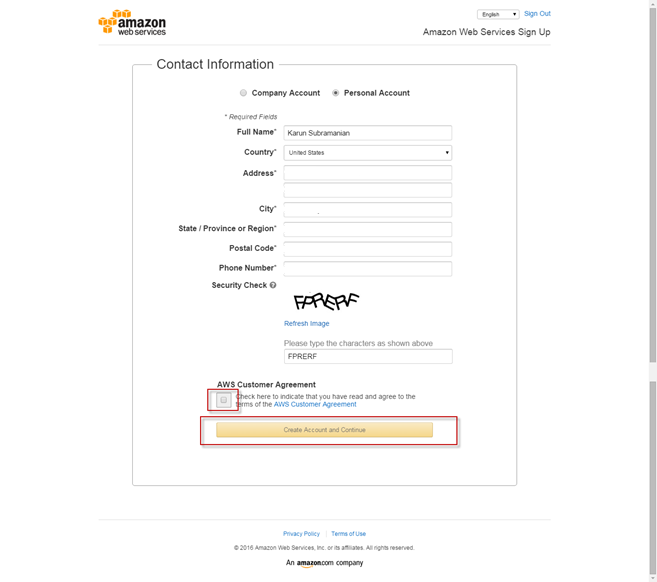
4. Provide contact information
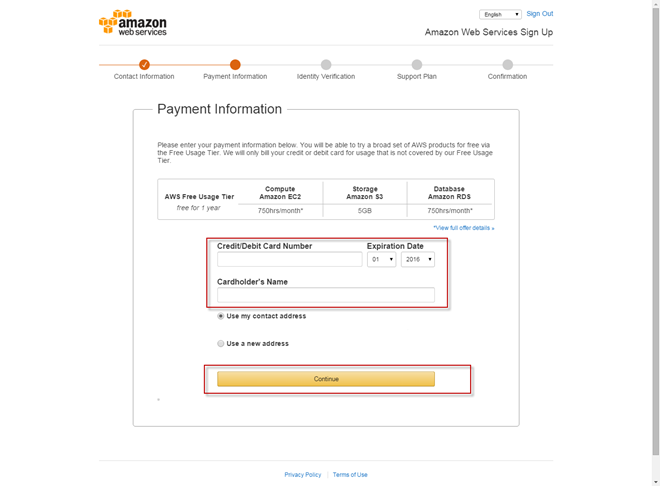
5. You have to provide valid credit card information. You won’t get charged if you stay within your usage limits (750 hrs /month). Once you start your free tier, you have to be careful about activating new services (such as Amazon couldwatch) that are NOT free. You will clearly see what is billable and what is free before activating anything.
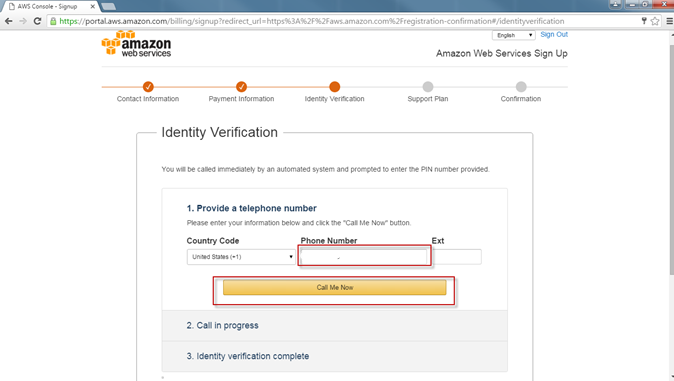
6. For verification, provide a phone number that can receive text messages
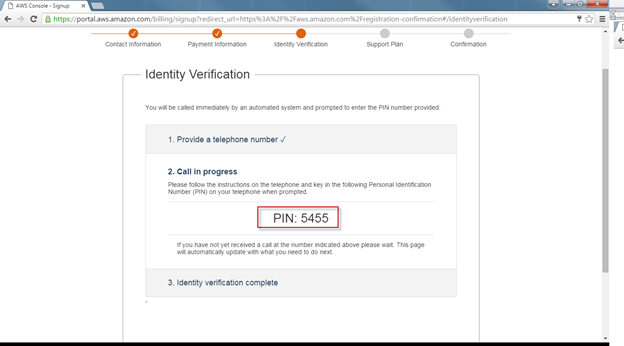
7. Follow the instruction on the text you received in your phone
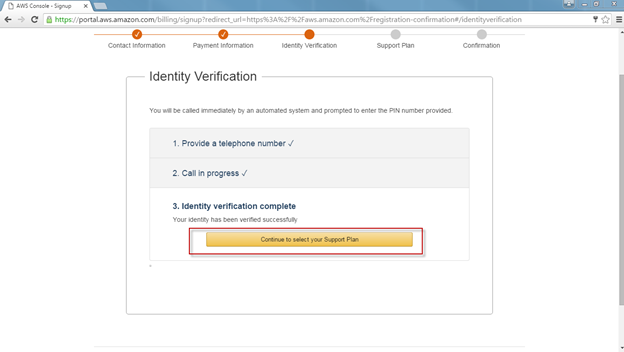
8. Great progress. Continue to select your support plan
9. Choose Basic (free)

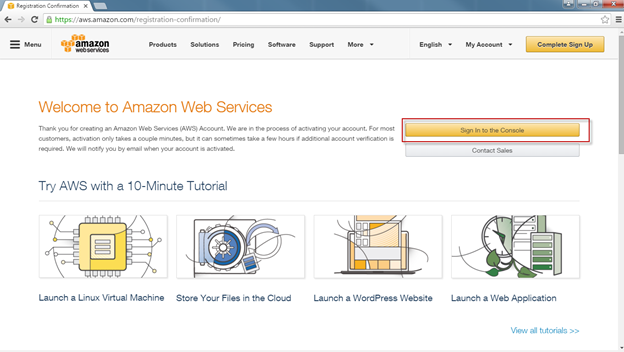
10. Nice going. Click on ‘Sign in to the Console’
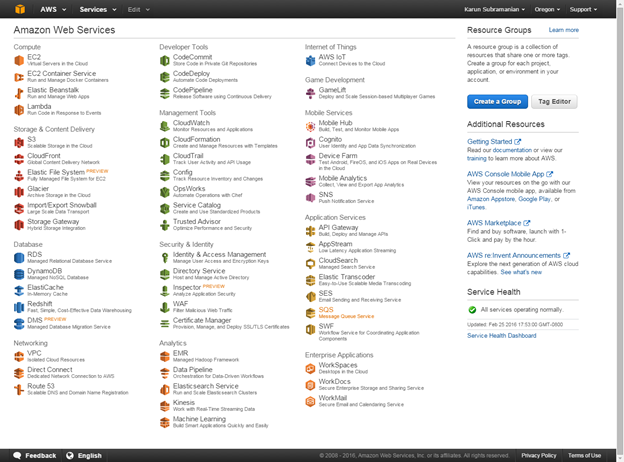
11. Look at that. Mouthwatering array of cool products to play with.
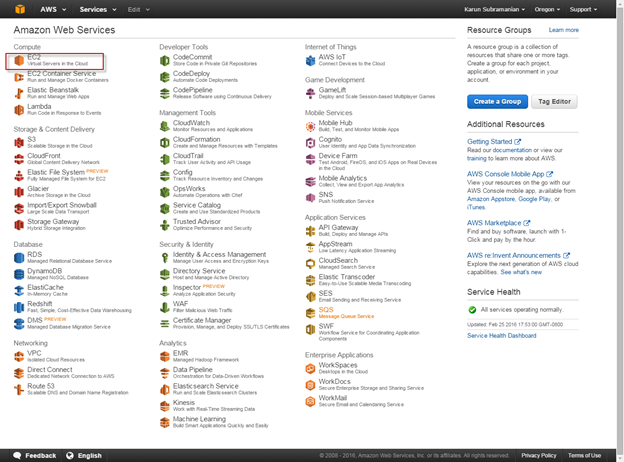
12. Choose EC2
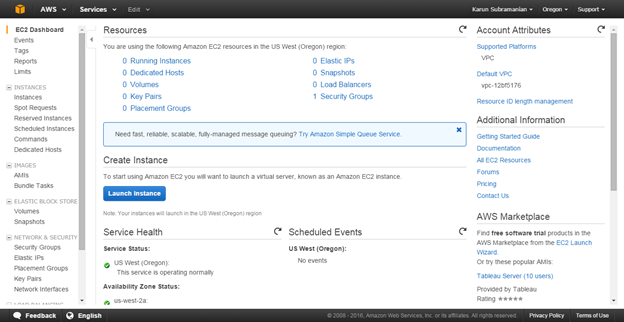
13. Click on ‘Launch instance’
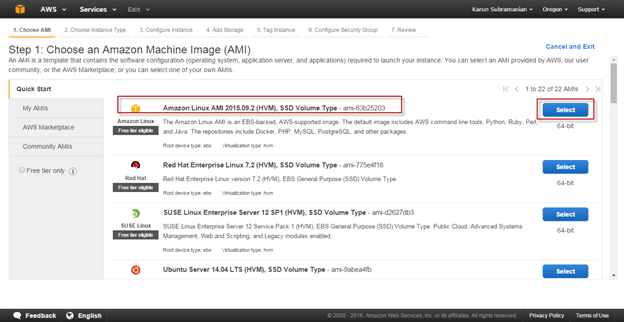
14. Select any OS as you please. I’m going with Amazon Linux in this article
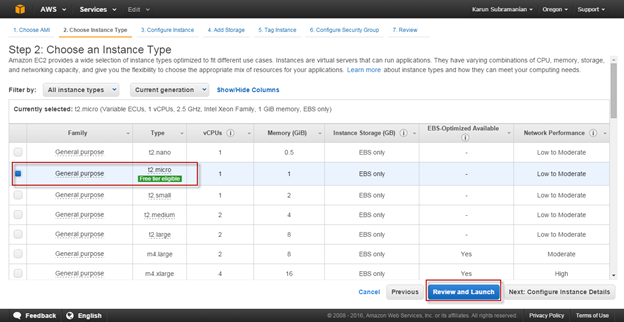
15. Make sure you use a type that is free
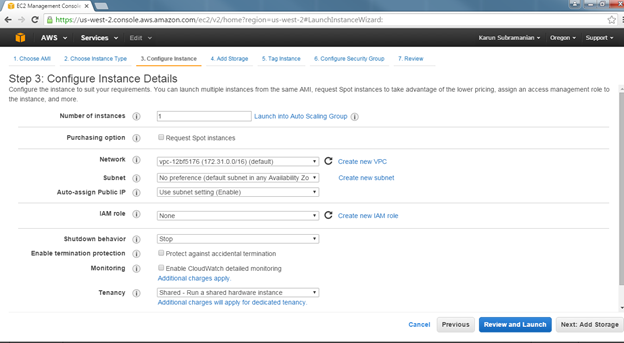
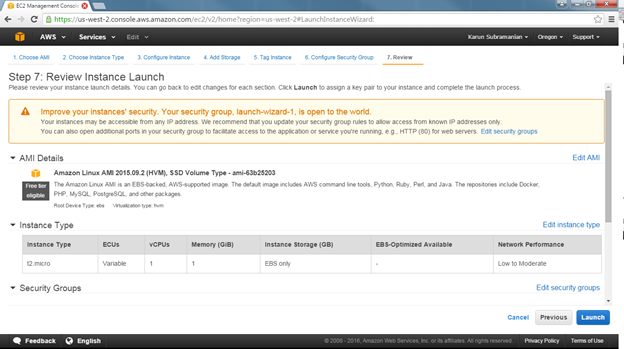
16. Configure as you please. If you are in a hurry, go with the defaults.
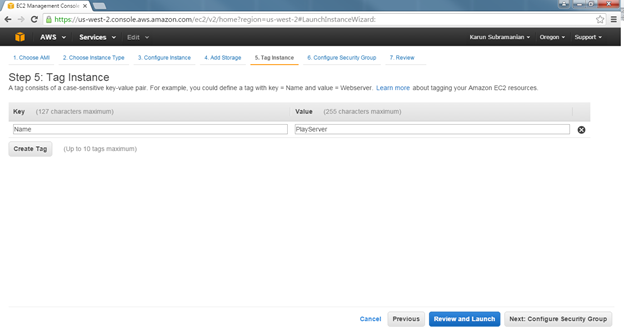
17. Provide a Name for your instance. I’ve appropriately named it as ‘PlayServer’ J
18. Ignore the warning for now (ONLY for now) and click Launch
19. You have to create a new key pair. This is amazon way of ensuring only YOU (or whoever has the key) can operate the server.
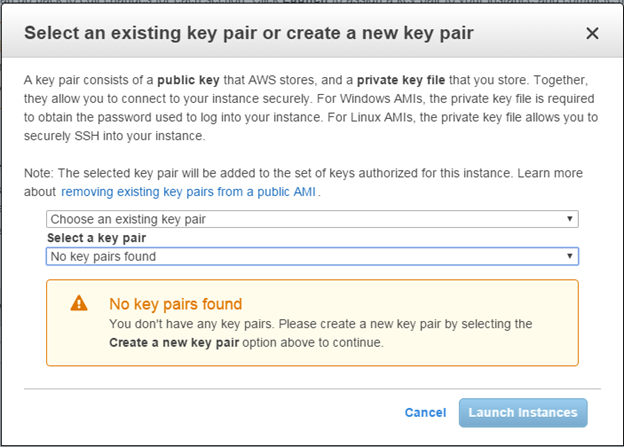
20. Click ‘Download Key Pair’

21. Click ‘Launch instances’ to begin the magic. You will see the following screen
22. If you click on ‘View Launch Log’, you will see the steps being executed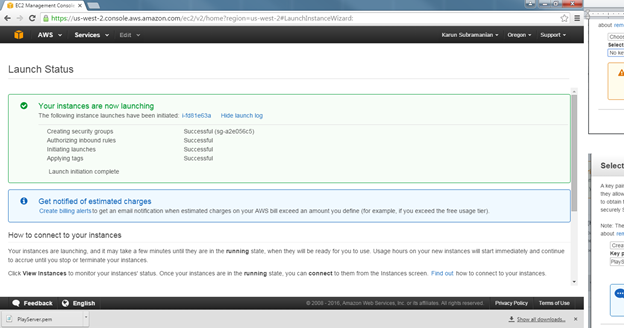
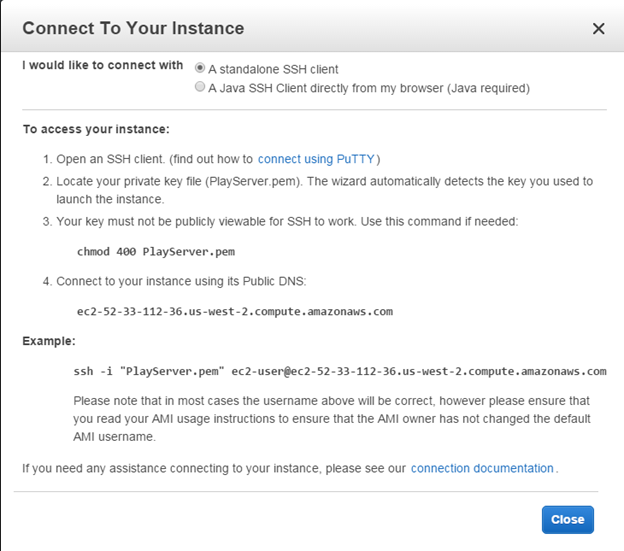
23. Excellent. Now click on ‘connect
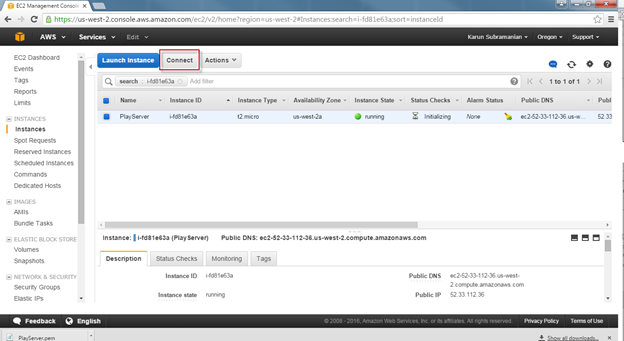
24. Now, since this is a Linux box, the ususal and most effective way is to use a SSH client such as the infamous Putty or SecureCRT.
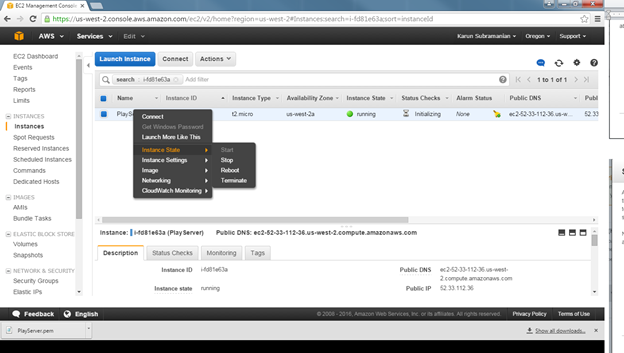
25. After playing with it for a bit, make sure you stop the instance as shown below
That’s it.
Try it and let me know how it goes. Also let me know if you want me to write more about how to get started with using AWS servers and other cool AWS products.
Comments on this entry are closed.