OK. So, you want to get AppDynamics controller installed on your Mac. Perhaps you want to test the awesome power of AppDynamics locally before purchasing the product. Great. In this blog post, I’m going to show you how to get AppDynamics Controller installed on your Mac. Let’s get to work.
- Login to https://aperture.appdynamics.com/download/
- Scroll down on the left pane and select the Mac check box
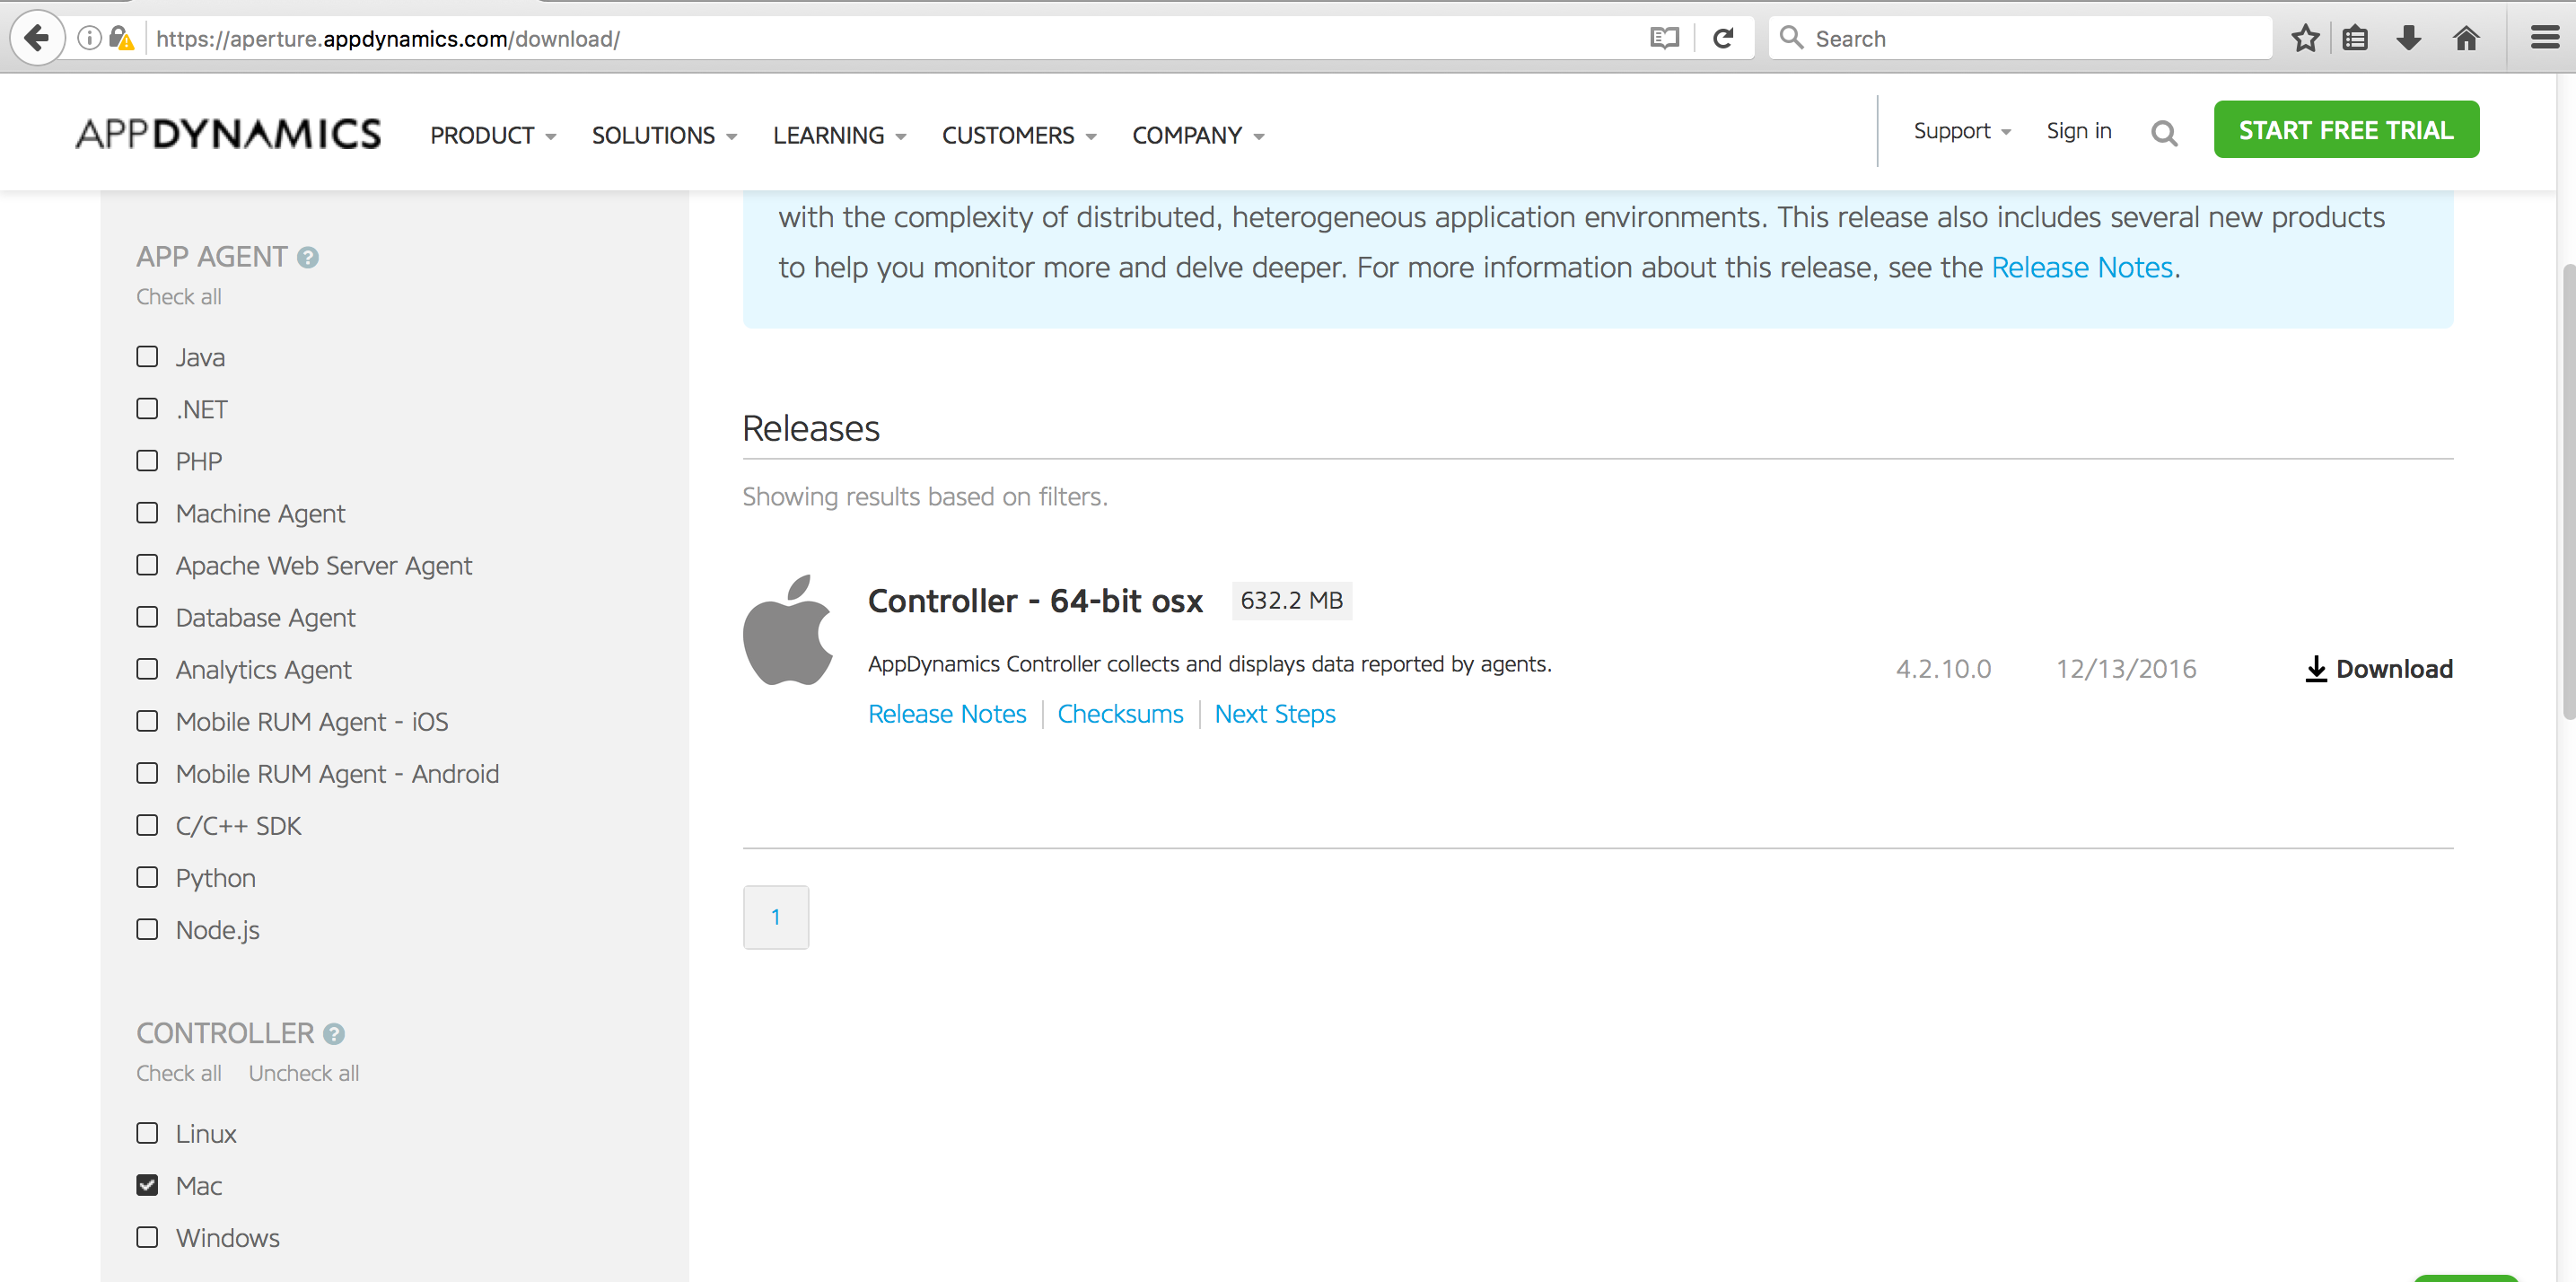
3. Click on Download and click OK on the resulting screen. Your download will begin
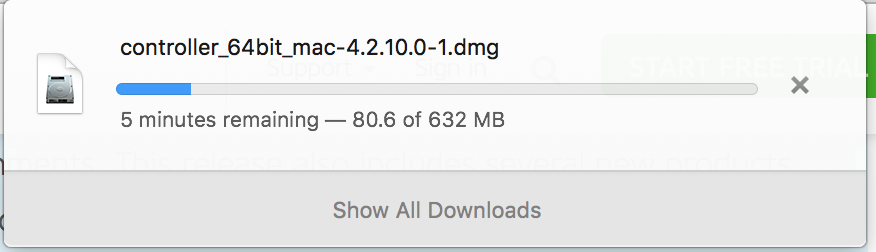
4. Once the download is complete, launch the installer.
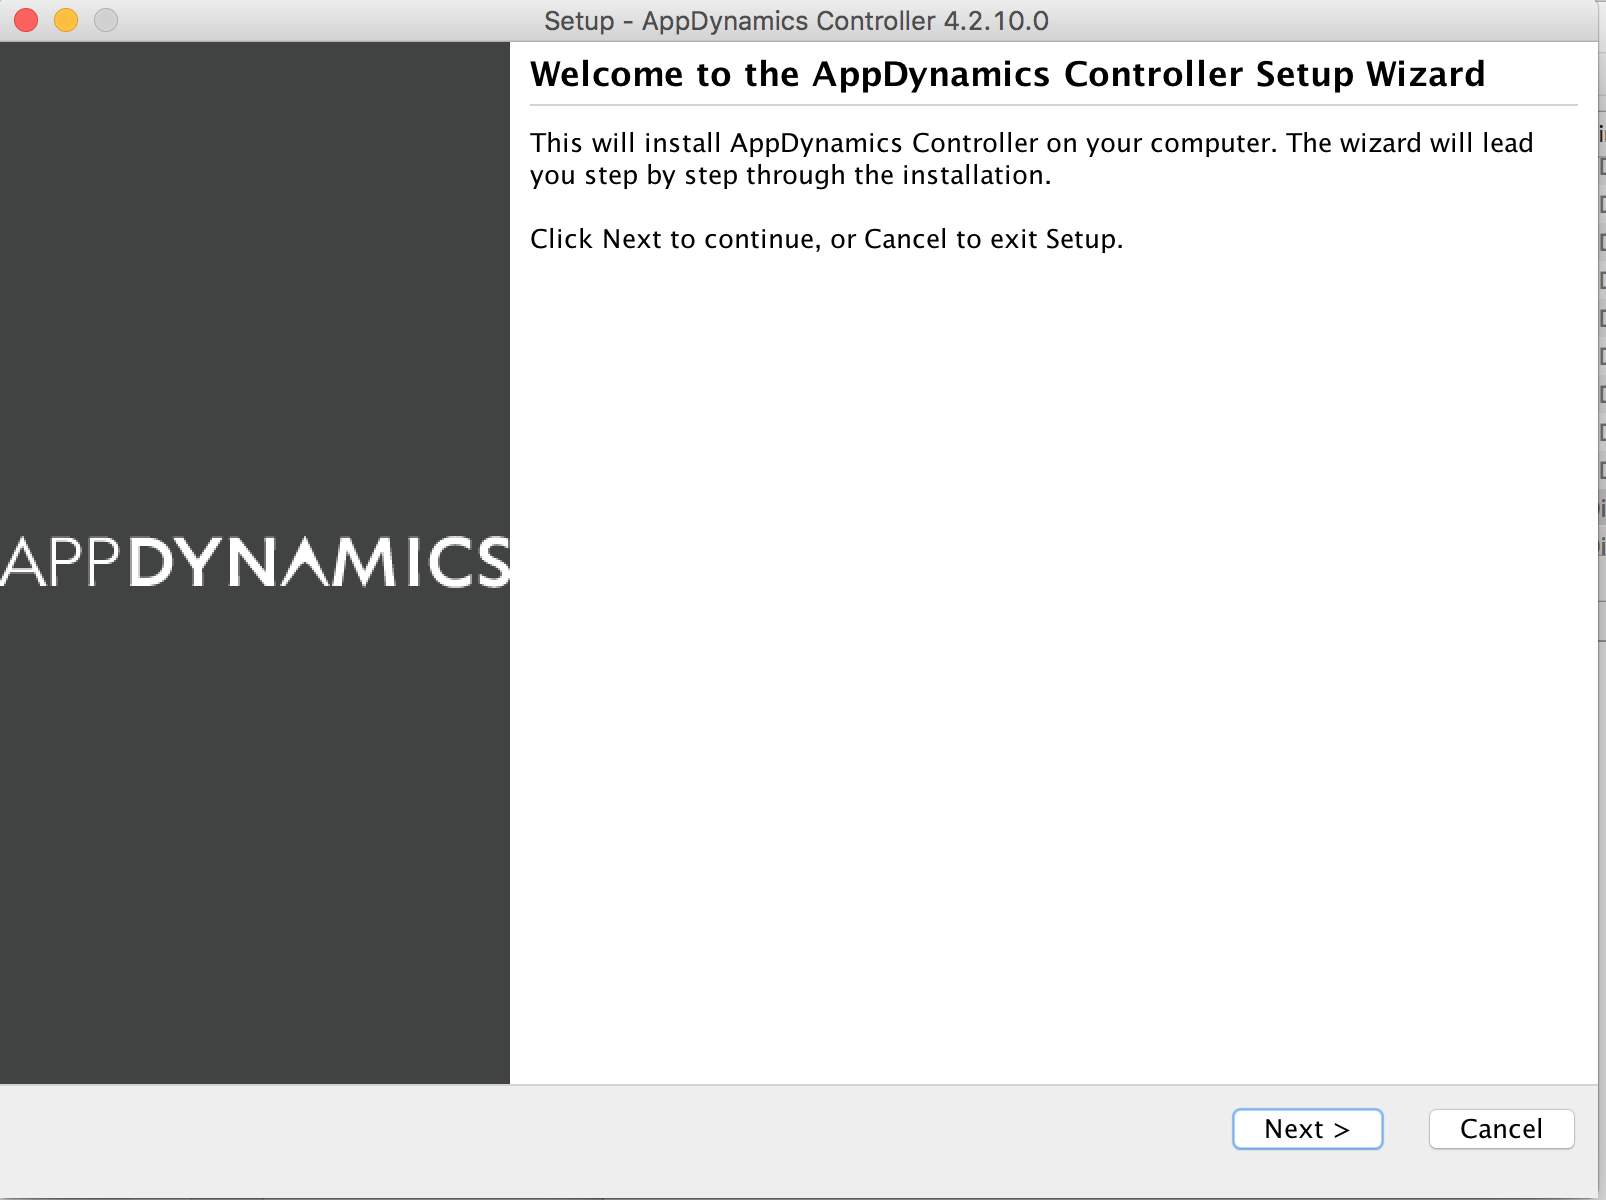
Note: If your MAC’s security setting is preventing from launching the installation wizard (due to the developer of the application not registered with MAC), open the installer file in Finder, right click and then click Open. This activity registers the application in MAC. Now you should be able to start the install launcher. At the opening screen, click Next.
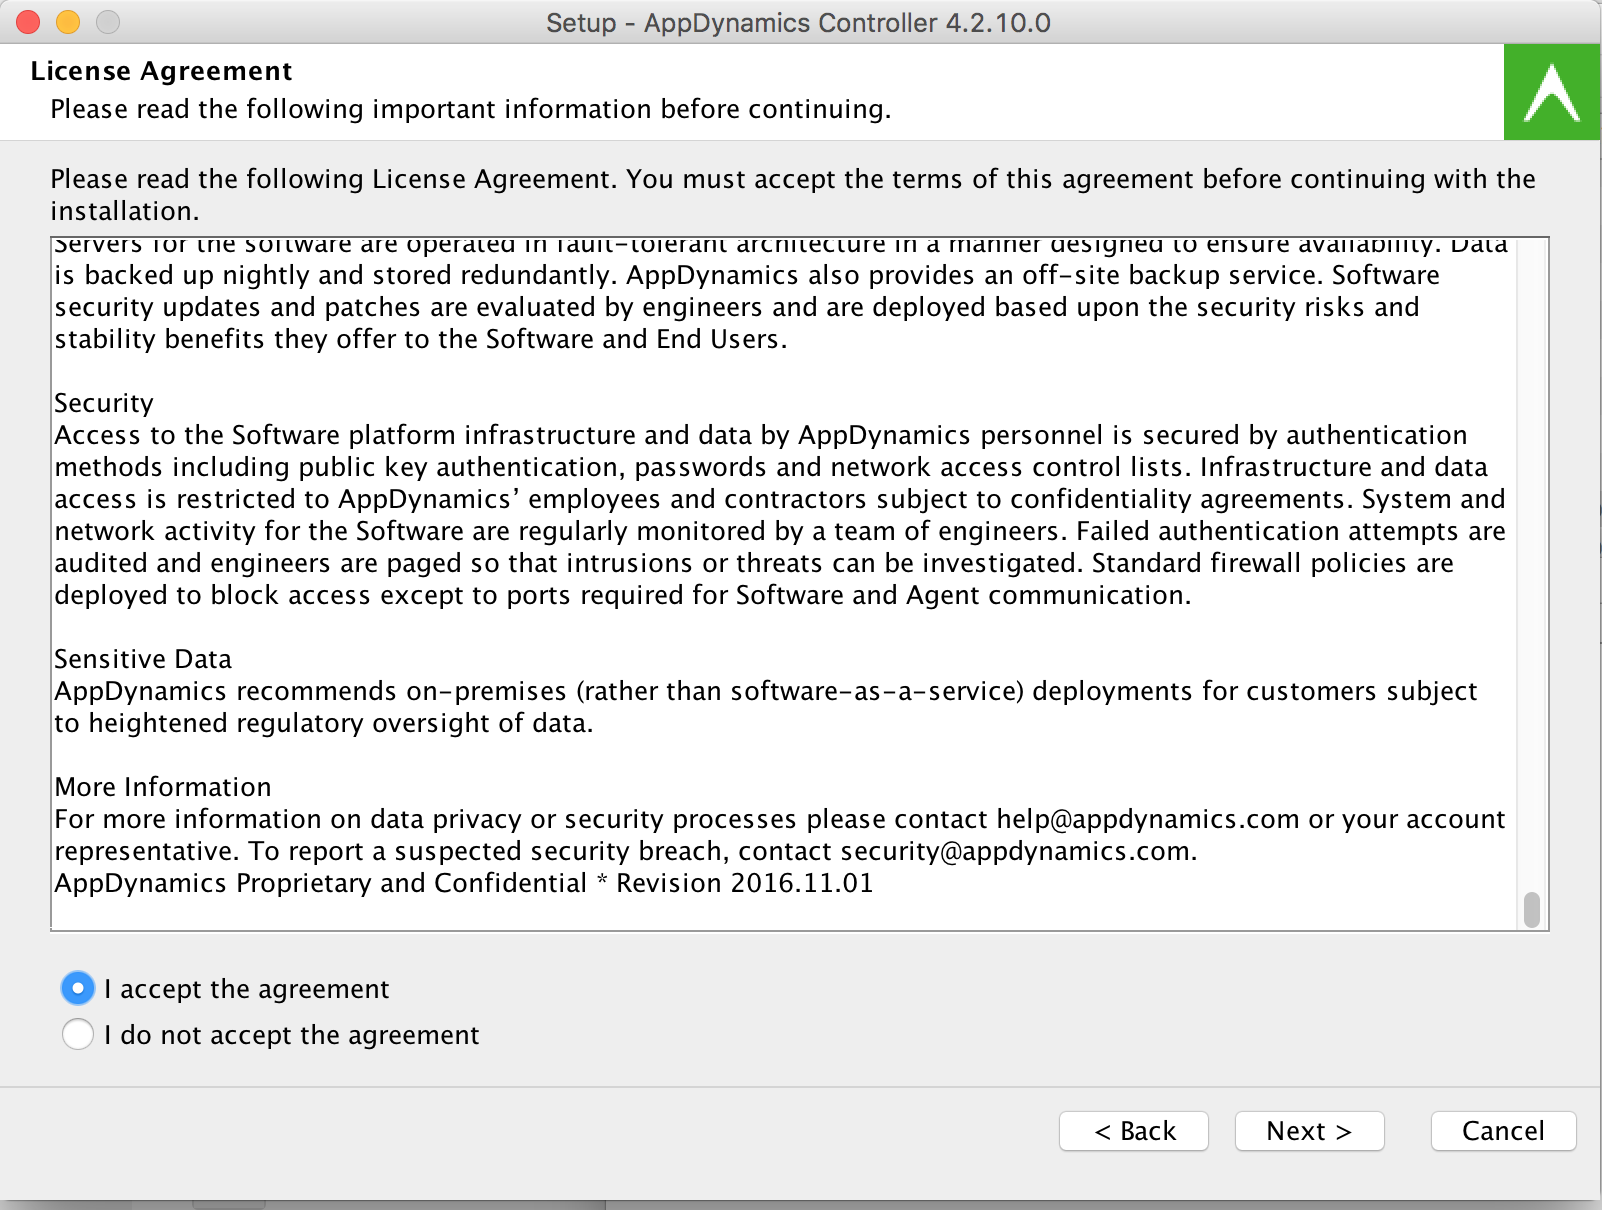
5. Accept the license agreement and click Next
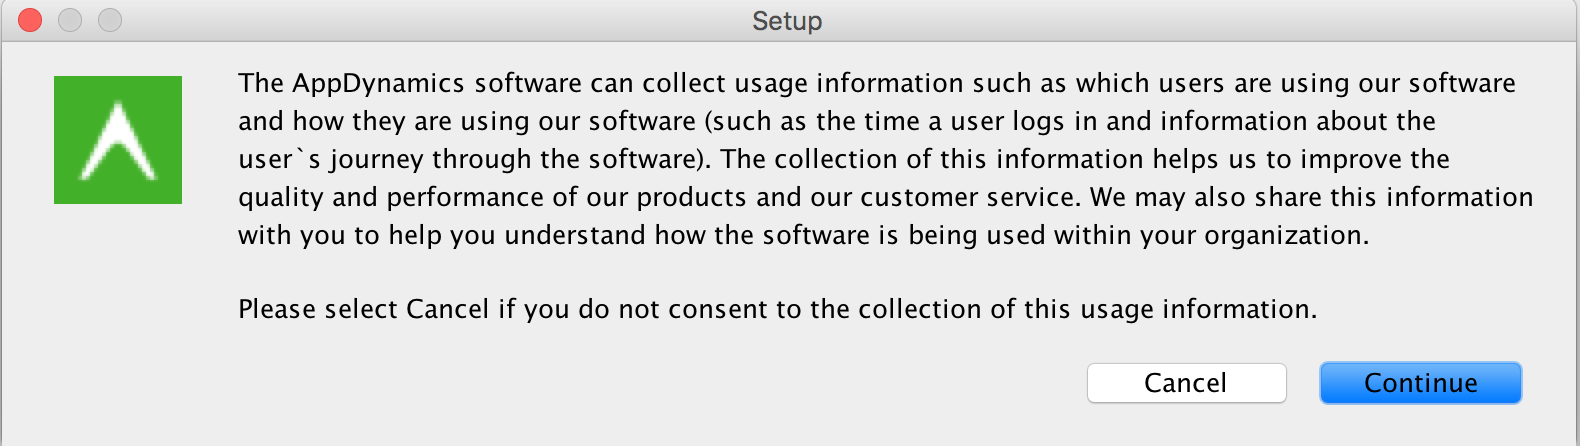
6. Click continue on the Setup screen
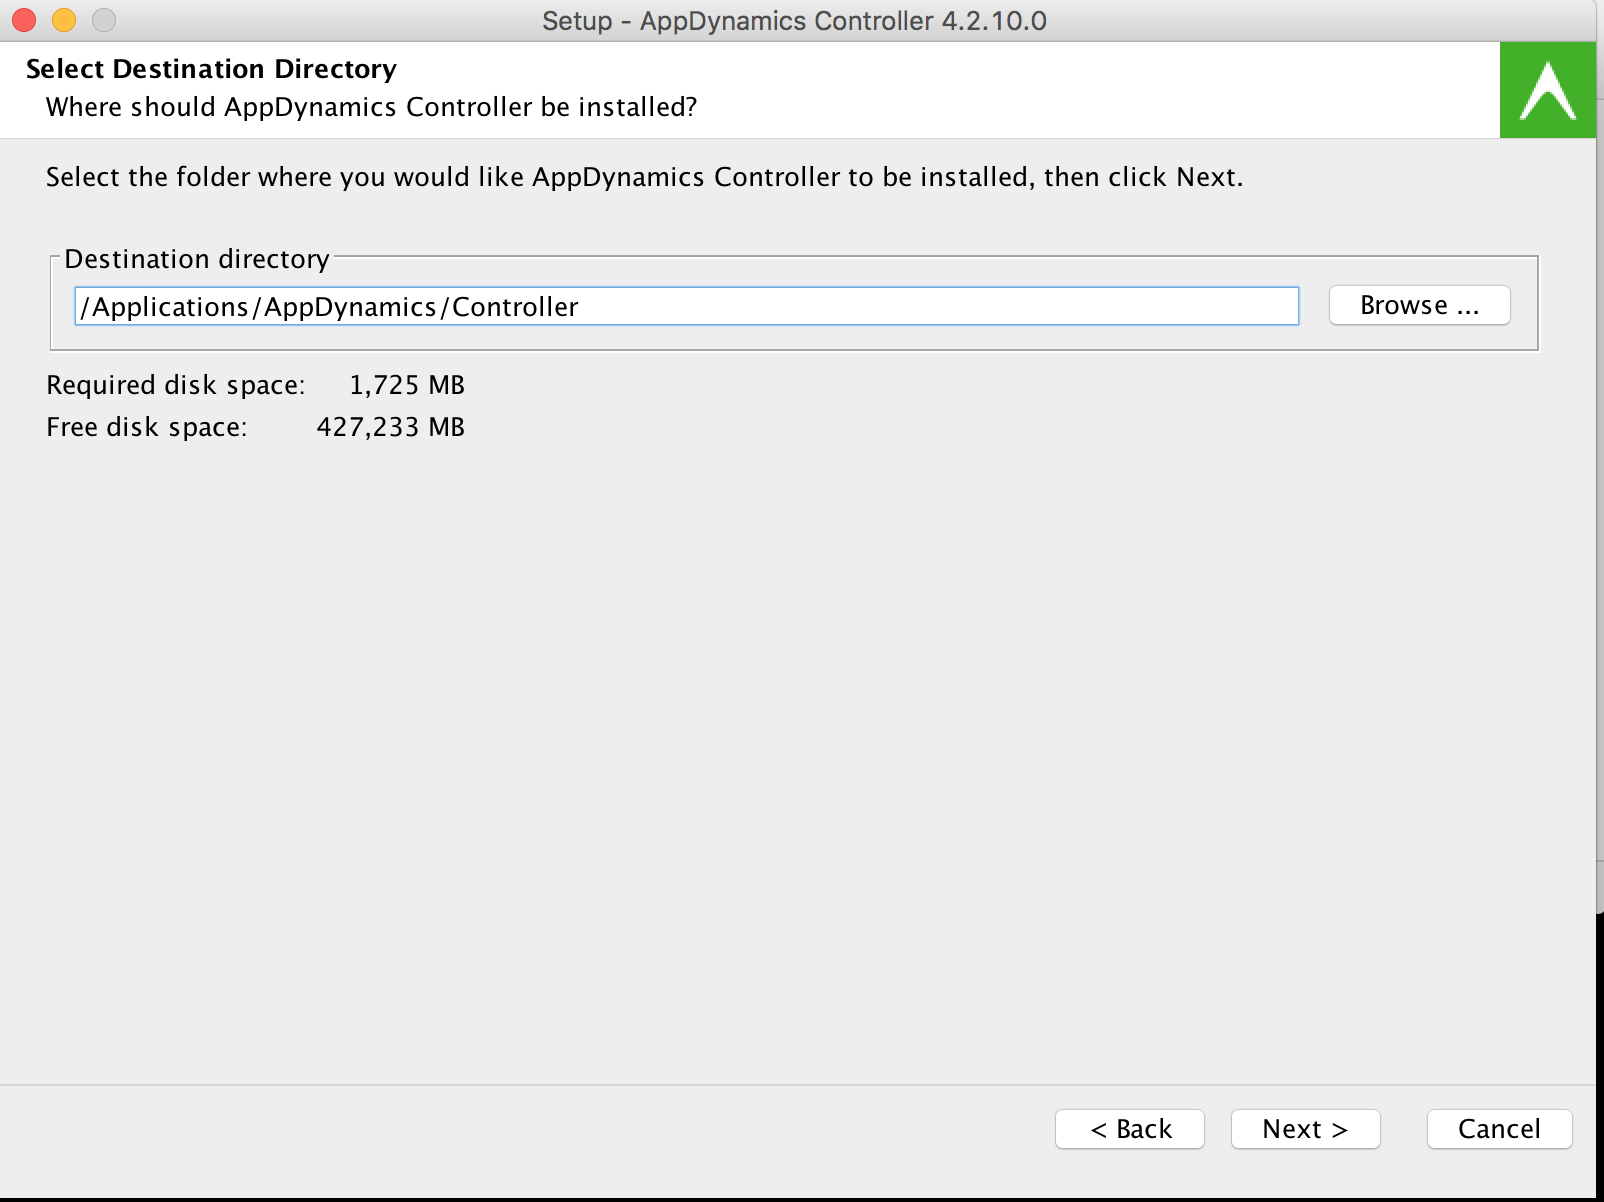
7. Choose the directory where AppDynamics Controller will be installed. Click Next.
8. Type database root users’s password (Make sure you remember this password). Click Next.

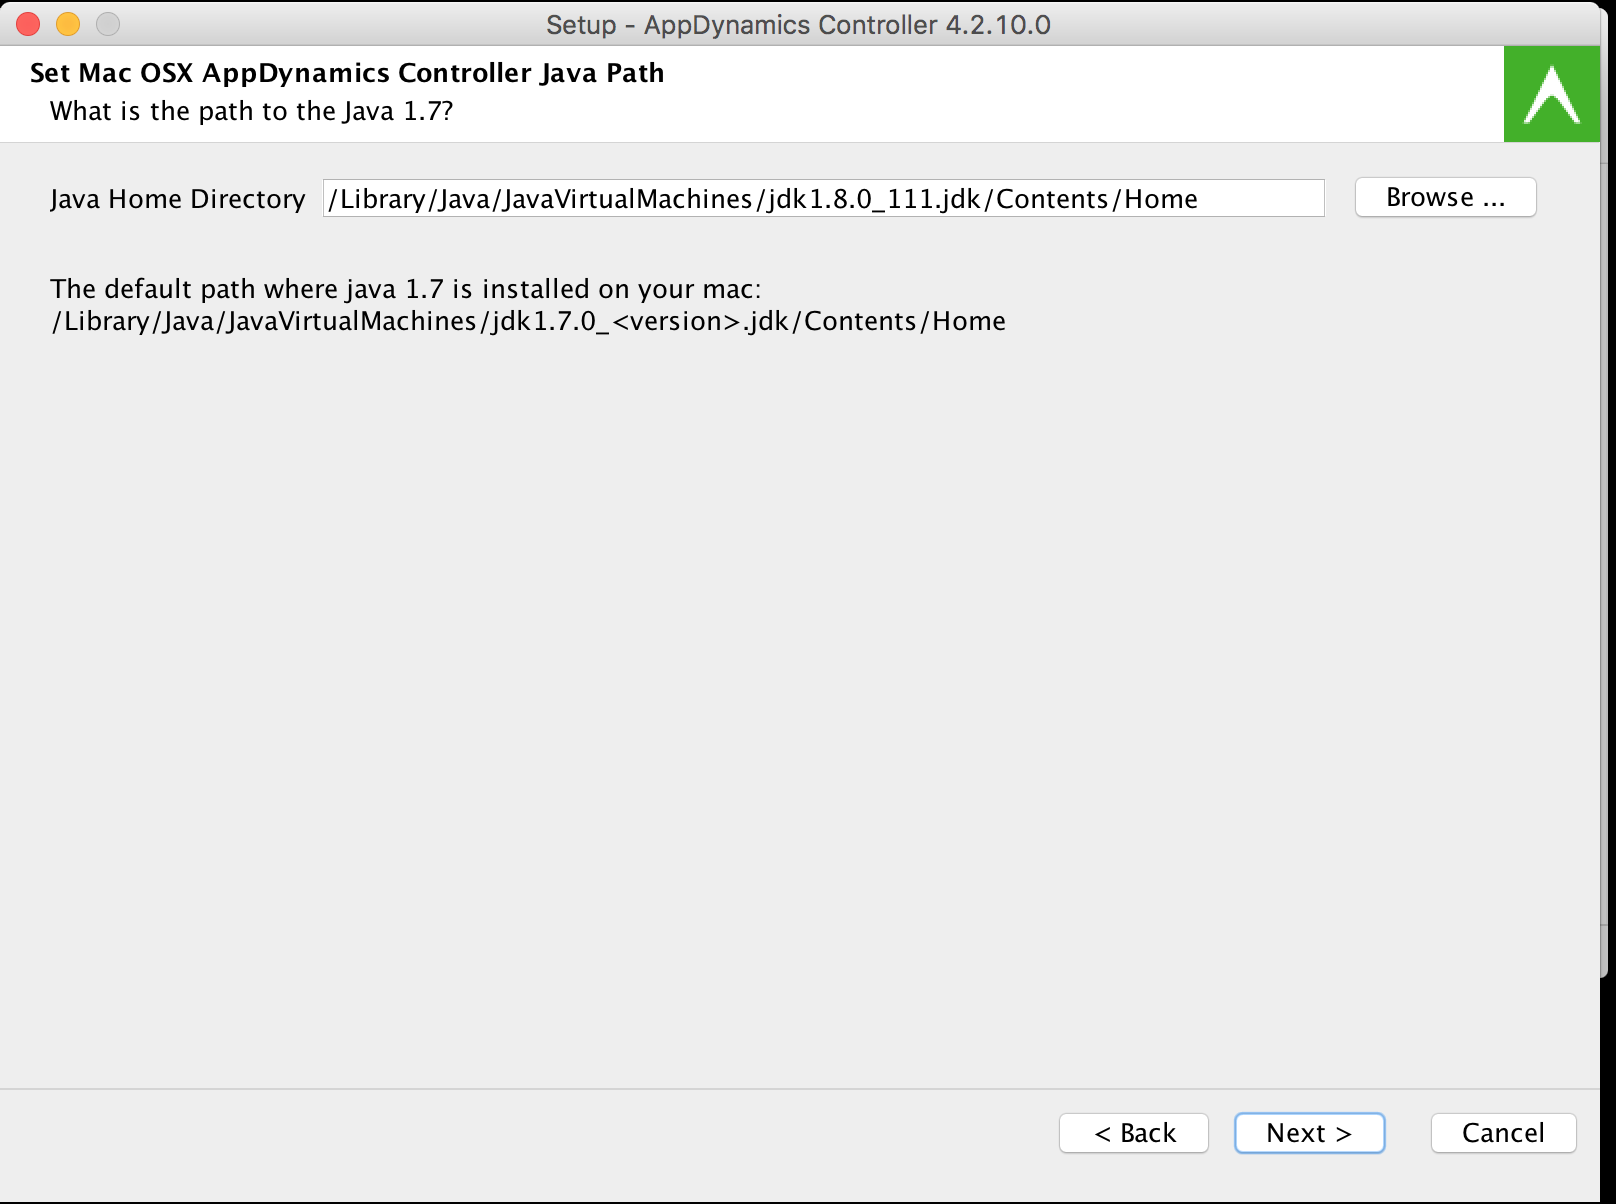
9. Set the Java path and click Next
10. Accept the default values for the connection settings (The default controller port is 8090). Click Next.
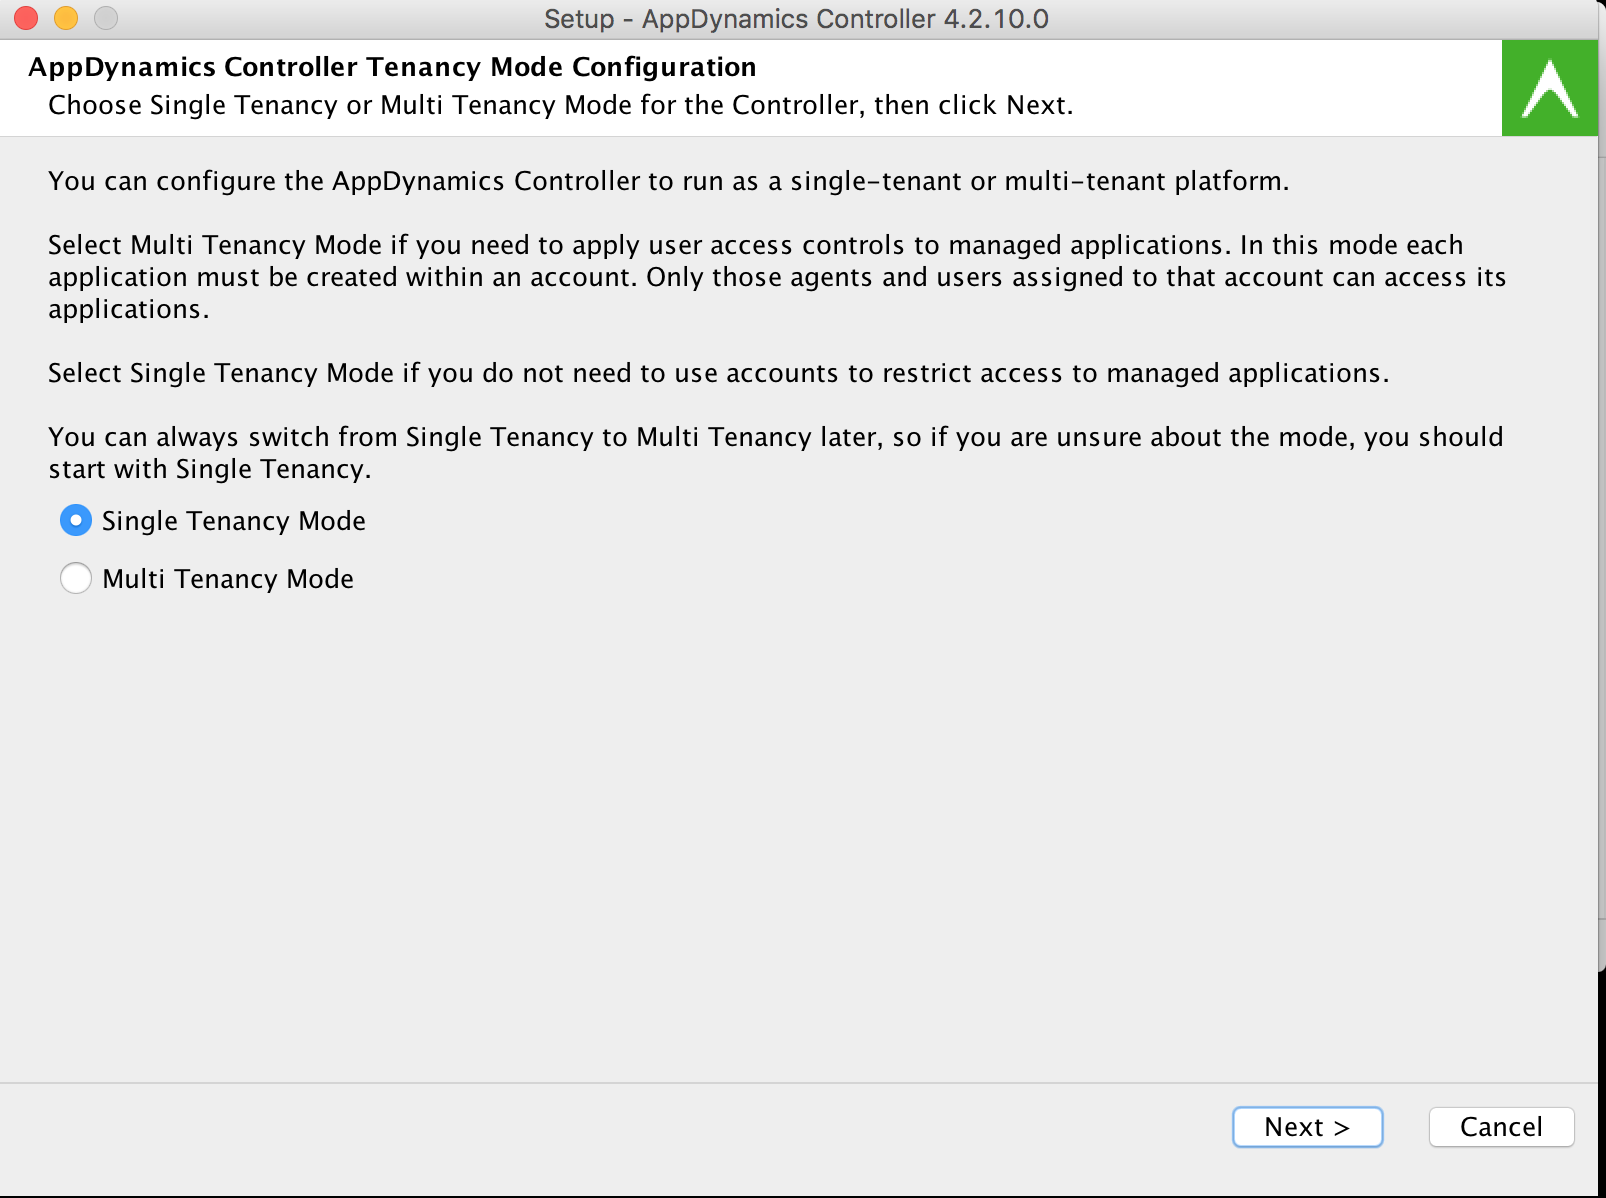
11. Select Single Tenancy Mode and click Next.
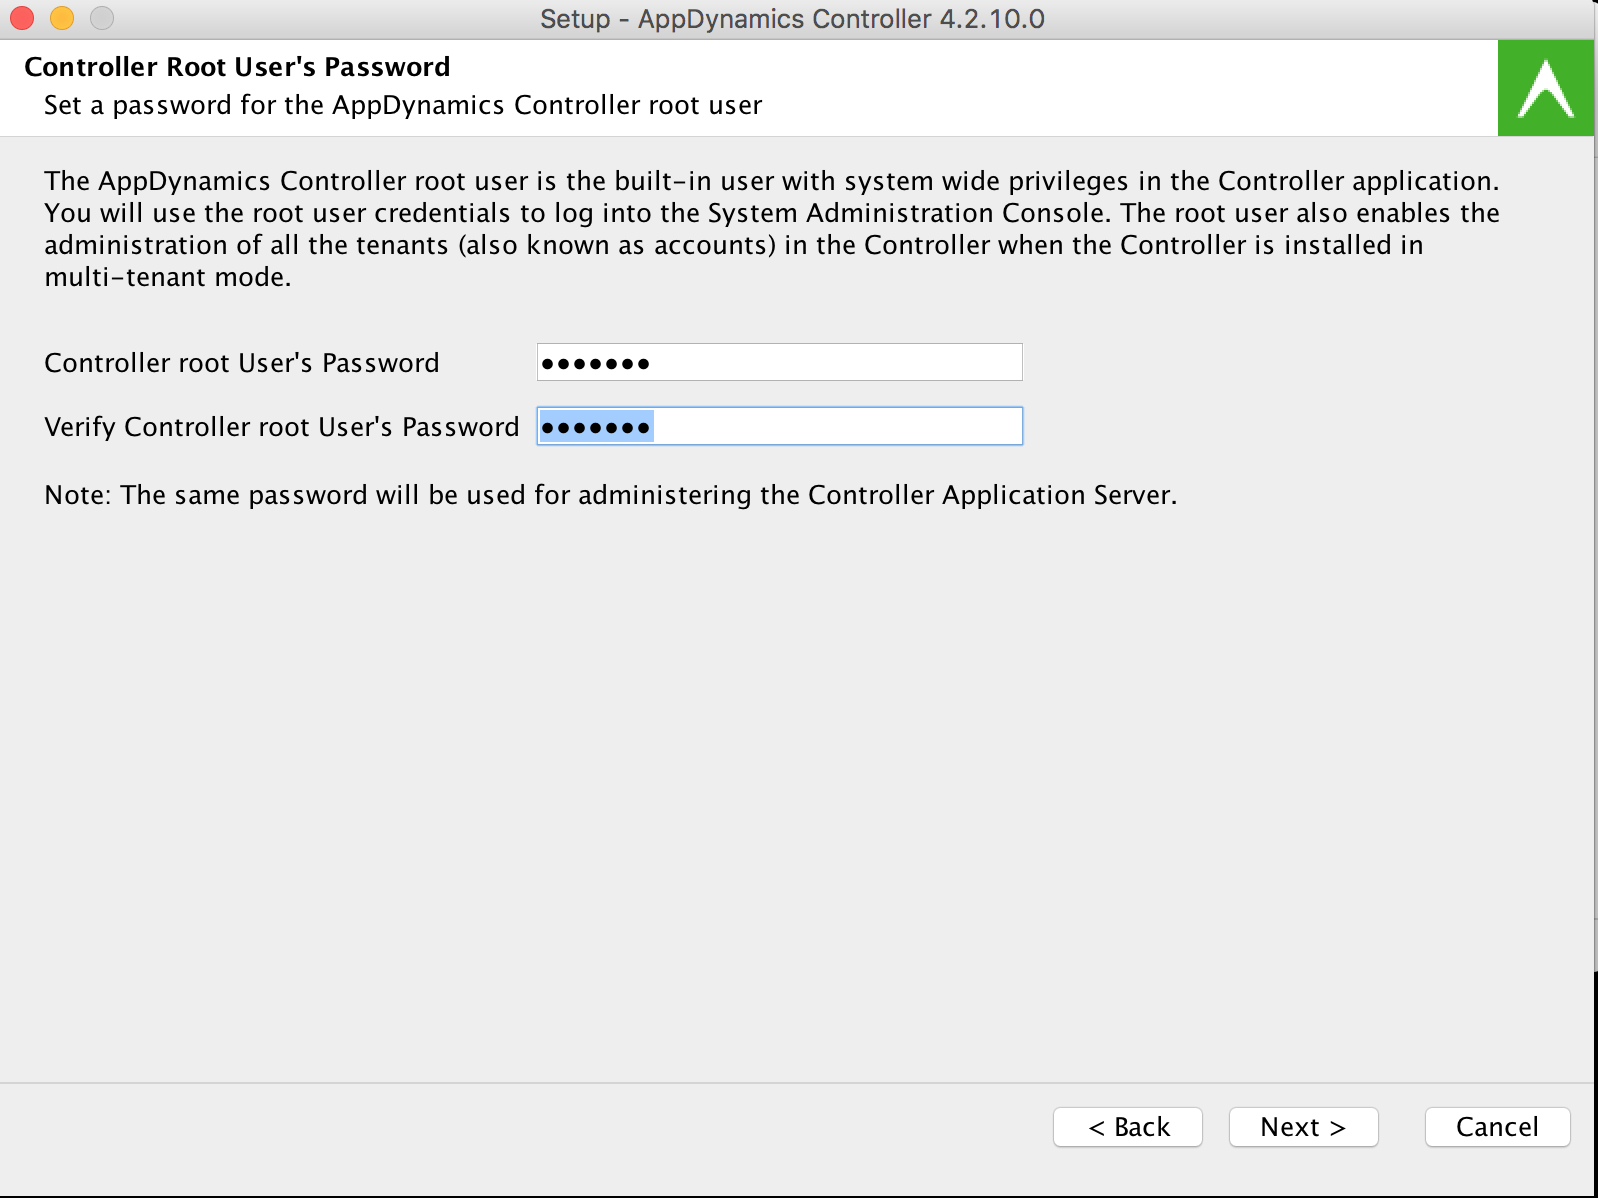
12. Set controller’s root password. Make sure you remember this. Click Next.
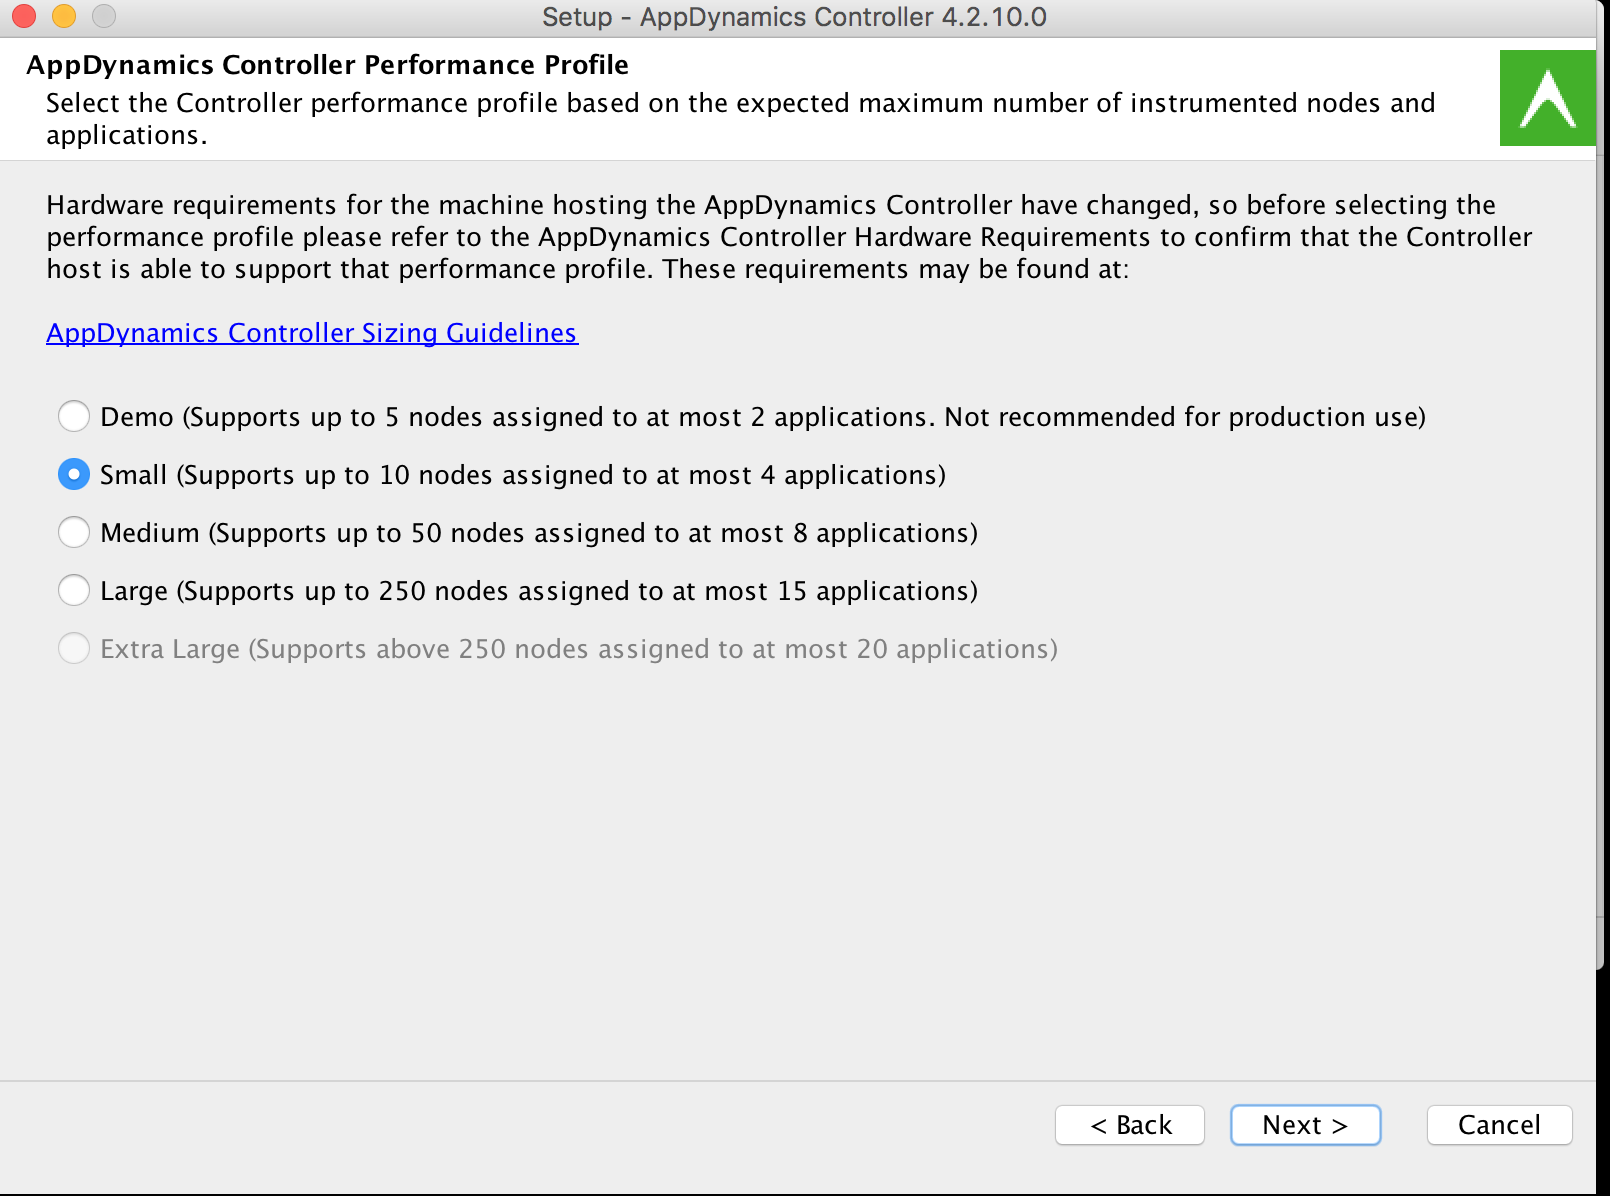
13. Choose a performance profile appropriate for your environment and click Next.
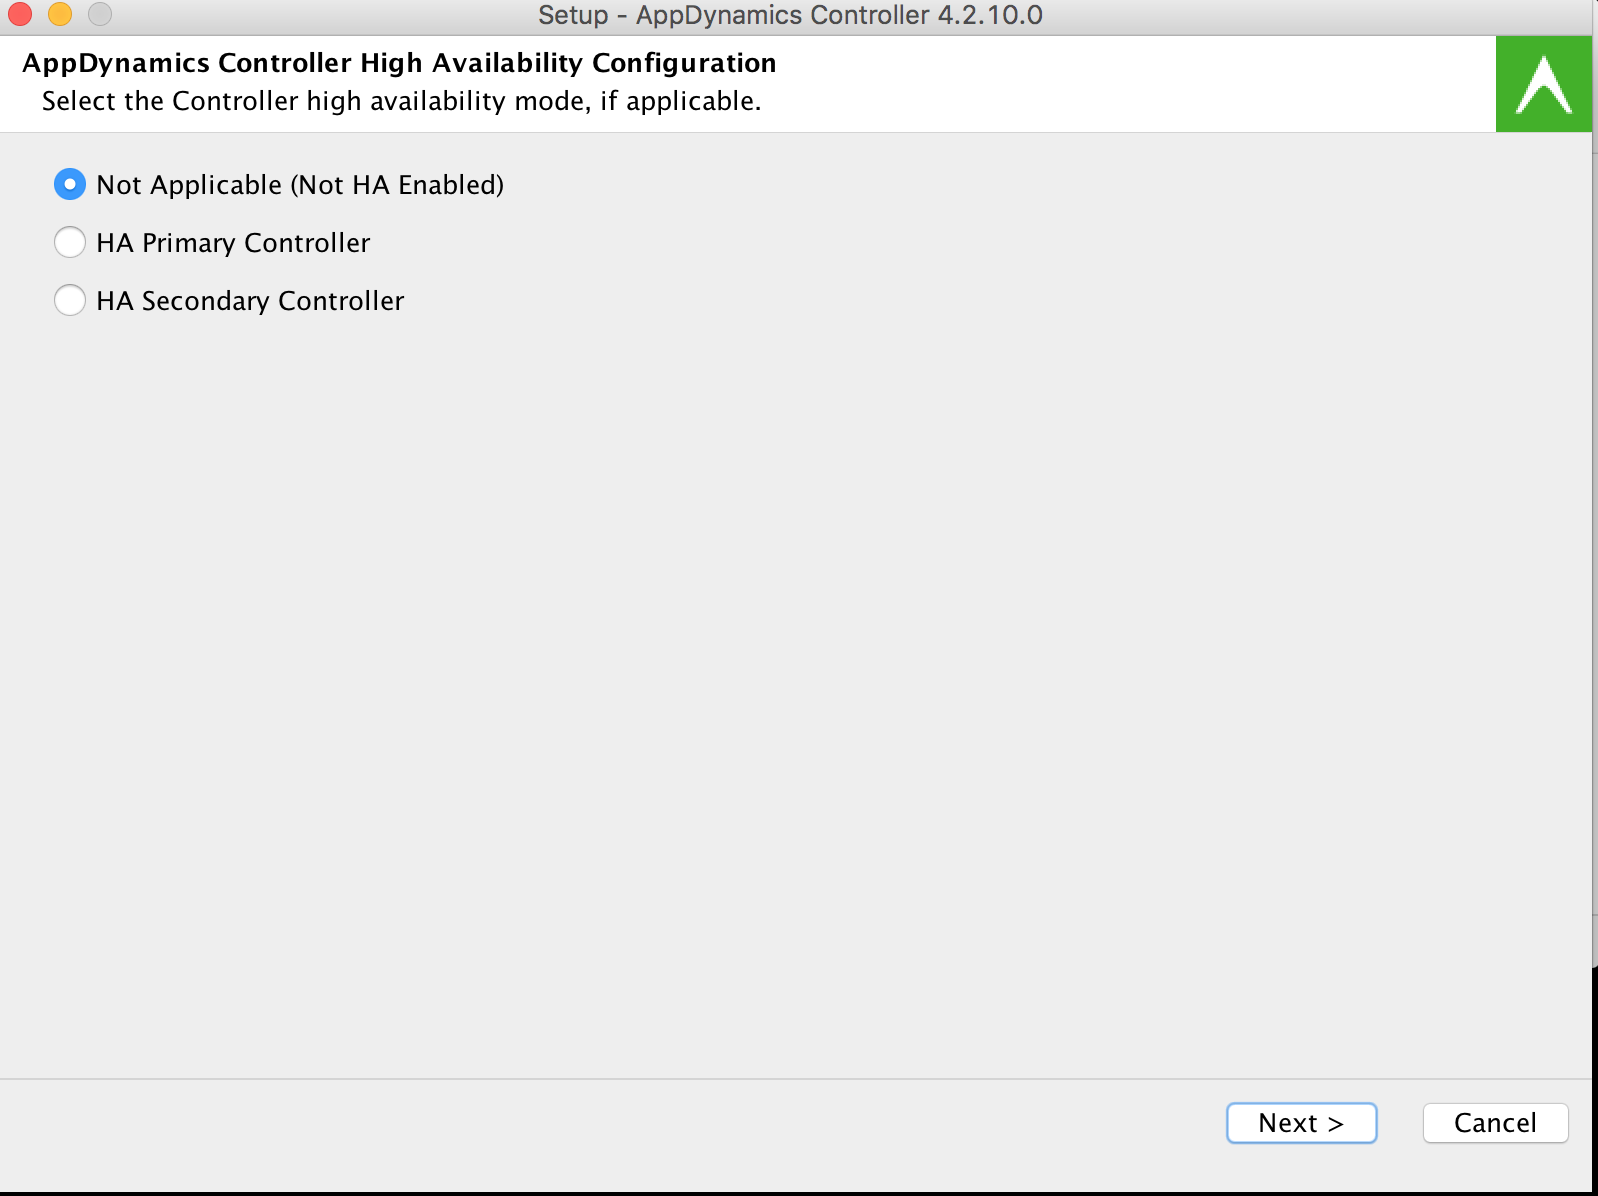
14. Select Not Applicable for HA setup. Click Next.
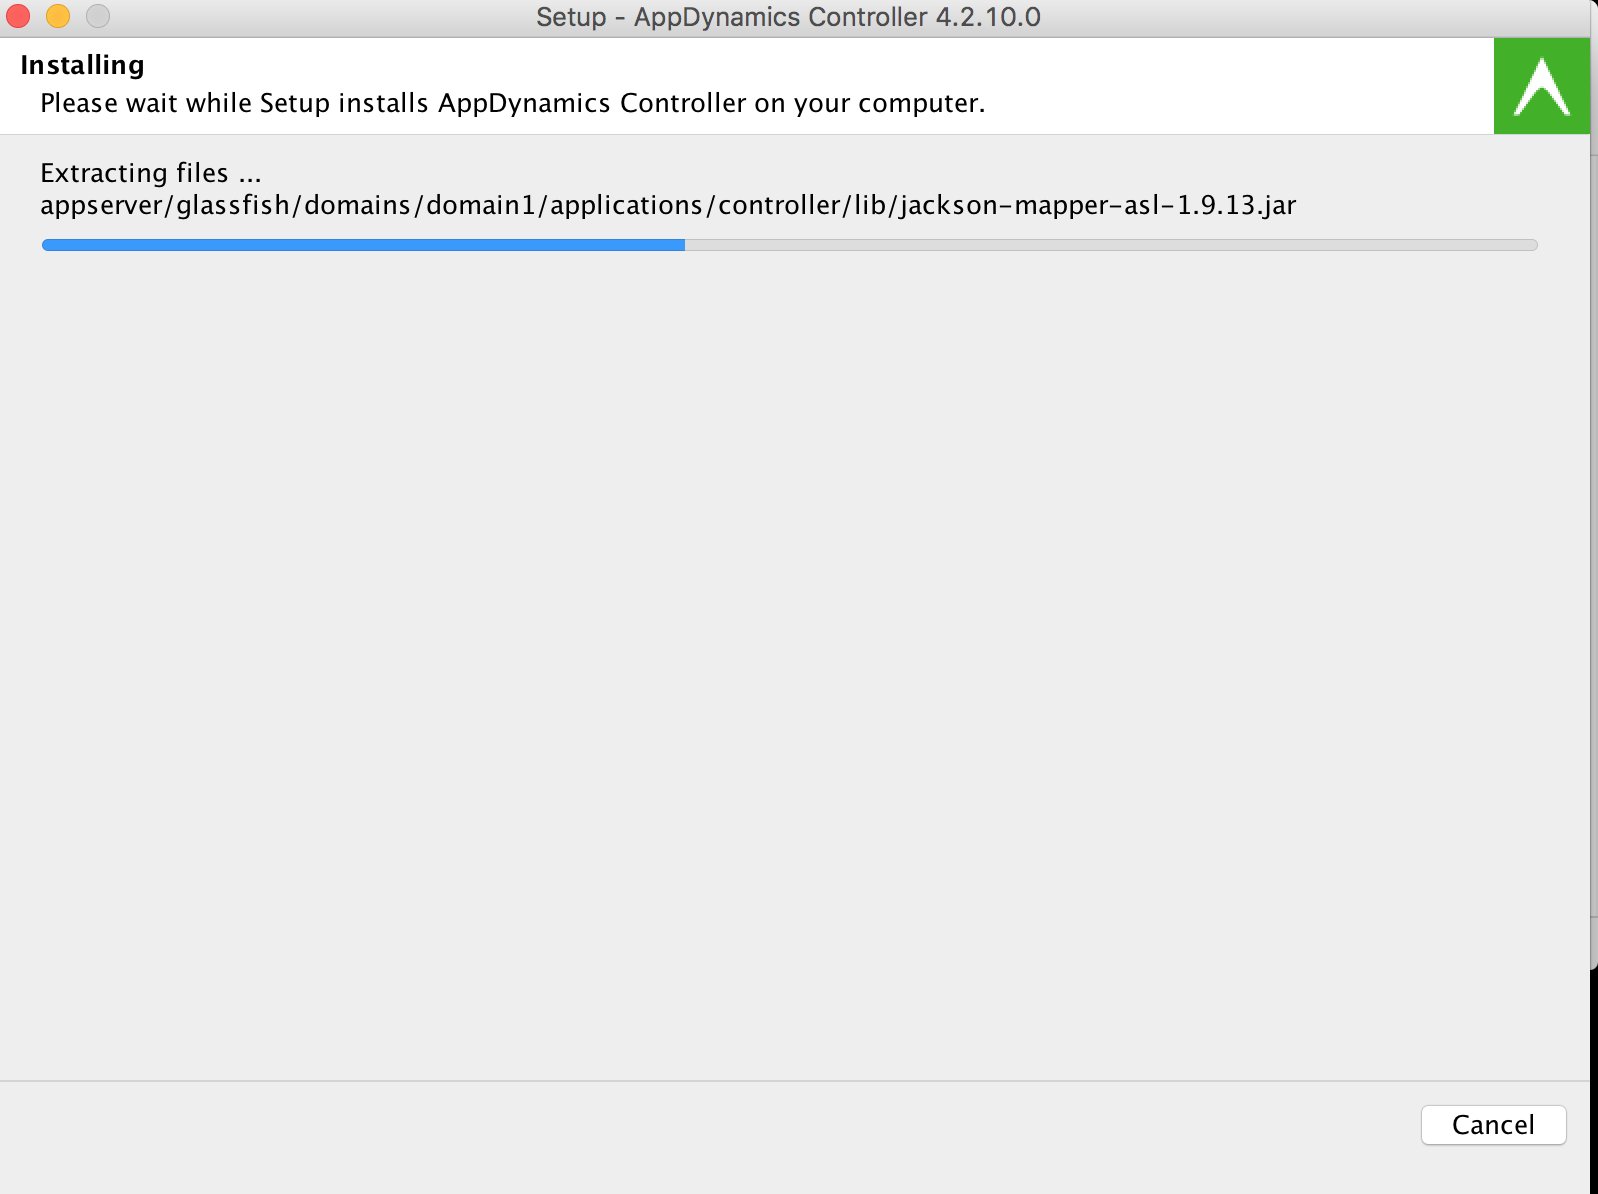
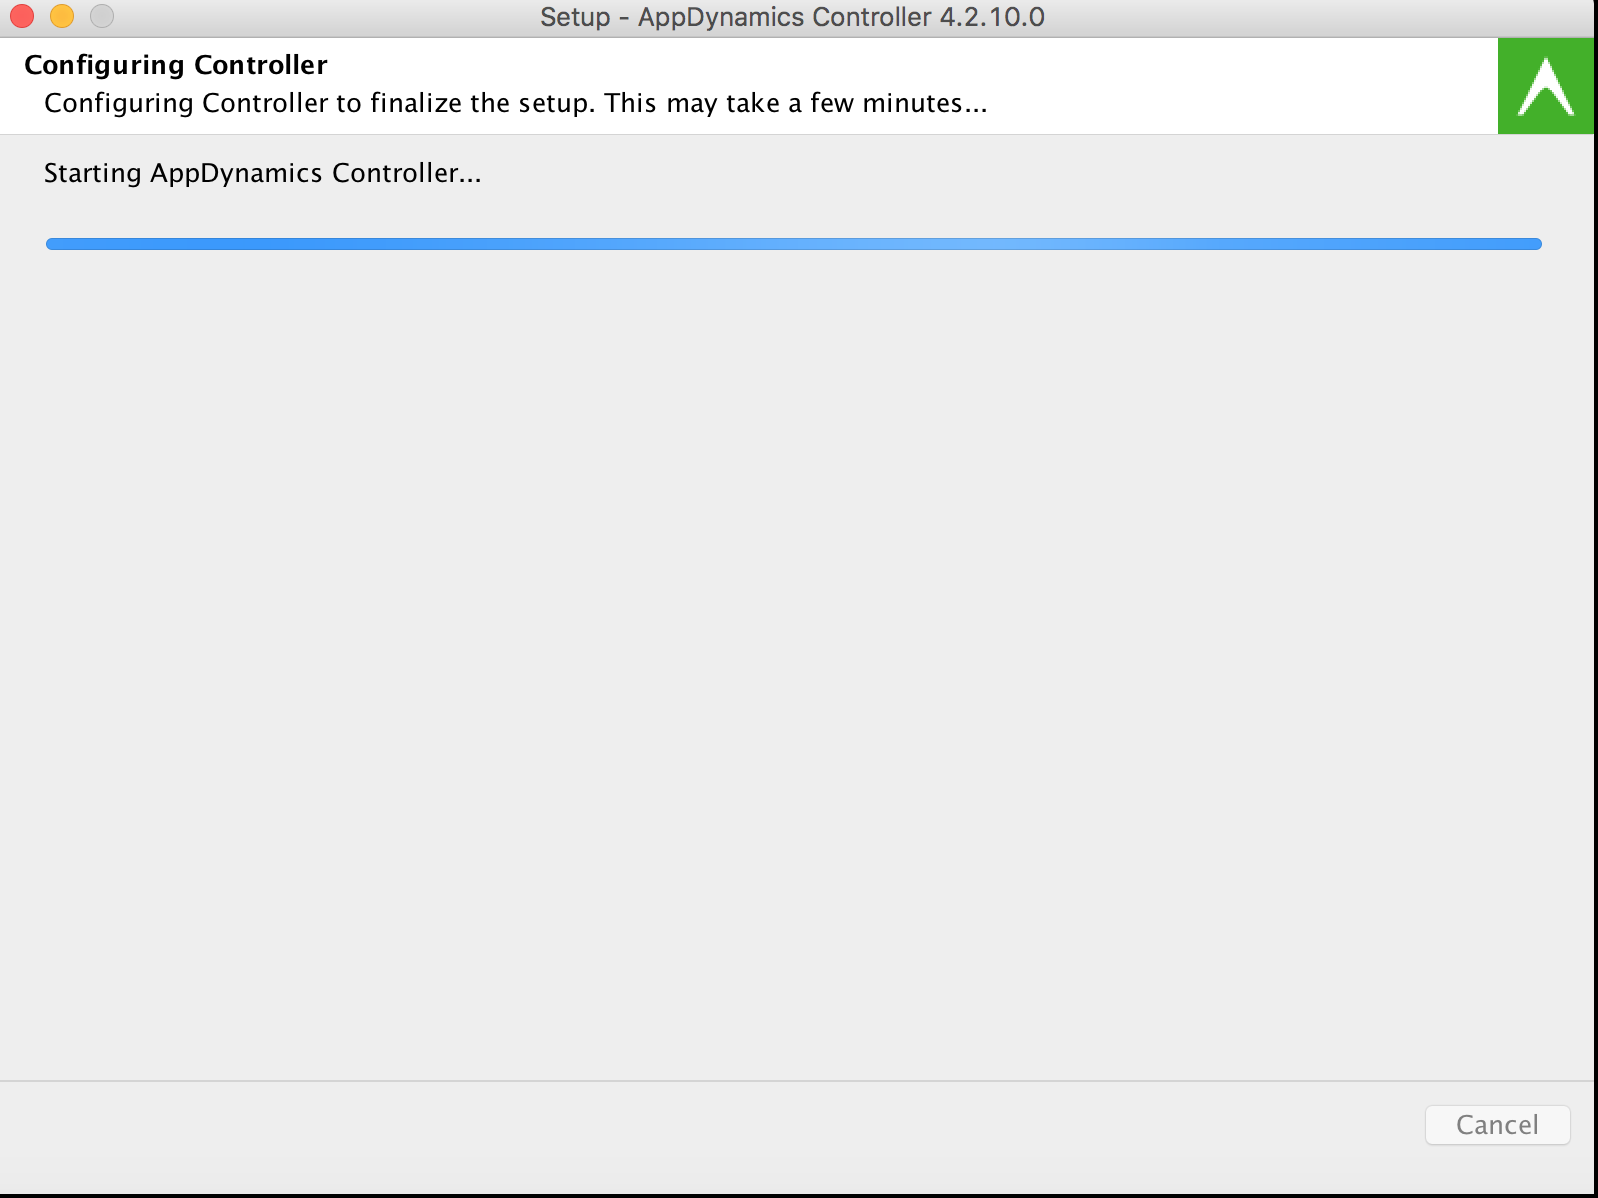
15. Install wizard starts installing the files.
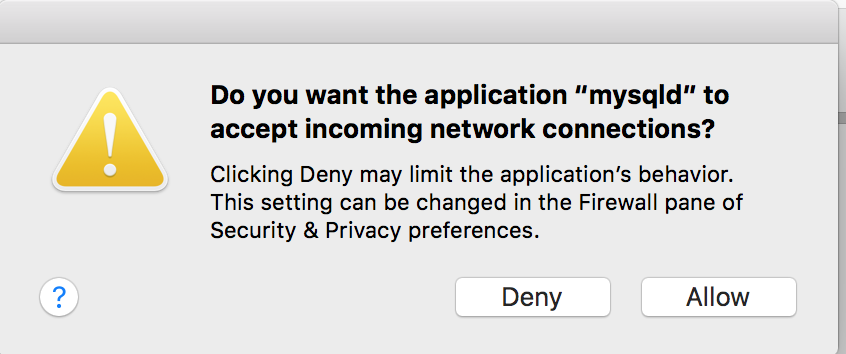
16. Click Allow to allow mysqld to accept incoming network connections.
17. Installation process continues.
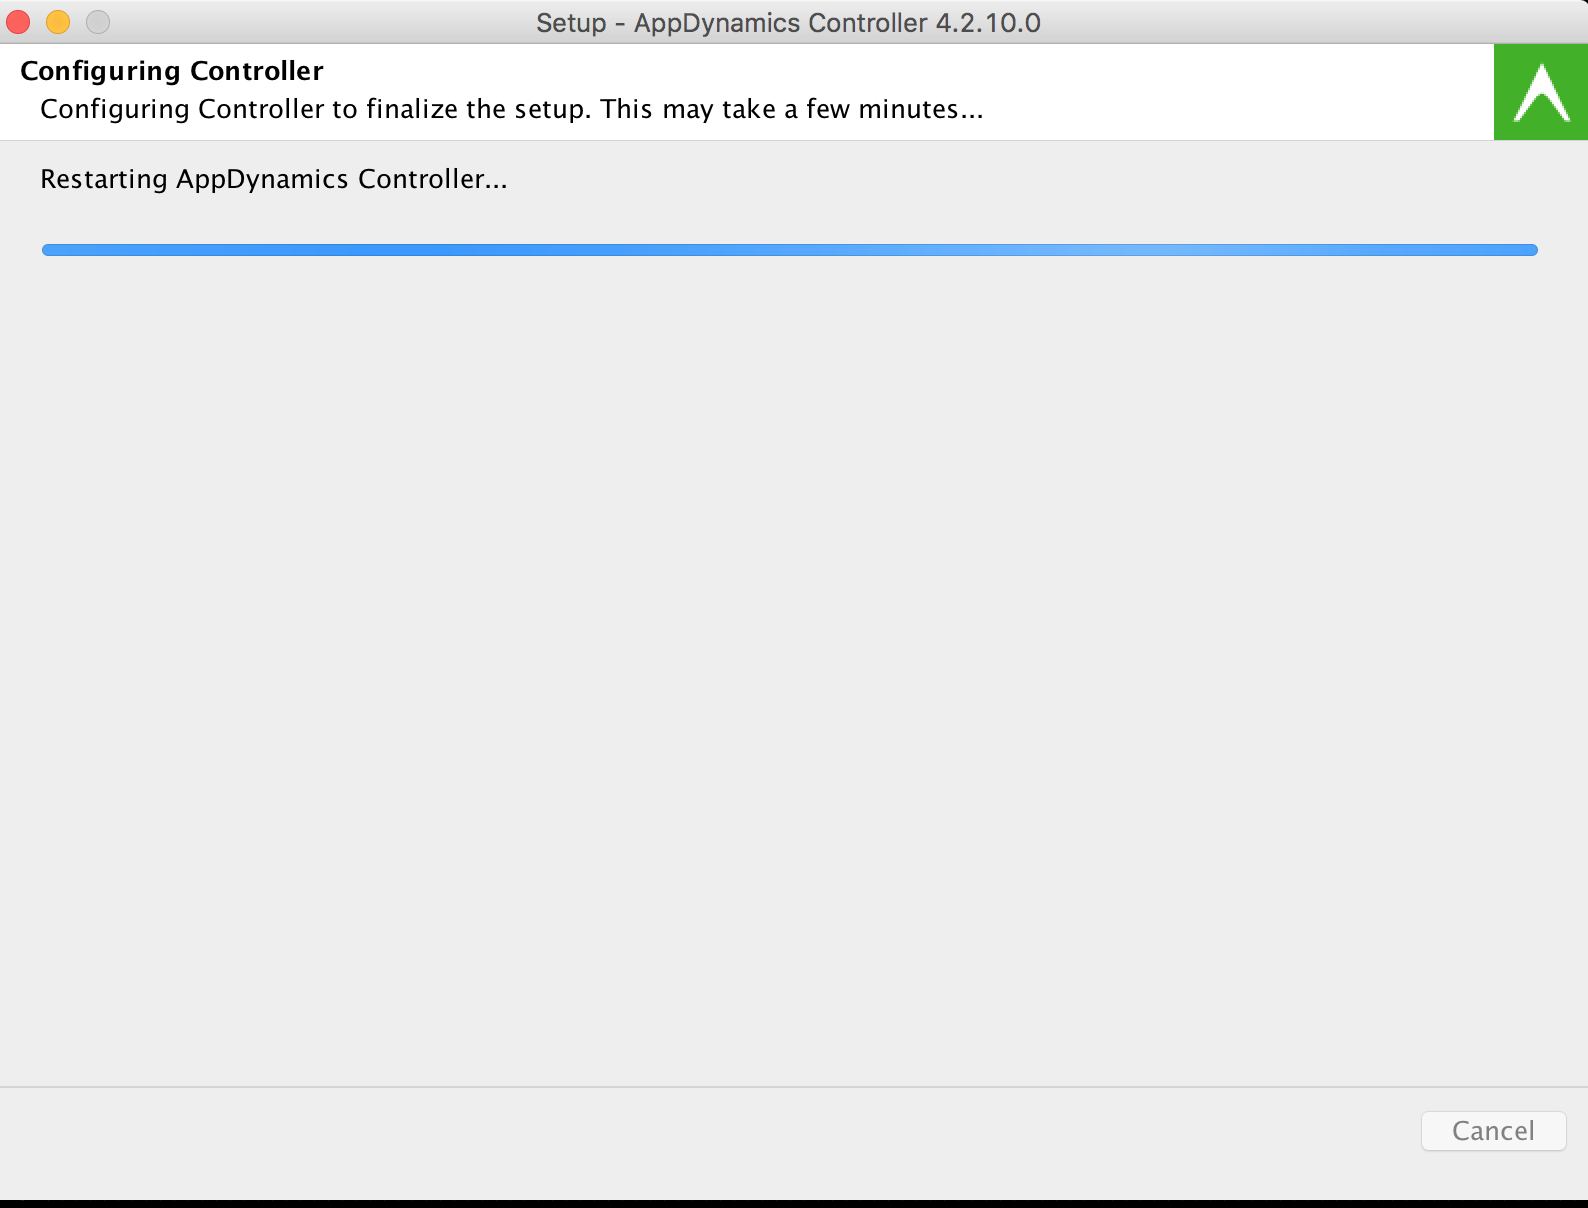
18. Controller is restarted by the Install Wizard at the end.
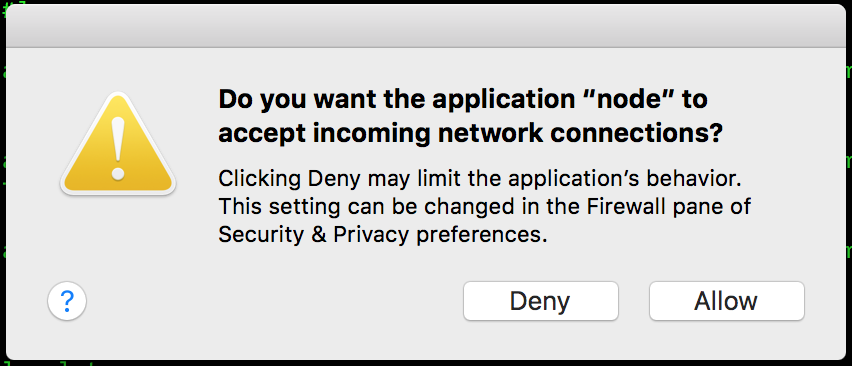
19. Click Allow to allow controller to accept incoming connections.
20. That’s it. You have successfully installed AppDynamics controller om Mac.
21. Launch a browser and go to http://localhost:8090/controller

22. You will most probably see a license error as shown below
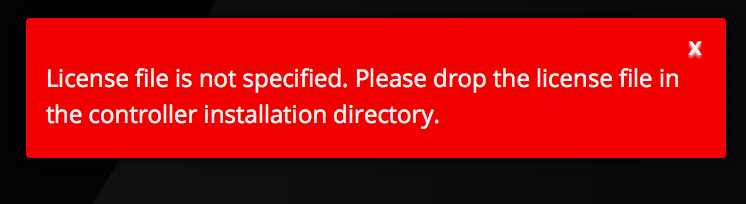
23. So, you have two options to get a license file installed.
a. Contact AppDynamics sales team to get a trial license. You can email them at info@appdynamics.com. They are pretty good in getting back quickly.
or
b. Download the trial version of Linux Controller zip file. The zip file has license.lic file at the home directory of the zip file. Copy this file to Appdynamics controller home directory and you will be good to go for 15 days.
Note: The location of the license file is <AppDynamics Home>/Controller/license.lic
Once you place the license file, there is no need to restart the AppDynamics Controller. Simply log in to the web interface. Your screen might look like this
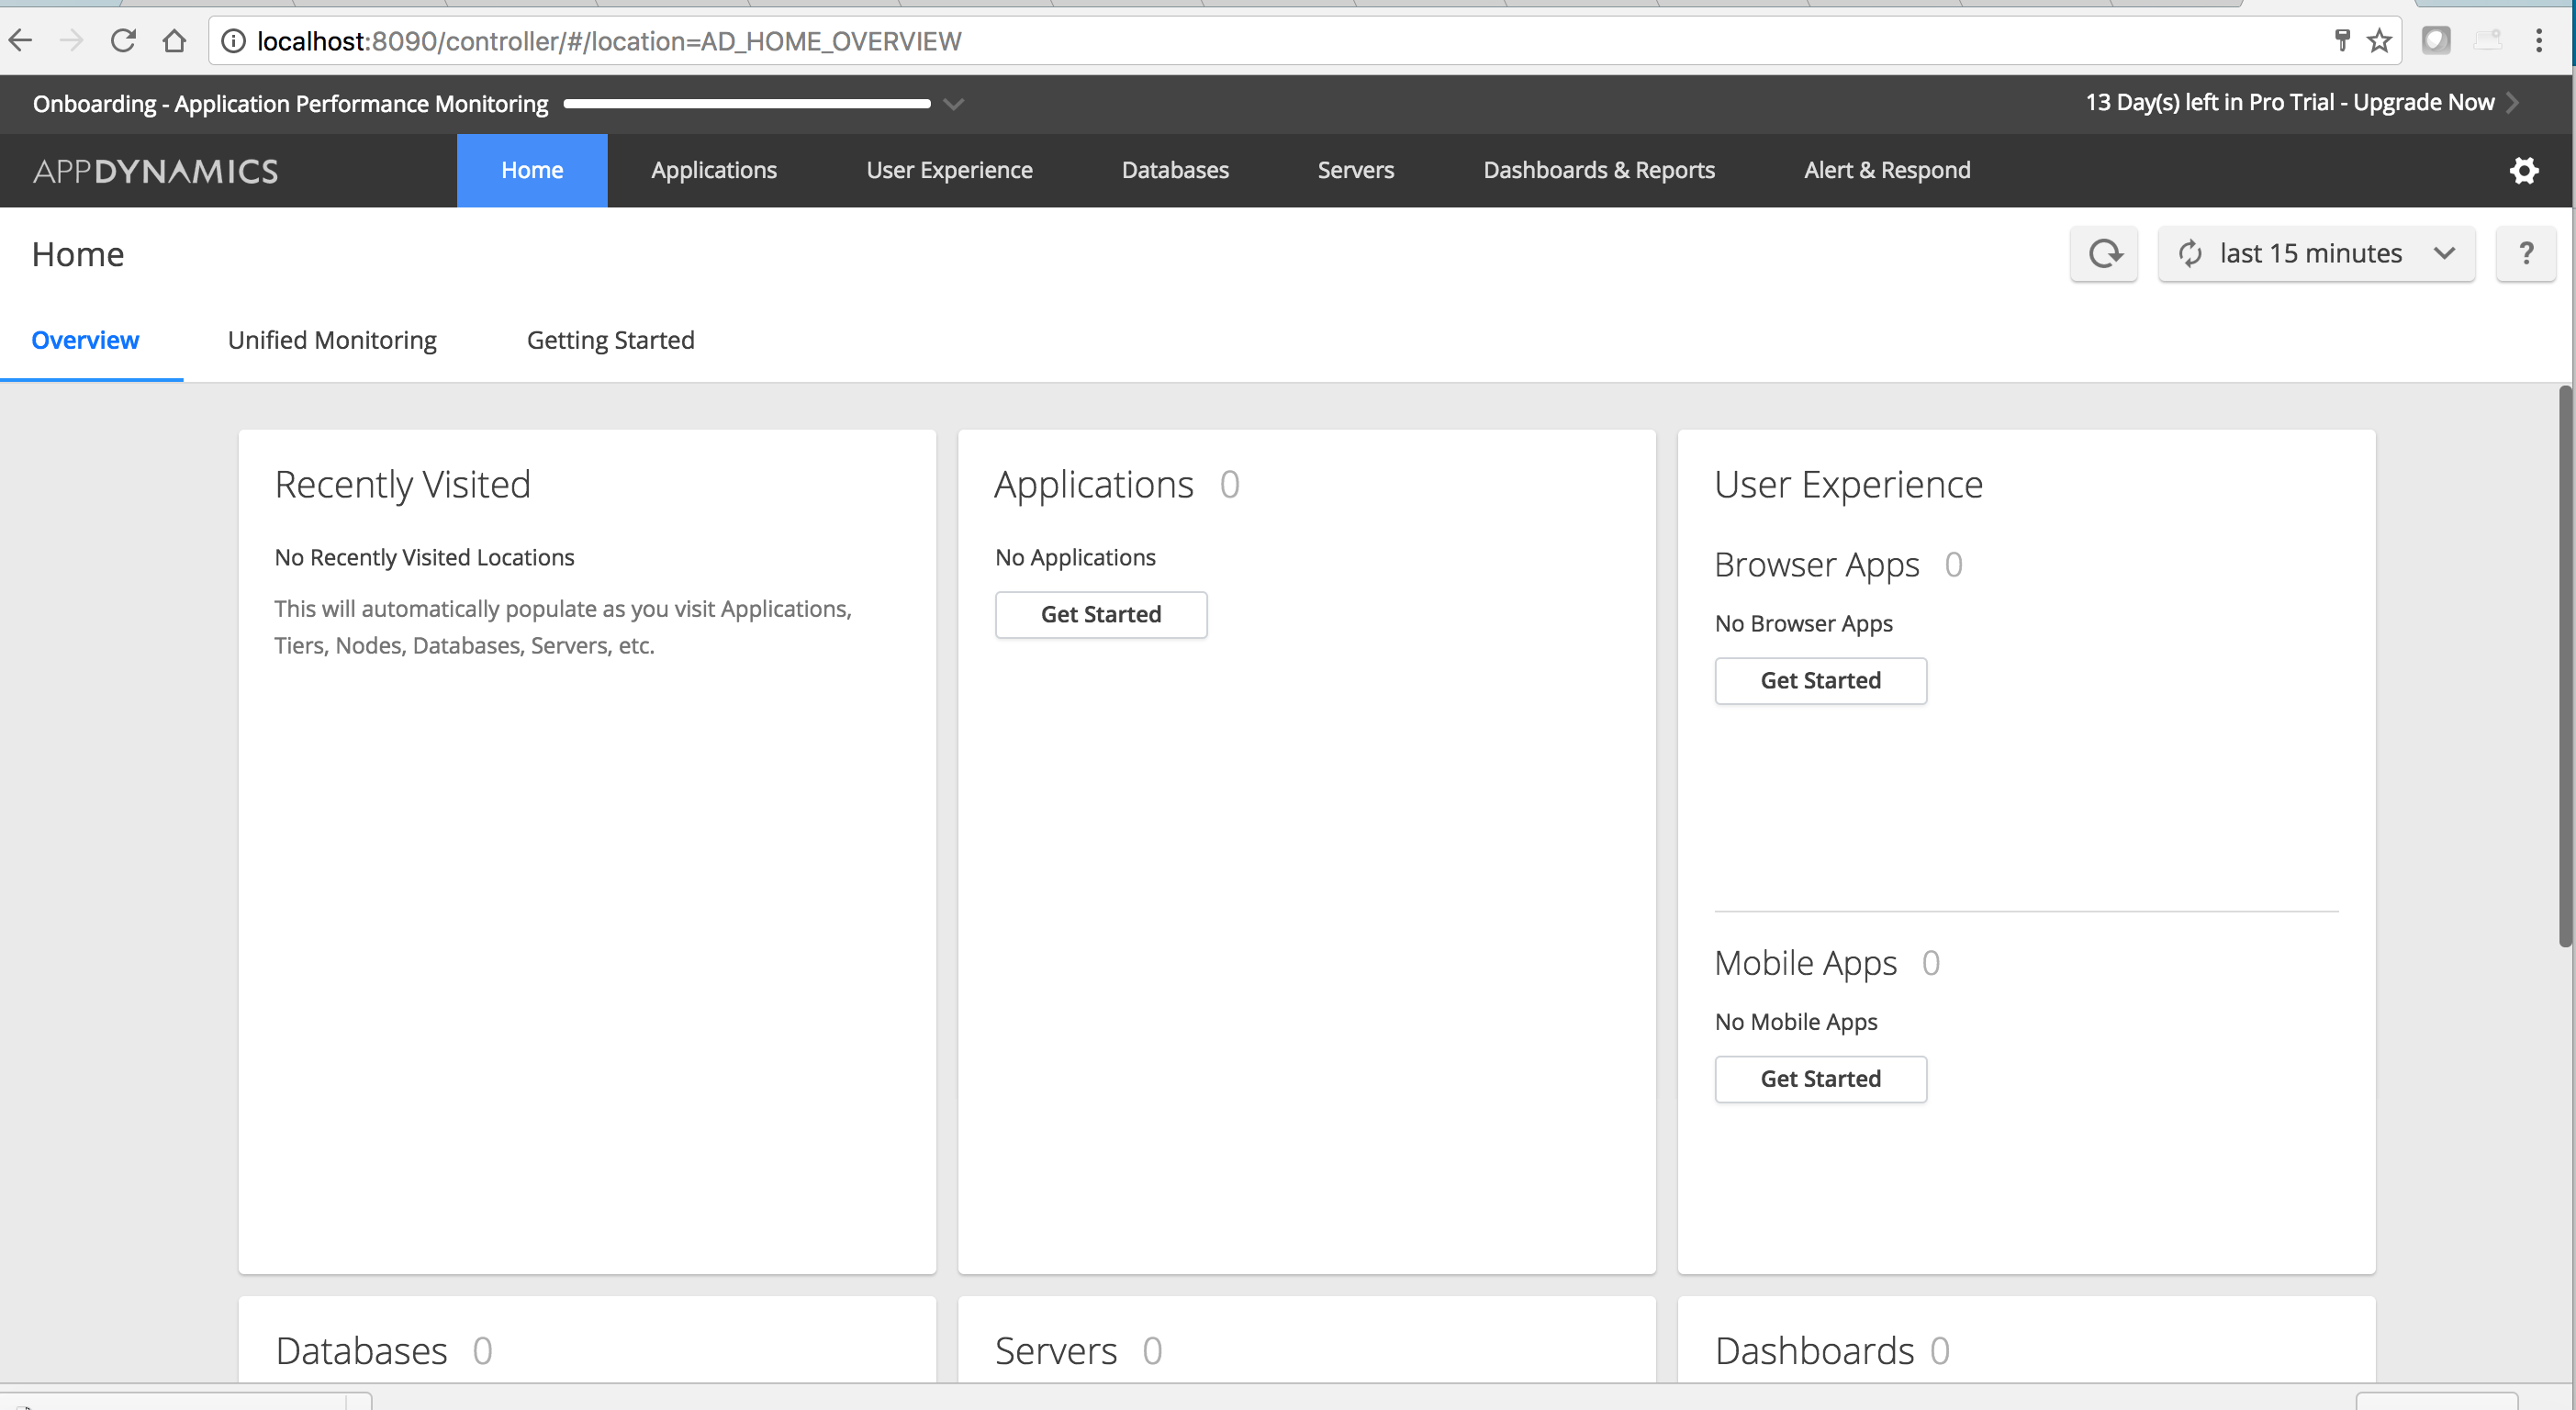
Pretty cool, hah? In my next blog post, I’ll show you how to instrument a Java application and monitor its performance. Can’t wait to show you.
Happy Monitoring !!